Tutorial #1 : Twilight screencaps
buffy_the_vamp6 asked me to do a tutorial of my colouring for the Twilight screencaps, so here it is.
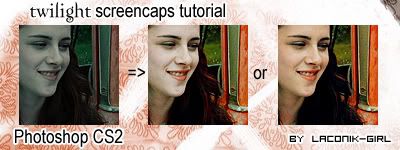
- Open your base and crop it to whatever size you want. You can also Sharpen it.

- Create a Curves layer to lighten up the image, leave it to Normal with 70% Opacity :
RBG : input 60, output 124

- Create a Selective Color layer :
Reds: -100, 0, 0, 0
Yellows: -100, 0, 0, 0
Greens: -100, 0, 0, 0
Cyans: +100, 0, 0, 0
Whites: -10, 0, 0, -10
Blacks: 0, 0, 0, +4

- Create another Selective Color layer to Normal with 70% Opacity :
Reds: -6, +14, +26, 0
Yellows: -10, +23, +26, 0
Greens: +48, -15, +16, 0
Cyans: -15, -16, 0, 0
Whites: -11, -8, -15, 0
Neutrals: -17, +2, +10, +6
Blacks: +7, +2, 0, 0

- Another one:
Reds: -6, +14, +26
Yellows: -10, +23, +26, 0
Greens: +48, -15, +16, 0
Cyans: -15, -16, 0, 0
Whites: -11, -8, -15
Neutrals: -17, +2, +10, +6
Blacks: +7, +2, 0, 0
Note: this layer can be move before the Curves layer if you like.

or

if you move the layer.
This last layer is additional:
- Selective Color layer :
Greens: +100, +100, -100, 0
Cyans: +100, +20, -100, 0
Note: I usually use this layer to add some blue to the image (especially the ones with the Cullens)

=>

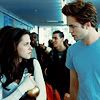
Other examples with Twilight screencaps :


With other pictures :

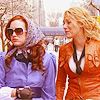

As you can see, the result is really random according to the picture, so you should play with the settings...
I hope you liked it and that it was easy to understand.
Let me see your result if you try it, I'd like to see it.
Please credit if you use this.
Comments are ♥