Project: Drawn Bonnet for "Charlotte Lucas" in Pride & Prejudice
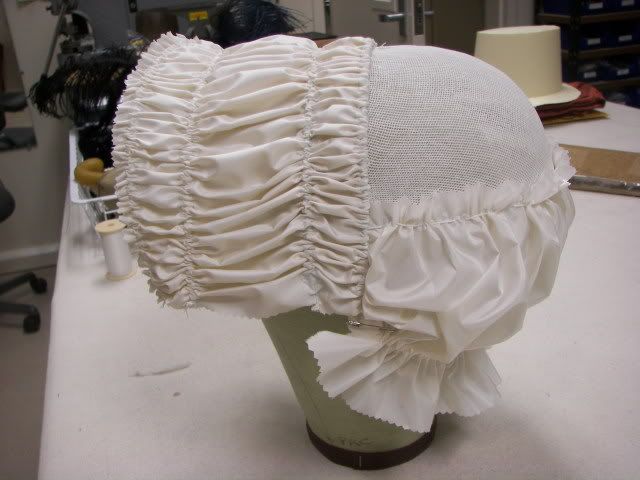
So, remember this bonnet mockup?

You can see the three basic parts of this bonnet in its mockup incarnation: the crown, the brim, and the bavolet (that little ruffle at the back covering the nape of the neck).
For the "real" bonnet, I decided to make each part a finished standalone piece--that way, if the designer wanted to move the brim further back on the crown or change the placement of the bavolet, i could do it swiftly and easily.

Right: brim in undrawn form, red/gold crosswoven silk cover and deep grey silk lining
Left: crown bias covered and lined in same, featuring decorative/functional tucks

Here i'm inserting the millinery wires down the channels to create the drawn brim.
The wires are bent at each end to ease them sliding into the channels. This bonnet is actually really practical--there's nothing but the stiffness of the drawn fabric between the arc wires to maintain the brim's chute-like width, so you can pack it flat, squish it, fold it around, and it pretty much pops back into shape!

Finished bonnet ready for stage!
That bow on the side, one of the ties comprising it is the "drawstring" gathering up the bavolet beneath the occipital bone, and the other is attached to the crown. (There's a bow on each side.) That allows the bavolet to be let out or pulled tighter according to the wearer's whim or hairstyle needs.
Soon, i'll have the general crafts overview on this show, including the crazier bonnets mocked up in an earlier post! For now though, hope you enjoyed the steps of construction on this one.