First Tutorial!
go from this: 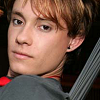
to this: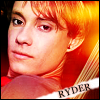
For PSP8! You should know the basics if you want to do this tutorial. any questions? ask away XD
Original Image:
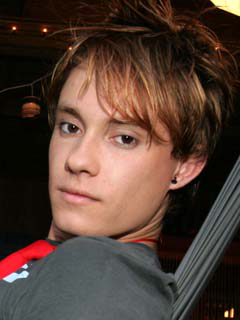
Taken From: The-N.com
STEP 1. First, crop your image to a square, then resize to 100x100. Sharpen it once (or more if needed).
Icon thus far:
STEP 2. Then, take this texture and set it to "Screen".
Texture:
(made by me)
Icon thus far: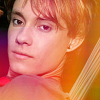
STEP 3. Take this light texture and set it to "Screen" also.
Texture: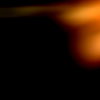
(made by me)
Icon thus far: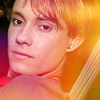
STEP 4. That light texture just wasnt bright enough for me, so I duplicated it and set it to "Screen", so it would be brighter.
Icon thus far: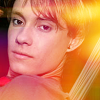
STEP 5. Duplicate your original image, drag it to the top and set it to "Overlay"
Icon thus far: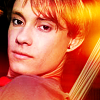
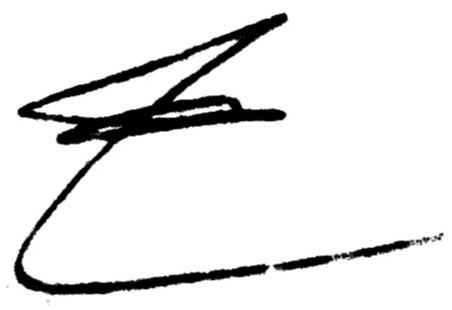
STEP 6. next, I made a new layer (Normal 100), and took this scribble brush (by: ? if its yours let me know so I can credit) in white and made it so only a small part of it showed in the bottom right corner.
Brush:
Icon thus far:
STEP 7. (OPTIONAL) I, then, used the text tool to write "RYDER" in all caps in Georgia pt 7 with anti alias checked. and rotated the text to fit in the line I made with the scribble brush.
Icon thus far: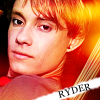
STEP 8. (OPTIONAL) Then, I took an orangey-red color from the icon (#E33601) and used it to do a drop shadow on the text. Effects -> 3D effects -> drop shadow
Settings: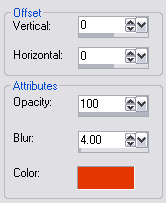
Icon thus far: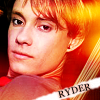
STEP 9. Next, I made a new layer (Normal 100), put a 1px black border around it using a border brush I made
Border brush:
then, you are FINISHED! yay! haha.
Final Product:
to this:
For PSP8! You should know the basics if you want to do this tutorial. any questions? ask away XD
Original Image:
Taken From: The-N.com
STEP 1. First, crop your image to a square, then resize to 100x100. Sharpen it once (or more if needed).
Icon thus far:
STEP 2. Then, take this texture and set it to "Screen".
Texture:
(made by me)
Icon thus far:
STEP 3. Take this light texture and set it to "Screen" also.
Texture:
(made by me)
Icon thus far:
STEP 4. That light texture just wasnt bright enough for me, so I duplicated it and set it to "Screen", so it would be brighter.
Icon thus far:
STEP 5. Duplicate your original image, drag it to the top and set it to "Overlay"
Icon thus far:
STEP 6. next, I made a new layer (Normal 100), and took this scribble brush (by: ? if its yours let me know so I can credit) in white and made it so only a small part of it showed in the bottom right corner.
Brush:
Icon thus far:
STEP 7. (OPTIONAL) I, then, used the text tool to write "RYDER" in all caps in Georgia pt 7 with anti alias checked. and rotated the text to fit in the line I made with the scribble brush.
Icon thus far:
STEP 8. (OPTIONAL) Then, I took an orangey-red color from the icon (#E33601) and used it to do a drop shadow on the text. Effects -> 3D effects -> drop shadow
Settings:
Icon thus far:
STEP 9. Next, I made a new layer (Normal 100), put a 1px black border around it using a border brush I made
Border brush:
then, you are FINISHED! yay! haha.
Final Product: