River (Firefly) icon tutorial: contrast and using layers to get a spooky effect
From 
to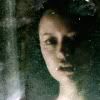
in 6 easy steps.
1. I cropped a screencap from firefly_hush to this:

2. I lightened it using the Levels tool. I went to Layer->Color->Levels. I moved the white arrow under input over to the left until the image was a bit lighter.

3. This layer was duplicated and desaturated. (Layer->Color->Desaturate)

This is my new base layer, so it is set to Normal mode at 100% opacity.
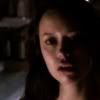
4. I grab one of my older, colored layers and increase the saturation (Layer->Color->Hue/Saturation). In Gimp, you can modify color ranges (CMYK, etc) or the entire layer. I make sure the Master button (entire layer) is checked and move the Saturation slider to the right.

This is set to soft light, 100% on top of the desaturated layer.
5. I add a texture from my Snow set (get it here).
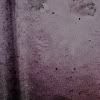
This is set to grain extract at 100% opacity.
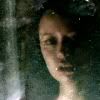
6. Creepy, but I can't see her face well enough. I go back to the desaturated layer, duplicate it and bring it up above everything else. Then I use the paintbrush to black out everything but her face and neck. I'm not very careful with my edges, because it doesn't really matter.
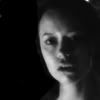
This is set to addition at 32% opacity, enough to really accent the contrast in the shadows but let a bit of her skin color show through.

So, to review:
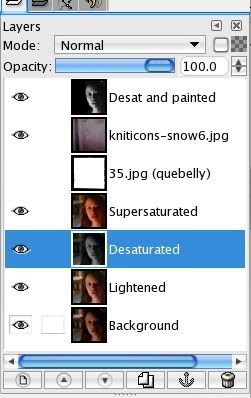
That's it! A freakin' creepy River. I originally had a border by quebelly, but didn't see much of a difference between this version and the bordered one.

to

in 6 easy steps.
1. I cropped a screencap from firefly_hush to this:

2. I lightened it using the Levels tool. I went to Layer->Color->Levels. I moved the white arrow under input over to the left until the image was a bit lighter.

3. This layer was duplicated and desaturated. (Layer->Color->Desaturate)

This is my new base layer, so it is set to Normal mode at 100% opacity.
4. I grab one of my older, colored layers and increase the saturation (Layer->Color->Hue/Saturation). In Gimp, you can modify color ranges (CMYK, etc) or the entire layer. I make sure the Master button (entire layer) is checked and move the Saturation slider to the right.

This is set to soft light, 100% on top of the desaturated layer.

5. I add a texture from my Snow set (get it here).

This is set to grain extract at 100% opacity.

6. Creepy, but I can't see her face well enough. I go back to the desaturated layer, duplicate it and bring it up above everything else. Then I use the paintbrush to black out everything but her face and neck. I'm not very careful with my edges, because it doesn't really matter.

This is set to addition at 32% opacity, enough to really accent the contrast in the shadows but let a bit of her skin color show through.

So, to review:

That's it! A freakin' creepy River. I originally had a border by quebelly, but didn't see much of a difference between this version and the bordered one.