My first ever icon tutorial...
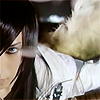
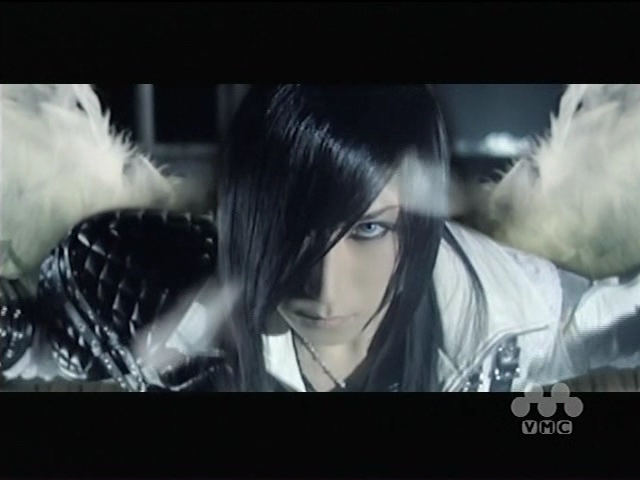
I realize that I've never actually made a graphic tutorial before, so I thought I'd show everyone how to go from this to 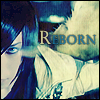
using Asagi, the vocalist of the Japanese band D and a screen cap of their new PV, Birth.
Start by cropping your base and placing it however you want...I decided that since his wings were just too big to fit all of them in the frame, that I'd go with half of his face....I duplicated my base twice...once of screen 100%, the other on Soft light 50%. I then flattened the image and sharpened it once.

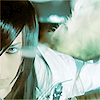
Next I added a Hue/Sat layer
Master Saturation: +20

As you can see, it didn't make much of a difference, but it did even out the skin just a bit.
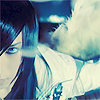
Color Balance
Midtones: +36 -28 -28
Shadows: +33 +19 -21
Highlights: -38 -10 +4
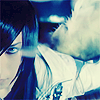
Selective Color
Reds: -61 +69 +76
Neutrals: +39 -31 -19
Color Fill #e7f7f9 set to Soft light @100%
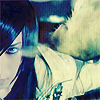
Selective Color
Neutrals: +42 +37 -29

Color Fill #040626 Set to Exclusion @100%
Selective color
Neutrals: +25 +30 +9
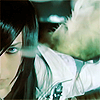
I took a small piece of this texture by Omnigenus @ DeviantArt and placed it over the icon. I set the layer to Soft Light @ 100% Opacity, then used a soft round eraser to get rid of the half over his face.
My final steps were adding text and a simple stroked black border...though that's completely up to you :)
As with any tutorial, my steps are suggestions, and each image will have it's own settings to make it look the way you want it.
using Asagi, the vocalist of the Japanese band D and a screen cap of their new PV, Birth.
Start by cropping your base and placing it however you want...I decided that since his wings were just too big to fit all of them in the frame, that I'd go with half of his face....I duplicated my base twice...once of screen 100%, the other on Soft light 50%. I then flattened the image and sharpened it once.
Next I added a Hue/Sat layer
Master Saturation: +20
As you can see, it didn't make much of a difference, but it did even out the skin just a bit.
Color Balance
Midtones: +36 -28 -28
Shadows: +33 +19 -21
Highlights: -38 -10 +4
Selective Color
Reds: -61 +69 +76
Neutrals: +39 -31 -19
Color Fill #e7f7f9 set to Soft light @100%
Selective Color
Neutrals: +42 +37 -29
Color Fill #040626 Set to Exclusion @100%
Selective color
Neutrals: +25 +30 +9
I took a small piece of this texture by Omnigenus @ DeviantArt and placed it over the icon. I set the layer to Soft Light @ 100% Opacity, then used a soft round eraser to get rid of the half over his face.
My final steps were adding text and a simple stroked black border...though that's completely up to you :)
As with any tutorial, my steps are suggestions, and each image will have it's own settings to make it look the way you want it.