7th icon tutorial, Prison Break, Mahone
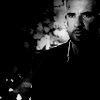
go from 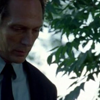
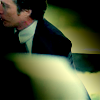
to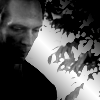
using ps cs2, this tut should be ok for psp users, no selective colour used
crop resize to 100x100
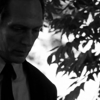
and a B&W gradient map layer set to normal 100% . Layers -> new adjustment layer -> gradient map
underneath your gradient map and a brightness and contast layer, or use curves to brighten up your image ( I change my mind all the time lol) my settings for this pic were
Brightness +80
Contrast +50
Layers -> new fill layer -> gradient. set the layer to linear burn 100%, choose the black to white gradient again.
my settings
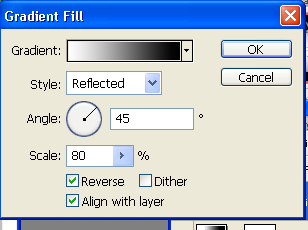
you will need to play around with the angle and scale depending on your image.
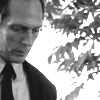
and then you're done!
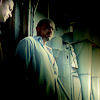
some other icons made the same way

kind of the same, just without making the image B&W
I'd love to see how this works out for everyone :D
to
using ps cs2, this tut should be ok for psp users, no selective colour used
crop resize to 100x100
and a B&W gradient map layer set to normal 100% . Layers -> new adjustment layer -> gradient map
underneath your gradient map and a brightness and contast layer, or use curves to brighten up your image ( I change my mind all the time lol) my settings for this pic were
Brightness +80
Contrast +50
Layers -> new fill layer -> gradient. set the layer to linear burn 100%, choose the black to white gradient again.
my settings
you will need to play around with the angle and scale depending on your image.
and then you're done!
some other icons made the same way
kind of the same, just without making the image B&W
I'd love to see how this works out for everyone :D