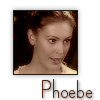
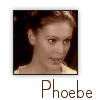
Phoebe icon - Tutorial #2
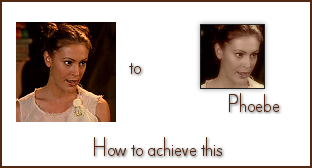
Get a picture that you like. I got a screen cap of Phoebe from roorensu via cap_it
Crop to 100x100
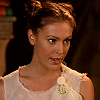
Phoebe looks a little dark to me so I duplicated my base and set it at screen 100%
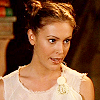
Now she looks a little better! Duplicate your base again and drag it on top of the screen one you just did.
Make sure its selected and then go to Colors > Adjust > Brightness/Contrast. The settings are Brightness 15 and % Contrast 40, press ok.
Next go to Effects > Gaussian Blur. Set the Radius to 2.00 and press ok. Set the opacity to 50.
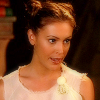
Make a new layer and flood fill it with #C0C0FF, set to Saturation 100%
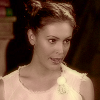
Copy and paste this brush made by meleada
Take your magic wand tool and select the center of the square and hit delete. You should be able to see Phoebes face now.
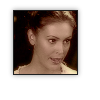
Now to add the text. I used the font Dreamspeak at 14px and the color #522713
Convert that layer to a Raster Layer (if you need to) and then go to Effects > Drop Shadow
Settings:
Offset - Vertical: 1 and Horizontal: 1
Attributes
Opacity: 75 Blur: 4 and color: #000000
Merge all layers and save in the format you prefer and you are done!
