.__{&&rihanna sig&&}__.
Tutorial on how to make this sig, by myself.
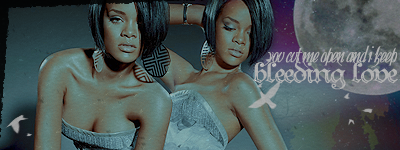
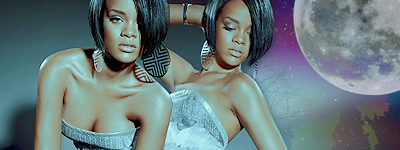
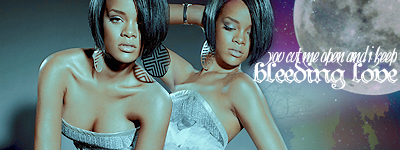
So, we're going to make something like this today:
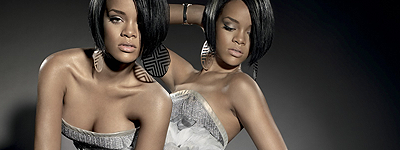
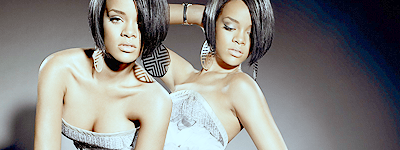
Start up by opening a 400x150 px canvas and paste your pictures, blend accordingly. If needed, sharpen.
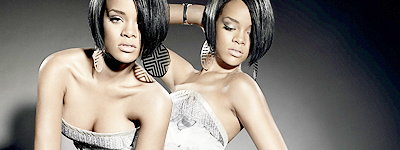
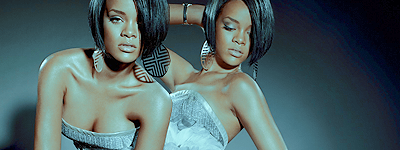
Add curves (Layer>New adjustment layer>curves). Input values:
RGB:dot 1: input 41//output 88 dot 2: input160//output232
New color layer, fill with #f6bcce, set to soft light, 52%
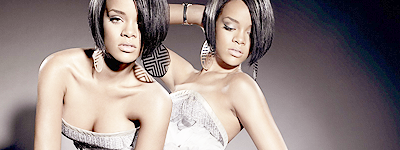
Add a channel mixer layer (Layer>New adjustment layer>Channel mixer). Input values:
RED:128,-40,0
BLUE:-55,60,100
Duplicate your base, drag it on top and set to Luminosity, 50%.

Add a selective color(Layer>New adjustment layer>Selective color). Input values:
REDS:100,15,29,100
YELLOWS:-100,40,50,19
WHITES:100,45,40,10
NEUTRALS:19,-10,-16,10
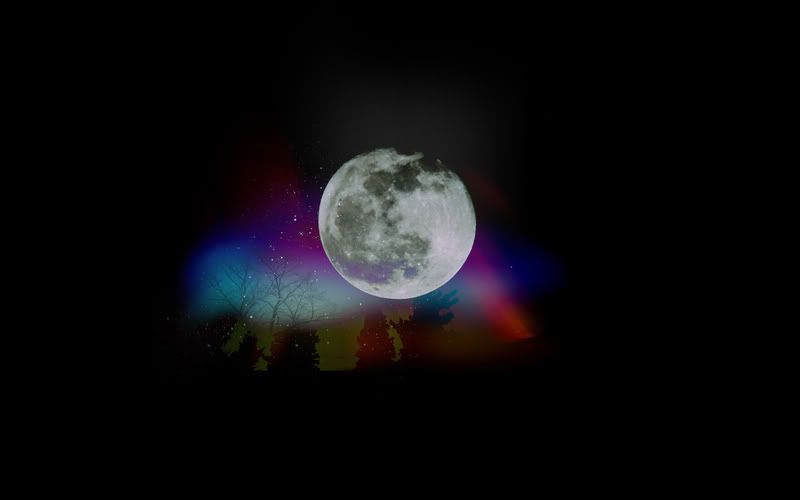
Add this texture by Babliz, set to screen, 100%, and arrange.
Add text. I used two fonts to do mine:
font: ibleum settings: bold, 20 pt, smooth, -50 tracking, color white. text: you cut me open and i keep
font:teutonic#3 settings:bold, 24 pt, smooth, -100 tracking, color white. text: bleeding love
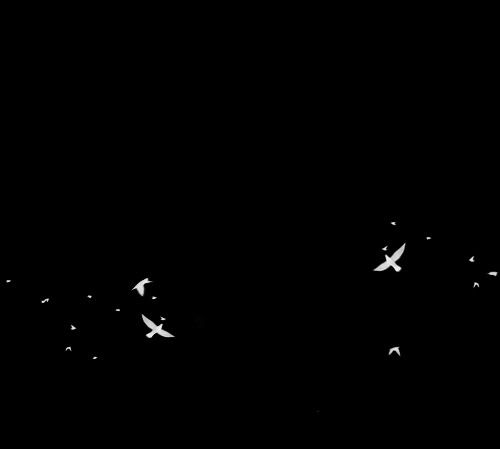
Add this bird texture by ___ (if you know who's the owner, please tell so I can credit :), set it to screen,100%

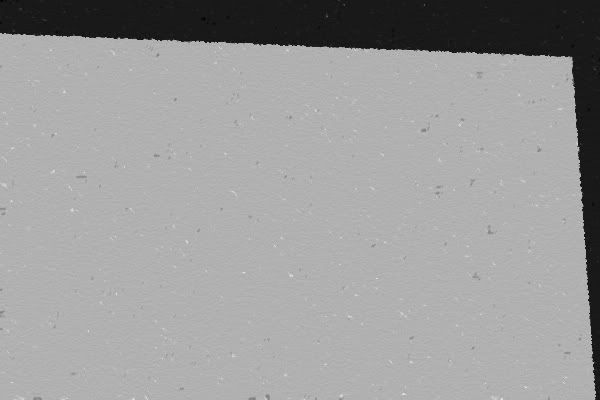
Take this texture by .MISPLACEDlove (or so i think, tell me if I'm wrong.) and set it to multiply, 100%.

And you're done! Please post your results ♥
So, we're going to make something like this today:
Start up by opening a 400x150 px canvas and paste your pictures, blend accordingly. If needed, sharpen.
Add curves (Layer>New adjustment layer>curves). Input values:
RGB:dot 1: input 41//output 88 dot 2: input160//output232
New color layer, fill with #f6bcce, set to soft light, 52%
Add a channel mixer layer (Layer>New adjustment layer>Channel mixer). Input values:
RED:128,-40,0
BLUE:-55,60,100
Duplicate your base, drag it on top and set to Luminosity, 50%.
Add a selective color(Layer>New adjustment layer>Selective color). Input values:
REDS:100,15,29,100
YELLOWS:-100,40,50,19
WHITES:100,45,40,10
NEUTRALS:19,-10,-16,10
Add this texture by Babliz, set to screen, 100%, and arrange.
Add text. I used two fonts to do mine:
font: ibleum settings: bold, 20 pt, smooth, -50 tracking, color white. text: you cut me open and i keep
font:teutonic#3 settings:bold, 24 pt, smooth, -100 tracking, color white. text: bleeding love
Add this bird texture by ___ (if you know who's the owner, please tell so I can credit :), set it to screen,100%
Take this texture by .MISPLACEDlove (or so i think, tell me if I'm wrong.) and set it to multiply, 100%.
And you're done! Please post your results ♥