First Icon tutorial~ [The FLY]
From to 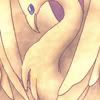
to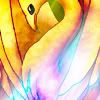
or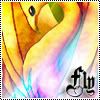
First, take a picture and crop it to 100x100 or 98x98 or 96x96 (if you want border)
Decide on the colour scheme for your icon.
For this picture, I chose a more elemental colours.
Take this texture
from erniemay
Set it to colour burn 100%. Beautiful!
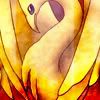
I love the reddish end but it's a little too red.
So i use this texture
from xonlyashesx to define the lines.
Set it to Colour Burn 80% Fill, 80% Opacity
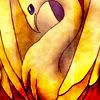
Duplicate the base and drag it to the top, set it to Soft Light 100%;
it will lighten the icon.
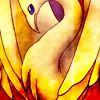
To balance the colour, use a texture that focuses on the top of the icon like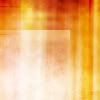
from erniemay,
Set it to Soft Light 100%, pretty! *O*
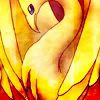
Duplicate the base and drag it to the top again, and set it to Linear Burn, it darkens the image and redefined more lines.
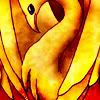
Add a neutral base colour or texture to lighten it, I've used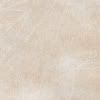
from xonlyashesx. Set it to Soft Light.
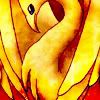
Duplicate your layer again, and set it to Darken. Not much of a difference though.

Add a light texture
from millepetit, and set it to Lighten.
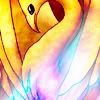
Contrast this light texture by choosing another light texture that focuses the top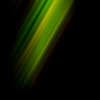
.
I used from millepetit. Set it to lighten.

There you have! A base icon!
--- for text ---
For the word Fly, I used Zenda for the letter "F" and Blackfamily for "ly".
Change the tracking to -75 for "ly" so they don't look too separated.
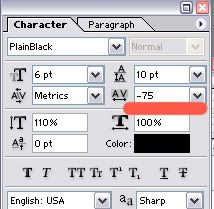
Add layer style, to drop shadow and inner glow.
(Layer -> Layer Style -> Drop Shadow/Inner Glow)
--- for border (Set to 96 - 98px before)
Flatten the image(Layer -> Flatten Image)
Open a new file. Set it to 100 x 100
Use a border brush or image,
(for my case i used this border brush
from wicked_avis) and applied onto the border
Drag your flatten image to the border and adjust it. VOILA!

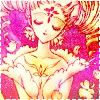
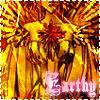
Similar outcomes;
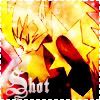
,
,
Do feel free to ask questions!
Check my resource page here.
Clow card pictures from: silvan_rain

to

or

First, take a picture and crop it to 100x100 or 98x98 or 96x96 (if you want border)
Decide on the colour scheme for your icon.
For this picture, I chose a more elemental colours.
Take this texture

from erniemay
Set it to colour burn 100%. Beautiful!

I love the reddish end but it's a little too red.
So i use this texture

from xonlyashesx to define the lines.
Set it to Colour Burn 80% Fill, 80% Opacity

Duplicate the base and drag it to the top, set it to Soft Light 100%;
it will lighten the icon.

To balance the colour, use a texture that focuses on the top of the icon like

from erniemay,
Set it to Soft Light 100%, pretty! *O*

Duplicate the base and drag it to the top again, and set it to Linear Burn, it darkens the image and redefined more lines.

Add a neutral base colour or texture to lighten it, I've used

from xonlyashesx. Set it to Soft Light.

Duplicate your layer again, and set it to Darken. Not much of a difference though.

Add a light texture

from millepetit, and set it to Lighten.

Contrast this light texture by choosing another light texture that focuses the top

.
I used from millepetit. Set it to lighten.

There you have! A base icon!
--- for text ---
For the word Fly, I used Zenda for the letter "F" and Blackfamily for "ly".
Change the tracking to -75 for "ly" so they don't look too separated.

Add layer style, to drop shadow and inner glow.
(Layer -> Layer Style -> Drop Shadow/Inner Glow)
--- for border (Set to 96 - 98px before)
Flatten the image(Layer -> Flatten Image)
Open a new file. Set it to 100 x 100
Use a border brush or image,
(for my case i used this border brush

from wicked_avis) and applied onto the border
Drag your flatten image to the border and adjust it. VOILA!

Similar outcomes;

,

,

Do feel free to ask questions!
Check my resource page here.
Clow card pictures from: silvan_rain