The Coffee Project
Last weekend, i got all my ingredients together and coffee-processed 3 test rolls. i was trying to get a good feel for the possibilities of this diy/alternative method of film processing to utilize in the project Jim & i are cooking up for May.
shot 1 roll of b/w and 2 rolls of color. For each roll, i selected only 1 set-up and shot the entire roll of that 1 image because i planned on dividing the roll into sections for different processing. This way, I would have a comparison with less variables. After reading so much about the super-low contrast that this process gave, I took the advice of strangers and pulled every roll. (e.i. shot every roll at a lower ASA than it was rated) Also, I shot outside at noon for some high contrast subject matter. Was thinking that i should have shot in a normal setting too, but after seeing the cloudy haze the coffee developer produced, would also recommend shooting in high contrast settings. All the the films I tested with are super cheap films. I used these because the upcoming project I mentioned will use many rolls of film and these 3 are the ones I had over 10 raw rolls already. Don't make me give you the 'in this economy' speech!
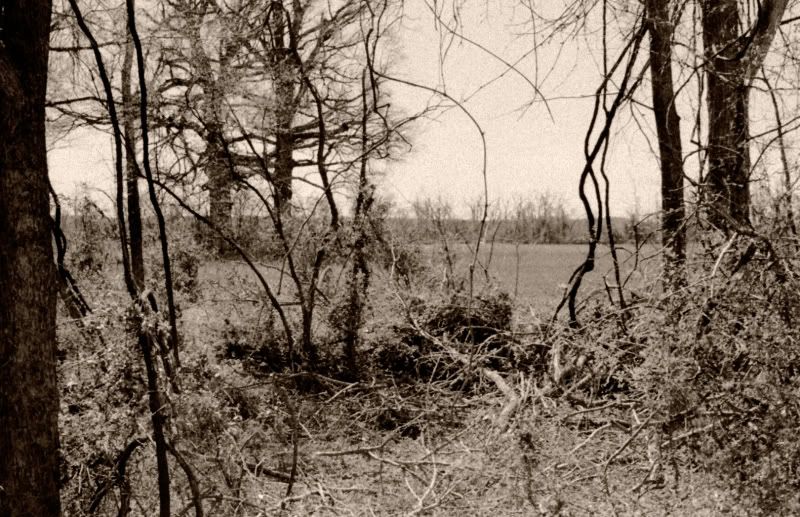
Roll 1: FujiFilm Neopan SS b/w neg 36exp rated 100asa/shot at 50asa
Pentax K1000 manual SLR F11 S125
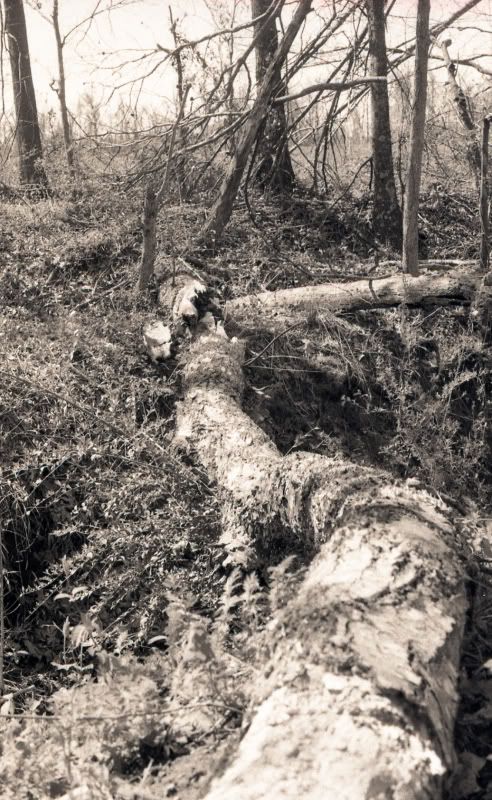
clean process, scanned, no manual corrections (*see note below about scanner settings)
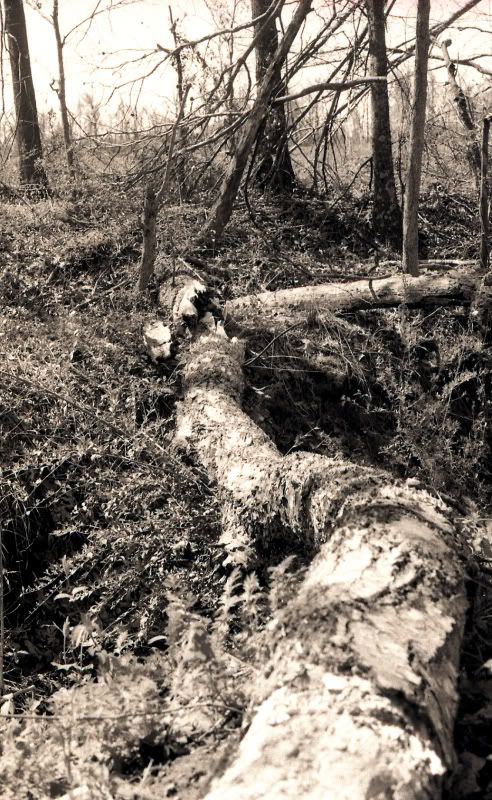
clean process, scanned, basic corrections
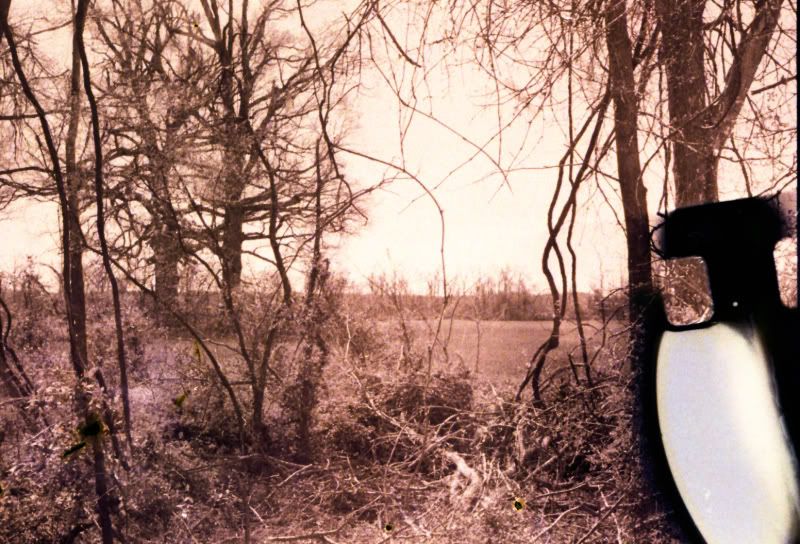
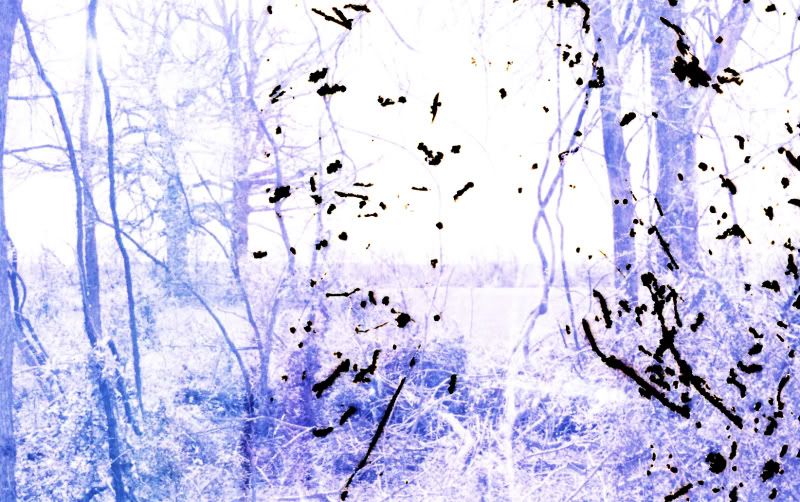
Roll 2: Artista color neg 36exp rated 100asa/shot at 50asa
Pentax K1000 manual SLR F11 S125
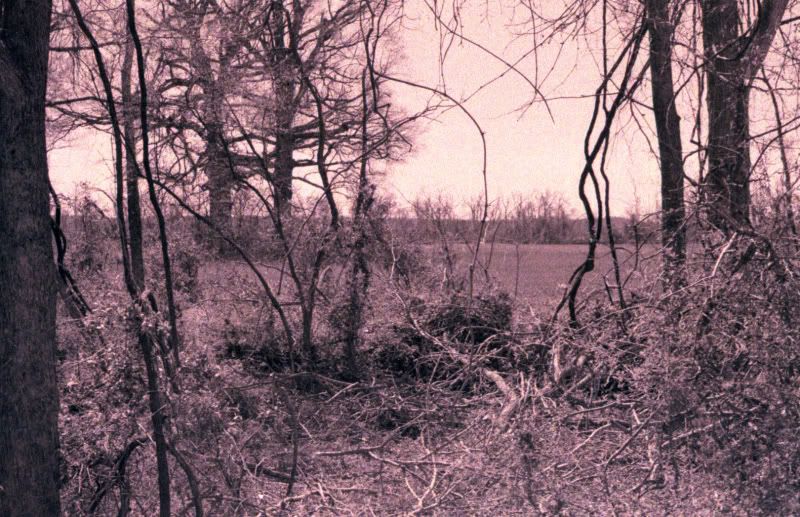
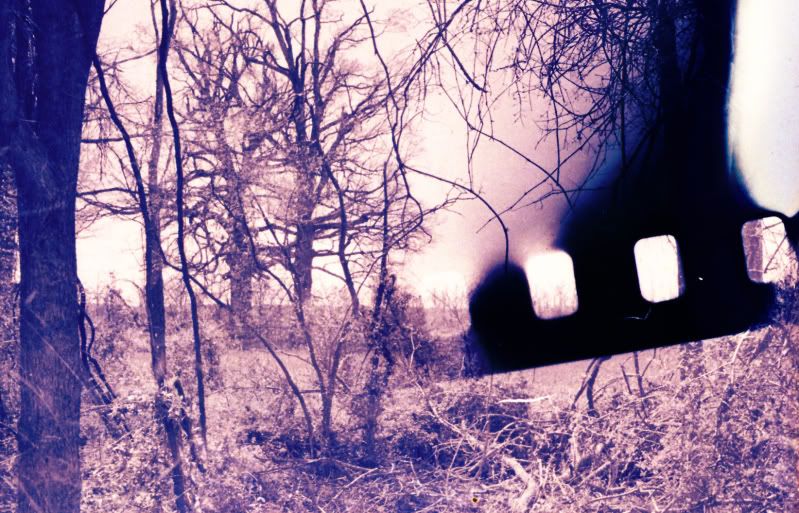
clean process, scanned, no manual corrections, purple tint was a result of scanner, not coffee process
clean process, scanned, basic corrections
Roll 3: Fujifilm color neg 24exp rated 200asa/shot at 100asa
Pentax K1000 manual SLR F5.6/8 S125

clean process, scanned, basic corrections. This roll was practically identical to the other color roll.
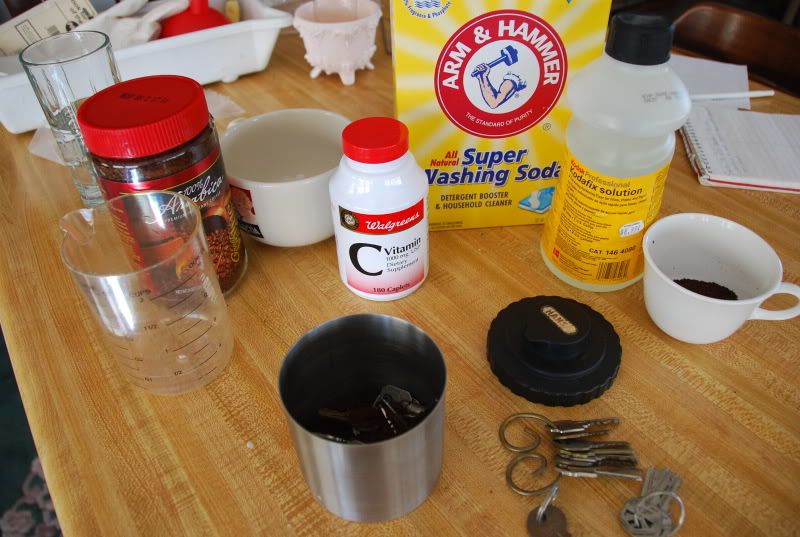
Processing: For the clean process, I did everything the 'right' way. Good water temps, was very careful loading reels, etc. Here's the method I used which was just an amalgamation of ones I had read online just altered slightly to prevent waste and fit my 10oz steel processing tank. For 1 roll:
Developer: 8oz water 68 degrees, 8tsp instant coffee, 2tsp washing soda, 1 crushed 1000mg vitamin C tablet
mixed well and allowed to sit at least 5 minutes, no longer than 30 minutes
Fixer: 1 yr expired liquid Kodafix mixed 6oz water, 2 oz fix *couldn't find my fix test solution, so i decided to fix the film 3 times longer than recommended and did a sun test on a cut selection of film. No change after 20min exposure to sun so I assumed all systems were a go! It might turn dark in years to come, but whatever. Fresh fix is a pipe dream in this town.
-presoak film, 68 degrees
-develop 20 minutes
-constant agitation 1st minute, then 5 seconds every 30 seconds, tapping to remove air bubbles
-rinse (stop) with 68 degree water until it ran clear
-fix for 15 minutes
-rinse 68 degree running water 10 minutes
-1 cap of rubbing alcohol added to last rinse (suppose to lessen water spots, but it doesn't work too well. if you want no streaks and spots, use a hypoclear product)
Now for dirty processing! My favorite!
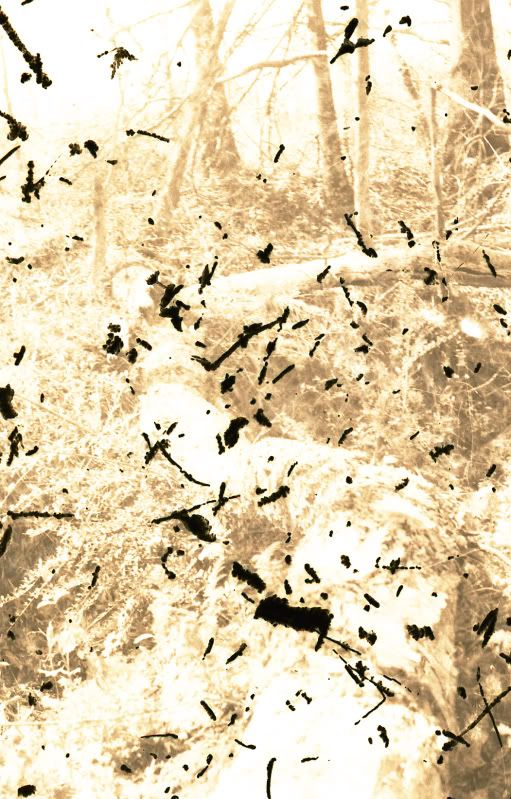
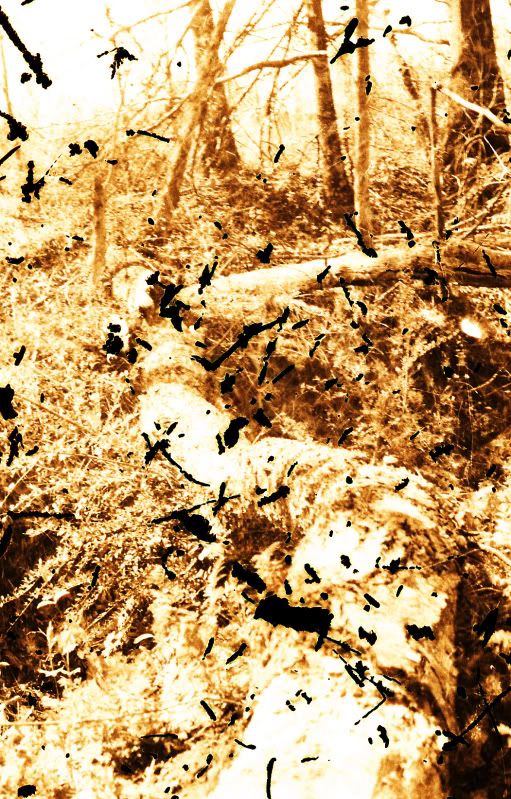
used the same mix as above, but used no reels, twisted, smashed, and stuffed the films into the canister. Mixed in coffee grounds (not the instant crystals) and a bunch of metal keys, and randomly shook the tank like a martini. Did 1 pour for the b/w selection, and 1 for the 2 color rolls. I changed it up a bit the second time, seeing as the coffee grounds didn't do anything, and making sure the film didn't roll up on itself. Overall, I was a bit disappointed with my results. The sprocket overlays where the film touched itself are neat, but the color overall was too grainy for my tastes and the extra agitation=warmer liquids adds even more grain. I was hoping for lots of tiny all-over random scratches from the keys and grounds, but instead only the keys made big gashes on the film (and it seemed only certain frames came in hard contact with the keys despite my best shaking and turning and slooshing efforts) which were a problem in scanning. Below are the most interesting frames. There were many that were just too clean.
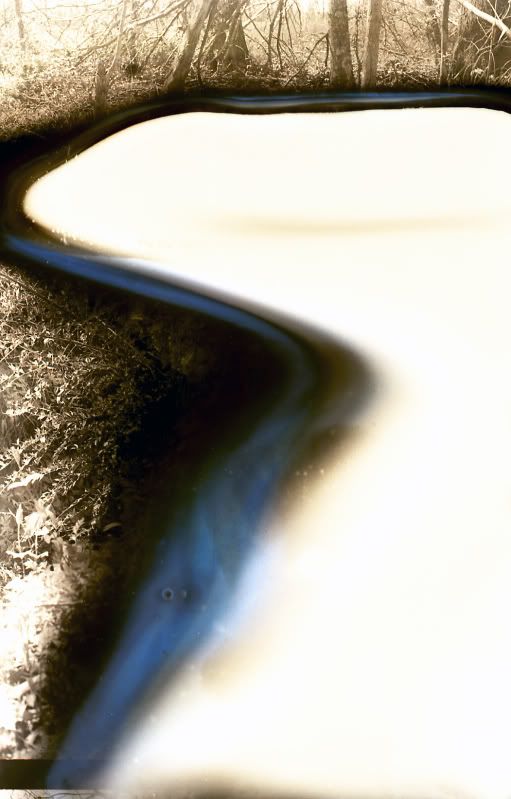
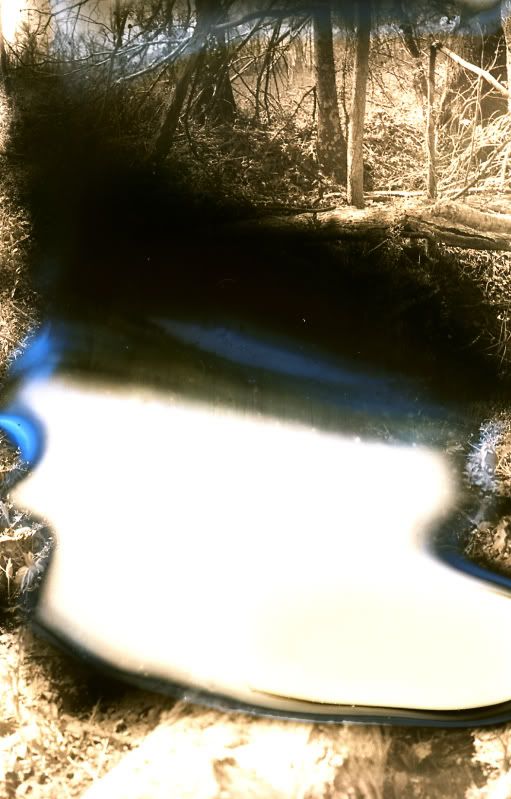
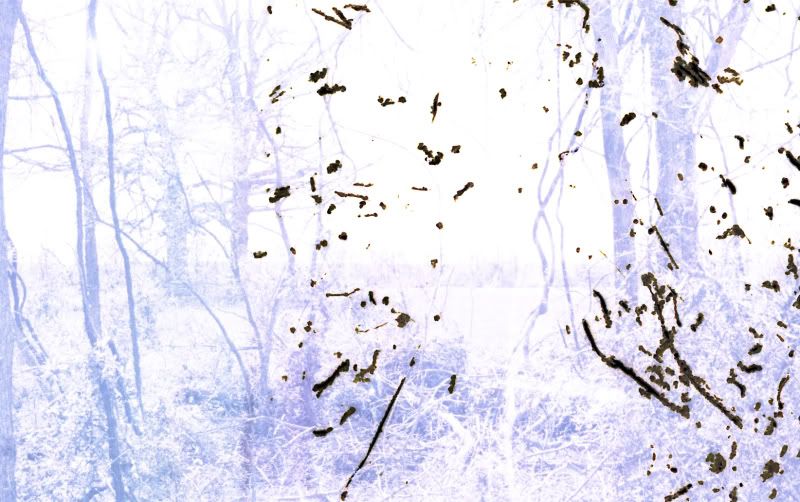
these were the only ones that that image became lost. When i shoved the film into the canister, i didn't twist it around enough and it managed to roll up on itself
no corrections
corrected
no corrections
corrected
*a note about my Epson V500 film scanner: Its really working on something like this were i can get a great feel for how my scanner is no-so-great. Even though it is in full "professional" mode, it still auto corrects the images to some degree. The purple tone is not really the true look of the negs. They are brown/sepia like the b/w negs, however because the scanner is automatically estimating a correction based on the selection as a whole (big dark scratches included! argh!) its not really giving an accurate scan & color. I could have corrected in photoshop a bit better, but I got lazy with it.
Besides today I figured out a way to trick the scanner into doing it the way I want. If anyone a similar problem, let me know and I'll tell you how I got it to work on my scanner.
My opinion:
I prefer the b/w film to the color. I found it to be less grainy and give better contrast which meant fewer post-corrections. I didn't see anything very interesting happening with color bleeding (tinting around the edges and sprockets) that wasn't caused by my scanner that would make me choose color over b/w. ALTHOUGH, there is something cool about being able to process a roll of color film at home.
In the past, I have had some great results from dirty processing, but I need to keep experimenting. As of right now, I would still rather manipulate the film by hand after processing to get more control over the distressing. The in-the-tank results are touch and go....
And now 25 frames of me! dork.

shot 1 roll of b/w and 2 rolls of color. For each roll, i selected only 1 set-up and shot the entire roll of that 1 image because i planned on dividing the roll into sections for different processing. This way, I would have a comparison with less variables. After reading so much about the super-low contrast that this process gave, I took the advice of strangers and pulled every roll. (e.i. shot every roll at a lower ASA than it was rated) Also, I shot outside at noon for some high contrast subject matter. Was thinking that i should have shot in a normal setting too, but after seeing the cloudy haze the coffee developer produced, would also recommend shooting in high contrast settings. All the the films I tested with are super cheap films. I used these because the upcoming project I mentioned will use many rolls of film and these 3 are the ones I had over 10 raw rolls already. Don't make me give you the 'in this economy' speech!
Roll 1: FujiFilm Neopan SS b/w neg 36exp rated 100asa/shot at 50asa
Pentax K1000 manual SLR F11 S125

clean process, scanned, no manual corrections (*see note below about scanner settings)

clean process, scanned, basic corrections
Roll 2: Artista color neg 36exp rated 100asa/shot at 50asa
Pentax K1000 manual SLR F11 S125

clean process, scanned, no manual corrections, purple tint was a result of scanner, not coffee process

clean process, scanned, basic corrections
Roll 3: Fujifilm color neg 24exp rated 200asa/shot at 100asa
Pentax K1000 manual SLR F5.6/8 S125

clean process, scanned, basic corrections. This roll was practically identical to the other color roll.
Processing: For the clean process, I did everything the 'right' way. Good water temps, was very careful loading reels, etc. Here's the method I used which was just an amalgamation of ones I had read online just altered slightly to prevent waste and fit my 10oz steel processing tank. For 1 roll:
Developer: 8oz water 68 degrees, 8tsp instant coffee, 2tsp washing soda, 1 crushed 1000mg vitamin C tablet
mixed well and allowed to sit at least 5 minutes, no longer than 30 minutes
Fixer: 1 yr expired liquid Kodafix mixed 6oz water, 2 oz fix *couldn't find my fix test solution, so i decided to fix the film 3 times longer than recommended and did a sun test on a cut selection of film. No change after 20min exposure to sun so I assumed all systems were a go! It might turn dark in years to come, but whatever. Fresh fix is a pipe dream in this town.
-presoak film, 68 degrees
-develop 20 minutes
-constant agitation 1st minute, then 5 seconds every 30 seconds, tapping to remove air bubbles
-rinse (stop) with 68 degree water until it ran clear
-fix for 15 minutes
-rinse 68 degree running water 10 minutes
-1 cap of rubbing alcohol added to last rinse (suppose to lessen water spots, but it doesn't work too well. if you want no streaks and spots, use a hypoclear product)
Now for dirty processing! My favorite!
used the same mix as above, but used no reels, twisted, smashed, and stuffed the films into the canister. Mixed in coffee grounds (not the instant crystals) and a bunch of metal keys, and randomly shook the tank like a martini. Did 1 pour for the b/w selection, and 1 for the 2 color rolls. I changed it up a bit the second time, seeing as the coffee grounds didn't do anything, and making sure the film didn't roll up on itself. Overall, I was a bit disappointed with my results. The sprocket overlays where the film touched itself are neat, but the color overall was too grainy for my tastes and the extra agitation=warmer liquids adds even more grain. I was hoping for lots of tiny all-over random scratches from the keys and grounds, but instead only the keys made big gashes on the film (and it seemed only certain frames came in hard contact with the keys despite my best shaking and turning and slooshing efforts) which were a problem in scanning. Below are the most interesting frames. There were many that were just too clean.


these were the only ones that that image became lost. When i shoved the film into the canister, i didn't twist it around enough and it managed to roll up on itself


no corrections

corrected

no corrections

corrected
*a note about my Epson V500 film scanner: Its really working on something like this were i can get a great feel for how my scanner is no-so-great. Even though it is in full "professional" mode, it still auto corrects the images to some degree. The purple tone is not really the true look of the negs. They are brown/sepia like the b/w negs, however because the scanner is automatically estimating a correction based on the selection as a whole (big dark scratches included! argh!) its not really giving an accurate scan & color. I could have corrected in photoshop a bit better, but I got lazy with it.
Besides today I figured out a way to trick the scanner into doing it the way I want. If anyone a similar problem, let me know and I'll tell you how I got it to work on my scanner.
My opinion:
I prefer the b/w film to the color. I found it to be less grainy and give better contrast which meant fewer post-corrections. I didn't see anything very interesting happening with color bleeding (tinting around the edges and sprockets) that wasn't caused by my scanner that would make me choose color over b/w. ALTHOUGH, there is something cool about being able to process a roll of color film at home.
In the past, I have had some great results from dirty processing, but I need to keep experimenting. As of right now, I would still rather manipulate the film by hand after processing to get more control over the distressing. The in-the-tank results are touch and go....
And now 25 frames of me! dork.