Icon Tutorial
>>
6 Steps
Translatable: Noo, sorry, it has selective colouing
Difficulty: Easaay .
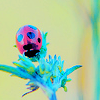
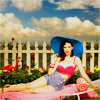
1. Prepare your base. I simply prepared mine by duplicating it 2 times. first duplicate set to screen 100%,
and thesecond one set to softlight at 33%.
>>
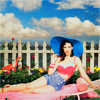
2. Open up a Hue/Saturation layer. We'll only be touching the saturation and lightness, not the hue here.
Master: 0, +24, -11
>>
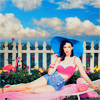
3. Now for the fun :) Open up a selective colouring layer.
REDS: -70, 0, +27, -30
CYANS: 0, -38, -100, 0
NEUTRALS: +42, 0, -32, 0
>>
4. Open up anoter selective colouring layer:
REDS: -36, 0, -33, 0
YELLOWS: -100, 0, +35, 0
CYANS: +35, -27, -100, -25
NEUTRALS: +29, 0, -24, 0
>>
5. Duplicate the last selective colouring layer you just did.
>>
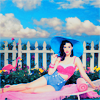
6. Open up a channel mixer layer:
RED: +104, -22, +9, 0
GREEN: +1, +102, 0, -3
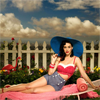
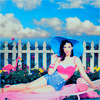
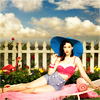
Easy right ? I love seeing results/reading comments :)
Other results: