Tutorial + Texture Post
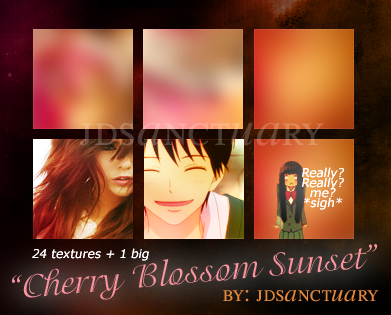
24 Soft textures
RULES:
1. Credit me if used
2. Comment if taking
3. Do not redistribute without telling me
4. Enjoy ;)~
Download all here @ Mediafire
1234


5678


9101112


13141516


17181920


21222324


25

>>
8 Easy and fast steps
Difficulty: Easy
Translatable: Yes (:
Uses: Textures, Curves, and Brightness/Contrast
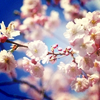
Step One~ Step one initially would probably have you prepare your base in any way you like. I just left mine the way it is.
Paste this texture by me and set it to overlay. This Just adds a little soft border directing towards the middle.
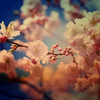
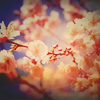
Add this texture by the_preamble and set it to multiply. This will be our main source of colour :)
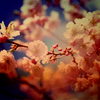
Step Three~ This layer will simply enhance the reds. New fill layer: FFDFDF set to colourburn.
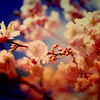
Step Four~ The image looks a little washed out. Simply fix this a little by duplicating your base, dragging it all the way to the top, and setting it to softlight.
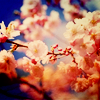
Step Five~ After that softlight layer, the icon overall is still pretty dark. Create a new adjustment layer: Curves. Input the following settings:
RGB: (Point One): Input: 161, Output: 196
(Point Two): Input: 33, Output: 44
RED: (Point One): Input: 165, Output: 178
(Point Two): Input: 58, Output: 48
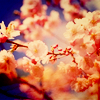
Step Six~ Time for a even more red-er tone x). Paste this texture bythisbrightcity and set it to softlight
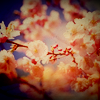
Step Seven~ Add this last mask just cause :). Paste this texture by bambinainnero and set it to multiply.
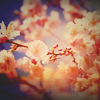
Step Eight: Ksoo, last step. The last texture made my icon a bit too dark again, so I added a brightness contrast layer.
Brightness: +24
Contrast: -10
And that's basically it, easy right :) I'd love to see comments/and or results & feel free to ask any questions if needed.
Other Results:


join // watch ?