Bits and bobs

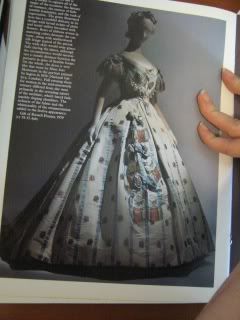
Several people at the CoCo gala asked about my source material, research for my gown, as well as how I made the fringe trim. Looking back at past posts I realize i did talk about it, but over the course of 5-6 different entries. I have complied the information bellow for anyone interested.
Research:


Finished sketch:

I originally bought 7 yards of brocade Lampas from an antiques seller on Ebay for about $14 a yard (A silly good deal!) The only place I have seen it since was $40 a yard: http://www.ebay.com/itm/190570479485?ssPageName=STRK:MEWAX:IT&_trksid=p3984.m1438.l2649
The taffeta I usedis from http://www.burnleyandtrowbridge.com/. I had trouble finding an exact color match for the lampas, but after months (Literally) I found their green/gold taffeta which I liked.
Piping:
Piping:


On the recommendation of Chloeandrudy I used sugar and cream yarn to get a nice very fine piping. I cut bias stripes of my taffeta, assembled it all into piping and then sat for very very long time and embroidered it all with a simple running stitch. The first batch I did (18 yards) was just enough for all of the bow parts so I did a second batch of 8 yards for the dress bodice and smaller bows later on. Very serendipitous moment, when I tallied it all it all up I learned It took me 26 hours to make 26 yards of piping!
Bows:


For the bows I am following the tutorial koshka_the_cat posted here: http://www.flickr.com/photos/76452380@N00/5124635440/in/set-72157625262662302
The bows are interfaced on the inside for a little extra body, as are the tails which I am making separately. All together their will be six large bows, three for each side of the skirt. The shoulder bows are going to be very similar, just smaller. I am glad I decided to make all that extra piping for the bows, it really makes the edge pop an adds something to what would have otherwise been a really plain taffeta bow.
Making the front:


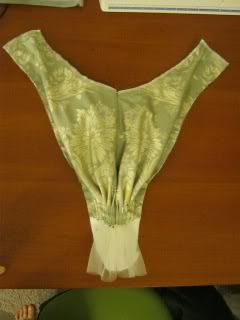
I started by pleating the lampas down and basting across the bottom. I didn't extend the lampas or the organza backing into the bottom because it would get too bulky. Next I cut strips of my piping, removed the stitching (So it was a flat embroidered piece of bias with a cord edge) and layered them going down. Next I hand sewed them together along the top edge of each piece and started adding the bodice piping on the seams. I really like the finished look of the whole piece, although I am wishing I had left out the organza, it makes the bodice front more puffy than I anticipated.
making the fringe:

I did a sample of different knotting methods (Simple knot left, wrap on right, different simple knot on bottom) In the end I decided to go with the simple knot on the left. I liked the cleanness of the wrapped method while doing it, but as soon as I stepped even a foot back it lost all definition and the pattern looked messy. I still have a little mixed feelings, but eventually decided even though I think the knots are a little clunky, the over all appearance of the pattern was more important.

The fringe is being made in colors to match the Lampas, specifically DMC floss #0126, #0522, #30033, #3752, #3822. I shopped around until I found the cheapest place: http://everythingcrossstitch.com/cross-stitch-floss-mrt-t62.aspx?gclid=CLuA6frdz6sCFQdzgwod4TwMVQ


To actually do the flossing I pinned the pieces to my ironing board and used the 1/4" inch marks as a guide. I used a simple loop knot, since the fringe is going to be knotted later and it doesn't need to be super secure. After applying the initial fringe on the 1/4" marks I went back in and added more. The knotting was every 1/4" like I did in the sample above and then trimmed a little. When I did my sample I found I lost 1/4-3/8" lengh per layer of knots,

