Success!
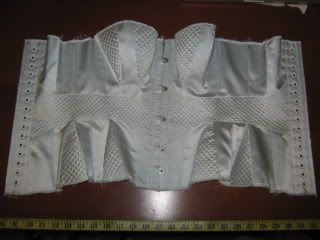
YES! I am almost done! No more endless knot tying, no more scary gussets! All I have left to do is buy some boning and trouble shoot a few wrinkles (Pics on me under the cut, I would love some input!)
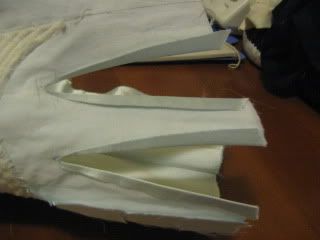
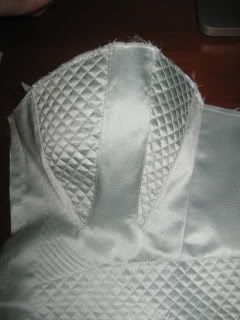
Before I slashed open the gussets I fused the interior of the slash together (sating and organza backing) I was afraid the layers separated would be tricky to handle, and this way it frays less.
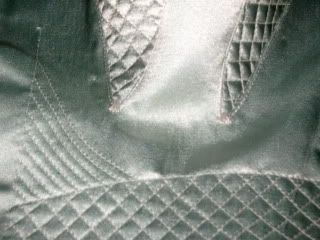
For the bottom I embroidered little fans.
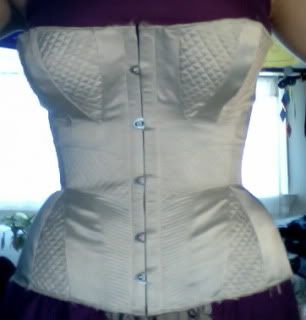
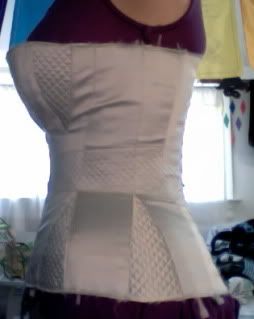
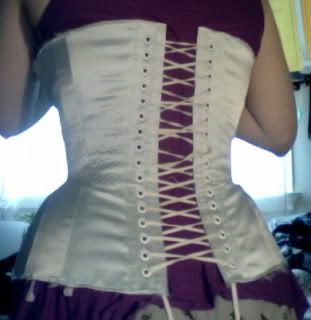
I only had enough zip-ties to bone half the corset for the try-on (the right side in the photos) It fits, and DAMN that is more shape than I was expecting (The slight shrinkage from the mock-up worked in my favor) When I measured myself I am getting a 2" reduction, modest but appropriate for the 1840's I think.
Trouble shoot:
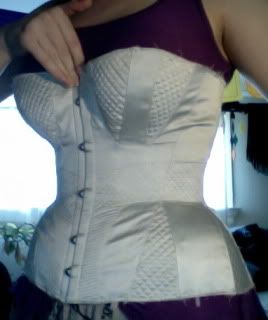
I need an underbusk, this one is being to the will of my bust a little to much. Also, this busk is really weird, I think the studs/hooks are on the wrong side?? I picked this orientation because I wanted the two closer hooks on the bottom.
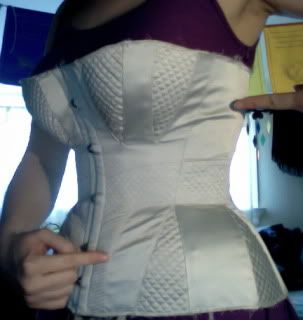
Wrinkles :( Meh,
The one up by my bust I think I can fix by attaching the two layers together along the seam (Stitch in the ditch) but the one on my abdomen I am not so sure... right now I am thinking of pulling really tight during binding since I don't think attaching the to layers along the gusset would make a difference. Any better ideas, thoughts?