Tutorial Number 01
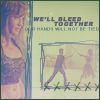
OK, I’ll be using Photoshop 7 to recreate this icon:
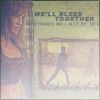
Don't try and replicate this icon. We're going for the style here, not a clone. Use whatever pics you want, whatever colours you want. These are just guidelines. Feel free to tweak anything at all. :D Credit would be nice but is not necessary.
First, these are the caps I used. They were provided for Challenge 25 at atlantisfaceoff (*pimp*).
Cap 1. Cap 2.
They’re HUGE, so they’ll definitely need resizing.
Get yourself a blank canvas of 100 x 100 pixels like this.
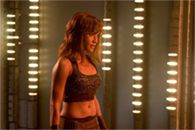
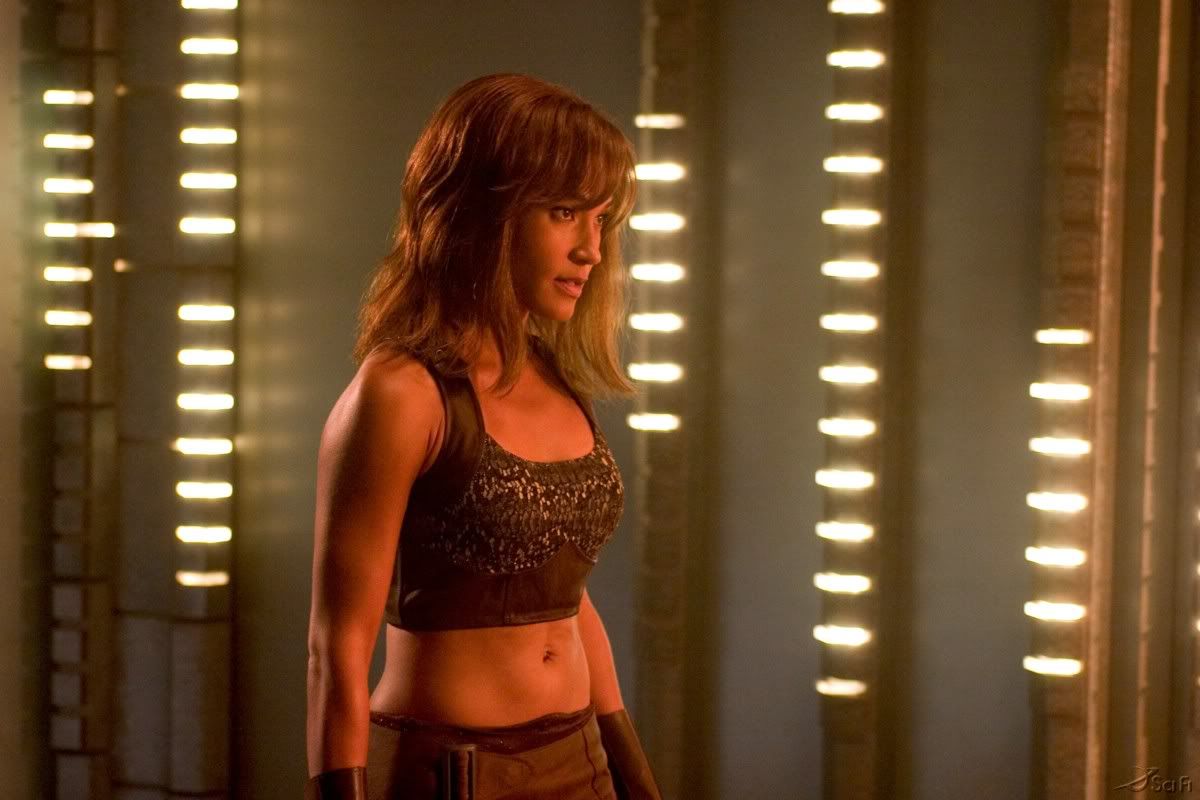
Now, you need to figure out the layout of your icon. You need a pic that will be your feature. I used this one.
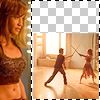
You need to size it so that you'll fit the important bits onto the canvas. Click on the resized picture and drag it onto the blank canvas. Your should have a little white box with a "+" inside it attached to your cursor when you do this. The image will become a new layer. You can then move the image around to whatever position you like. In this case, position it to one side because you've got another pic to add too.

Now, it's a bit dark and blurry - you're going to add effects later and it'd be nice to be able to see the image of Teyla. Go Layer, Duplicate Layer... and click OK. Set the layer to Screen. Then go Filter, Sharpen, Sharpen. Merge the two layers. (Layer, Merge Down. Or just press Ctrl+E) This is what you've got.

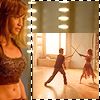
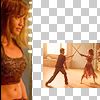
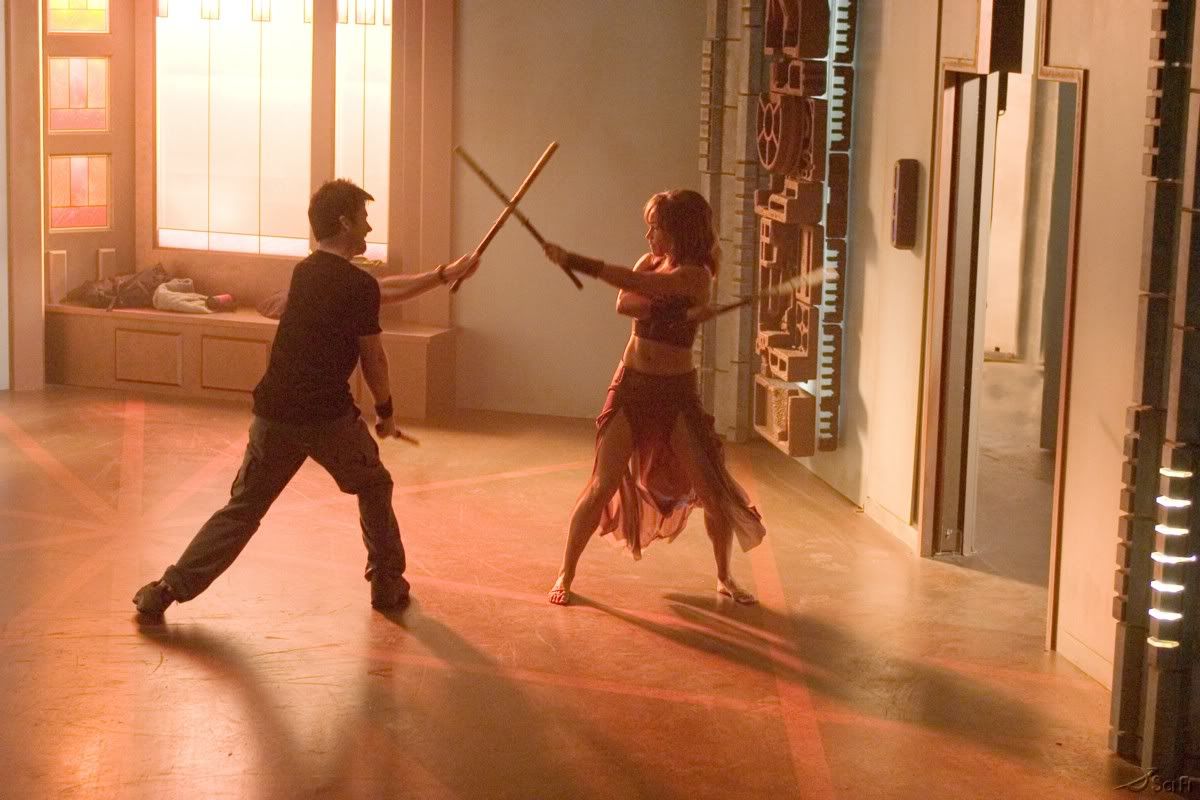
Now, there's that huge void to the right and you're going to fill it. Get your second picture and resize it so that the part you want to feature is small enough to fit. Here's the pic I used.

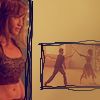
Drag that image onto your canvas, and position it where you want it to go. Make sure that it doesn't overlap the feature of the other image (in this one, Teyla) because you want them to be two separate images in the end. The top layer's a bit blurry and dark, too. Duplicate the layer, set the top one to Screen, Sharpen it, then Merge Down.
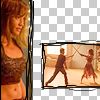
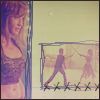
Now, there'll be a background behind these two images that you want to show through. You'll also be needing an area for text. Use the select tool to select the part of the first layer you want to delete.
Press Delete.
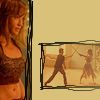
Do the same for the second layer,then merge the two. You should have something like this.
OK, the next few steps weren't originally in that order - I just fiddled aroudn until I got something that I liked. For simplicity's sake, I'm going to pretend that they came in order.
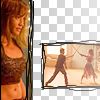
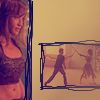
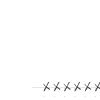
You'll be needing borders for your little images. Create a new layer (Layer, New, Layer..., OK). Use the paintbrush tool at size 1 pixel with the colour #000000 (or any other colour, as long as it's really dark. You can always lighten it later). Repeatedly do vertical or horizontal lines covering the edges of the images for a scribble effect.
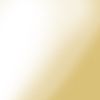
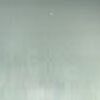
Create a new layer. Use the Gradient tool with #FFFFFF to make a gradient that partially covers the bottom right hand corner of the canvas. This'll show up later when the rest of the effects have been done.
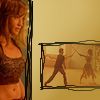
Create a new layer and use the fill tool with the colour #D9C179 or similar. Set the layer to Multiply.

-->
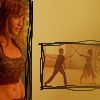
Create a new layer and use this gradient (#FFFFFF to #D9C179). Set the layer the multiply.
-->
Create a new layer and use this gradient (#F7DABA to #FCEAA8). Set the layer the multiplyat Opacity 65%.

-->
Create a new layer and use the fill tool with the colour #000033 or similar. Set the layer to Exclusion.

-->
There's not much difference, so Duplicate the exclusion layer.
Use this texture and paste as a new layer. Set it to linear light.
-->
Use the same texture as in the previous step and set it to Darken at 50% opacity.

Add a border of 1 pixel #000000 around the whole icon. Use a brush or the line tool.
Create a new layer. Use a scribble brush or something similar to detail the bottom border of the smaller pic. Use the colour #000000 and set the layer to 80% opacity.
-->
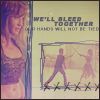
Add the text using colour #1A1B4D or similar. I used 2pt Arial Black for "We'll bleed together" and 1.7pt Arial Narrow for "Our hands will not be tied". Lyrics are from "The Special Two" by Missy Higgins.
Create a new layer and fill it with the colour #00FF9C. Set the layer to Screen at 20% opacity.

-->
Create a new layer and create a white gradient in the bottom right hand corner, but cover 2/3 of the icon. Set to 50% opacity.

-->
Create a new layer and use this texture. Set it to Soft Light at 70% opacity.
-->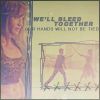
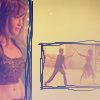
The background's a bit plain, so create a new layer and use a grungy brush with #000000. Go Layer, New, Background from layer. Fiddle with the opacity and stuff, then you're done!

What do you think?
Don't try and replicate this icon. We're going for the style here, not a clone. Use whatever pics you want, whatever colours you want. These are just guidelines. Feel free to tweak anything at all. :D Credit would be nice but is not necessary.
First, these are the caps I used. They were provided for Challenge 25 at atlantisfaceoff (*pimp*).
Cap 1. Cap 2.
They’re HUGE, so they’ll definitely need resizing.
Get yourself a blank canvas of 100 x 100 pixels like this.
Now, you need to figure out the layout of your icon. You need a pic that will be your feature. I used this one.
You need to size it so that you'll fit the important bits onto the canvas. Click on the resized picture and drag it onto the blank canvas. Your should have a little white box with a "+" inside it attached to your cursor when you do this. The image will become a new layer. You can then move the image around to whatever position you like. In this case, position it to one side because you've got another pic to add too.
Now, it's a bit dark and blurry - you're going to add effects later and it'd be nice to be able to see the image of Teyla. Go Layer, Duplicate Layer... and click OK. Set the layer to Screen. Then go Filter, Sharpen, Sharpen. Merge the two layers. (Layer, Merge Down. Or just press Ctrl+E) This is what you've got.
Now, there's that huge void to the right and you're going to fill it. Get your second picture and resize it so that the part you want to feature is small enough to fit. Here's the pic I used.
Drag that image onto your canvas, and position it where you want it to go. Make sure that it doesn't overlap the feature of the other image (in this one, Teyla) because you want them to be two separate images in the end. The top layer's a bit blurry and dark, too. Duplicate the layer, set the top one to Screen, Sharpen it, then Merge Down.
Now, there'll be a background behind these two images that you want to show through. You'll also be needing an area for text. Use the select tool to select the part of the first layer you want to delete.
Press Delete.
Do the same for the second layer,then merge the two. You should have something like this.
OK, the next few steps weren't originally in that order - I just fiddled aroudn until I got something that I liked. For simplicity's sake, I'm going to pretend that they came in order.
You'll be needing borders for your little images. Create a new layer (Layer, New, Layer..., OK). Use the paintbrush tool at size 1 pixel with the colour #000000 (or any other colour, as long as it's really dark. You can always lighten it later). Repeatedly do vertical or horizontal lines covering the edges of the images for a scribble effect.
Create a new layer. Use the Gradient tool with #FFFFFF to make a gradient that partially covers the bottom right hand corner of the canvas. This'll show up later when the rest of the effects have been done.
Create a new layer and use the fill tool with the colour #D9C179 or similar. Set the layer to Multiply.
-->
Create a new layer and use this gradient (#FFFFFF to #D9C179). Set the layer the multiply.
-->
Create a new layer and use this gradient (#F7DABA to #FCEAA8). Set the layer the multiplyat Opacity 65%.
-->
Create a new layer and use the fill tool with the colour #000033 or similar. Set the layer to Exclusion.
-->
There's not much difference, so Duplicate the exclusion layer.
Use this texture and paste as a new layer. Set it to linear light.
-->
Use the same texture as in the previous step and set it to Darken at 50% opacity.
Add a border of 1 pixel #000000 around the whole icon. Use a brush or the line tool.
Create a new layer. Use a scribble brush or something similar to detail the bottom border of the smaller pic. Use the colour #000000 and set the layer to 80% opacity.
-->
Add the text using colour #1A1B4D or similar. I used 2pt Arial Black for "We'll bleed together" and 1.7pt Arial Narrow for "Our hands will not be tied". Lyrics are from "The Special Two" by Missy Higgins.
Create a new layer and fill it with the colour #00FF9C. Set the layer to Screen at 20% opacity.
-->
Create a new layer and create a white gradient in the bottom right hand corner, but cover 2/3 of the icon. Set to 50% opacity.
-->
Create a new layer and use this texture. Set it to Soft Light at 70% opacity.
-->
The background's a bit plain, so create a new layer and use a grungy brush with #000000. Go Layer, New, Background from layer. Fiddle with the opacity and stuff, then you're done!
What do you think?