Tutorial #44: Samy
Some time ago, somebody told me to do a tutorial of this icon, so here we go...
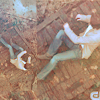
from this
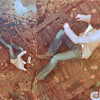
to this
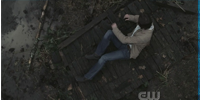
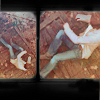
1. Take your picture, resize it and crop it.
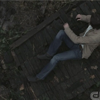
2. Copy again your picture, resize it in a smaller size and rotate.
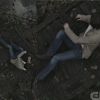
3. Create a new layer, fill it with color #F9C884 and set it to soft light.
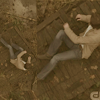
4. New channel mixer layer:
red: +114 +16 0
green: 0 +120 +26
blue: +16 +52 +126
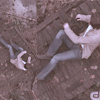
5. Set this texture by candycrack to screen, 13% opacity.
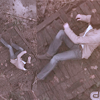
6. New selective color layer:
reds: -32 +20 +43 0
yellows:-26 -53 +45 0
neutrals: -12 -15 -5 0
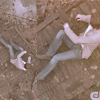
7. New brightness/contrast layer:
brightness: +5
contrast: -13
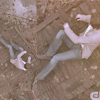
8. Set this texture by innocent_lexys to colorburn, 16% opacity.
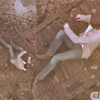
9. New selective color layer:
reds: -82 0 +33 0
yellows: +44 -48 -87 0
cyans: +100 -23 -35 0
whites: +100 -35 -100 0
neutrals: +24 +1 -11 +7
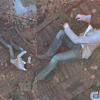
1o. Create a new hue/saturation layer, and change just the saturation values:
master: +31
reds: -16
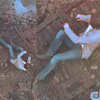
11. Create a new layer, fill it with color #EEEEEE and set it to colorburn.
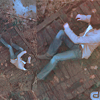
12. New brightness/contrast layer:
brightness: +6
contrast: +8
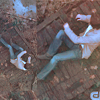
13. New curves layer:
RGB
point 1: 55 71
point 2: 103 134
red
point 1: 67 86
point 2: 96 117
blue
point 1: 96 80
point 2: 172 132
point 3: 200 153
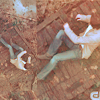
14. Set this texture to soft light.
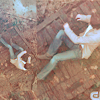
15. Create a new hue/saturation layer, and change the general settings:
master: +3 +11 +2
16. New selective color layer:
neutrals: -4 +1 -3 +23
17. Set this texture by mata090680 to darken.

.psd
more tutorials here
from this
to this
1. Take your picture, resize it and crop it.
2. Copy again your picture, resize it in a smaller size and rotate.
3. Create a new layer, fill it with color #F9C884 and set it to soft light.
4. New channel mixer layer:
red: +114 +16 0
green: 0 +120 +26
blue: +16 +52 +126
5. Set this texture by candycrack to screen, 13% opacity.
6. New selective color layer:
reds: -32 +20 +43 0
yellows:-26 -53 +45 0
neutrals: -12 -15 -5 0
7. New brightness/contrast layer:
brightness: +5
contrast: -13
8. Set this texture by innocent_lexys to colorburn, 16% opacity.
9. New selective color layer:
reds: -82 0 +33 0
yellows: +44 -48 -87 0
cyans: +100 -23 -35 0
whites: +100 -35 -100 0
neutrals: +24 +1 -11 +7
1o. Create a new hue/saturation layer, and change just the saturation values:
master: +31
reds: -16
11. Create a new layer, fill it with color #EEEEEE and set it to colorburn.
12. New brightness/contrast layer:
brightness: +6
contrast: +8
13. New curves layer:
RGB
point 1: 55 71
point 2: 103 134
red
point 1: 67 86
point 2: 96 117
blue
point 1: 96 80
point 2: 172 132
point 3: 200 153
14. Set this texture to soft light.
15. Create a new hue/saturation layer, and change the general settings:
master: +3 +11 +2
16. New selective color layer:
neutrals: -4 +1 -3 +23
17. Set this texture by mata090680 to darken.
.psd
more tutorials here