Colouring Tutorial - Stephen Colbert.
Go from this to this: 
-Made in PSP7; transferable.
-No Curves.
A good time for another tutorial, this time featuring Mr. Stephen Colbert of Fake News fame. I discovered this mindblowingly easy and versitile colouring technique by accident, playing around with the default gradients that come with PSP 7. One gradient in particular was very useful. Have fun, Feedback is welcome. Feel free to share your icons and add this journal for updates.
Make sure you have your layer palette open!
1.
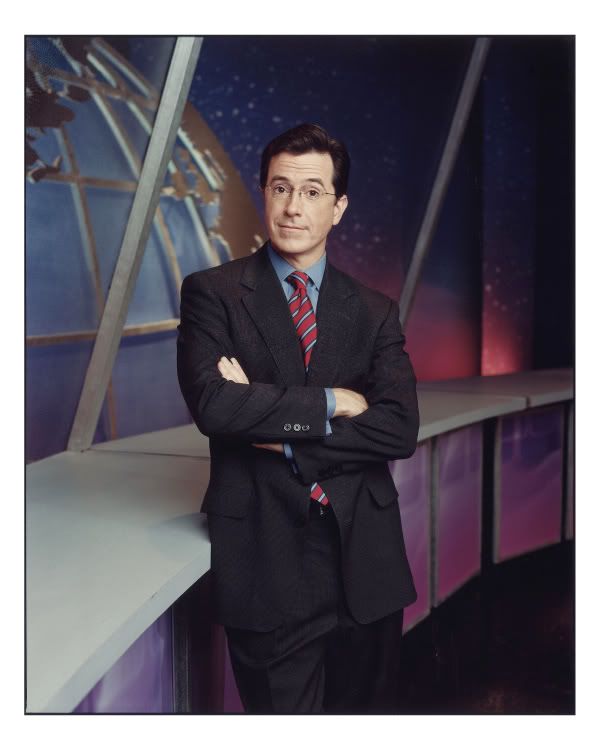
Crop and resize your base from this image and resize it to 100x100 pixels. Do not adjust the sharpness.
2.
Create a new raster layer and fill it with this gradient
. Set the layer blend mode to saturation at 60% opacity.
We're only on the second step and look at the dramatic difference we've already achived with the colours. It's almost like a painting, no?
3.
Duplicate your base layer and pull it on top of the gradient fill layer. Set the layer blend mode to screen at 80% opacity.
4.
Dupilate the top base then change the layer blend mode to soft light at 100% opacity. Then desaturate this layer by clicking on colors > adjust > hue/saturation/lightness and use these settings:
Hue: 0
Saturation: -100
Lightness: 0
5.
Create a new raster layer and fill it with #0A3758. Set the layer blend mode to exclusion at 80% opacity.
6.
Duplicate your base and bring it to the top. Set the layer blend mode to soft light at 100% opacity.
And you're done!
Other icons made using the same technique, with only minor adjustments in the opacities and number of screen layers.
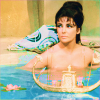


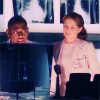
The graident I used in this tut is made up of primary colours (magenta, cyan and yellow) which is probably the reason why it can be used with a lot of different bases to brighten up the colours a bit.
Crossposted to icon_tutorial and elite_tutorial.
-Made in PSP7; transferable.
-No Curves.
A good time for another tutorial, this time featuring Mr. Stephen Colbert of Fake News fame. I discovered this mindblowingly easy and versitile colouring technique by accident, playing around with the default gradients that come with PSP 7. One gradient in particular was very useful. Have fun, Feedback is welcome. Feel free to share your icons and add this journal for updates.
Make sure you have your layer palette open!
1.
Crop and resize your base from this image and resize it to 100x100 pixels. Do not adjust the sharpness.
2.
Create a new raster layer and fill it with this gradient
. Set the layer blend mode to saturation at 60% opacity.
We're only on the second step and look at the dramatic difference we've already achived with the colours. It's almost like a painting, no?
3.
Duplicate your base layer and pull it on top of the gradient fill layer. Set the layer blend mode to screen at 80% opacity.
4.
Dupilate the top base then change the layer blend mode to soft light at 100% opacity. Then desaturate this layer by clicking on colors > adjust > hue/saturation/lightness and use these settings:
Hue: 0
Saturation: -100
Lightness: 0
5.
Create a new raster layer and fill it with #0A3758. Set the layer blend mode to exclusion at 80% opacity.
6.
Duplicate your base and bring it to the top. Set the layer blend mode to soft light at 100% opacity.
And you're done!
Other icons made using the same technique, with only minor adjustments in the opacities and number of screen layers.
The graident I used in this tut is made up of primary colours (magenta, cyan and yellow) which is probably the reason why it can be used with a lot of different bases to brighten up the colours a bit.
Crossposted to icon_tutorial and elite_tutorial.