(no subject)

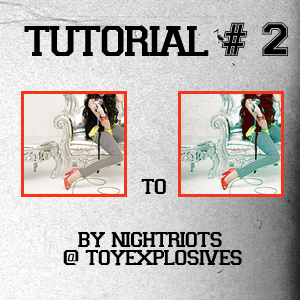
Done in Photoshop CS3, but is translatable to other versions .. include selective coloring!
1. Open your image. Crop it however you like.
2. Go to Image → Adjustments → Auto Levels
3. Layer → New adjustment layer → selective color
Reds: +13, +32, -16, +20
Yellows: +31, +52, +64, +46
4. Layer → New adjustment layer → Levels
Mine is at 25, 1.05, 245. But adjust the numbers to your base.
5. Layer → New adjustment layer → selective color
Reds: -98, +33, +22, +17
Yellows: +100, -42, -56, +36
Neutrals: +31, -27, -23, +21
Blacks: -19, +17, +28, -8
6. Layer → New adjustment layer → selective color
Reds: +29, -28, +14, +26
Yellows: +100, +100, +100, -21
Neutrals: +16, +5, -8, -15
7. Add a texture layer. I used this texture. [Not gonna lie, I don't remember who made it. Know it? Let me know, please!] Resize to fit and set to Multiply.
8. Layer → New adjustment layer → Levels
Mine is at 23, 1.31, 230
If you like the technique, save your own as a PSD and save for later use! please comment with any questions or concerns .. and comment on my suggestion post if you want any tutorials for any other icons!
other examples: