Random Model Icon #1; Paint Shop Pro 9
I had not made a tutorial when I originally made this icon, so the one I am now showing you how to make may be a tad different from the original, but pretty close.
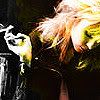
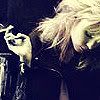
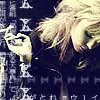
We are going from
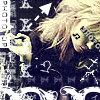
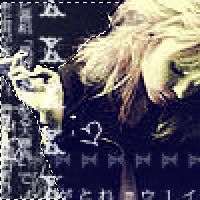
to
in a bunch of steps. This tutorial requires basic knowledge of Paint Shop Pro functions, though it could probably be translated. Just don't ask me to do it. ;) Try not to follow the tutorial too closely, and use your creativity! Feel free to show me your results by email or other means; make sure to credit if you used this/if it helped you in the least. =)
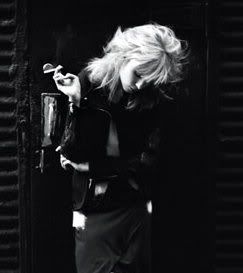
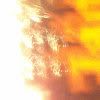
We'll start off with the main picture:
We'll crop it so the dimensions are 100px (pixels) wide and 100px long. Sharpen it twice.
Now we will take one of my light textures
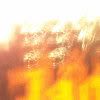
and rotate it so the bright light part is on the left side of the icon.
Copy it and paste it as a new layer, and set that layer to color, opacity 38%. Merge all.
Make a new layer, and fill it with a dark blue. I used #000080. Set that layer to exclusion, opacity 36%. Merge all.
Then, take a few, simple brushes with words and put them on a new layer. I used some Chinese-writing ones that I believe came from 1greeneye.net (sorry if I'm wrong; I have so many brushes I don't remember which came from where).
Merge the layers, then create a new layer and put some more brushes on it. I used some brushes from my Mirror, Mirror set. You can vary the opacity levels if you want.
Then, decorate with more brushes until you like how the image looks.

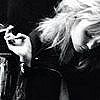
Merge the layers, then take your freehand selection tool. I prefer to have this on point-to-point. Select all the background around the person in the image (or the main object of the icon), and then create a new layer and fill it with black. Set the opacity to 40%.
Then take another brush and place wherever. I chose an arrow (I forget where I got the brush from, there's been so many sites - probably one in my credits section), and a black music note from my Mirror, Mirror brush set (rotated). I also put in a few scribbles from my brush set, as well as some tiny text over the whole image set to 10% opacity, plus more.
Now make a black line to place over the person's eyes. On top of that, you can write words. I wrote "shotgun" in, I believe, Rockwell Extra Bold (either that, or Times New Roman), size 5 (white, opacity 76%). Then, write some more text. Using Punch Label, size 8, I wrote Photo Op and rotated it to place on the side of my icon. As a finishing touch, I added a small scribble on the right side of the icon.
Bam! You have it!
If you use this, comment and credit to
http://schfifty.dainty-tears.net.
Let me see what you come up with, and let me know what you think of my first icon tutorial =)
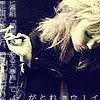
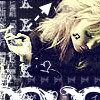
Other icon(s) made with this tutorial:
