Knight Bus - Icon Tutorial 1
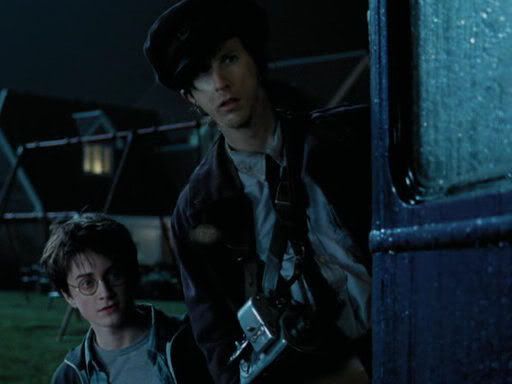
Today we will go from this to 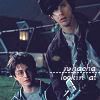
in 9 easy to follow steps.
While this is a novice tutorial, it is written for those with a decient knowledge of PSP. It was written in PSP, but should work very easily in PS as well.
~~~~~~~~~~~~~~~~~~~~~~~~~~~~~~~~~~~~~~~~~~~~~~~~~~~~~~~~~~~~~~~~~~
open image
crop to 100x100
duplicate layer - set layer to screen at 100%
creat new rastor layer - flood fill with #2c2b61 - set to exclusion at 60%
creat new layer - flood fill with #fe1c86 - set layer to multply at 20%
creat new layer - flood fill with #2b2809 - set layer to dodge at 100%
duplicate background (aka base) layer
paste as new layer - move to top - set to dodge at 55%
add embelishments and text of your liking.
All done. :D
Orginal tutorial posted by me as angelicGrace at Now-n-Then.
X-posted at hp_tutorials and icon_tutorial and psptutorials