(no subject)
>
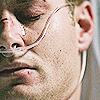
Made using photoshop CS2, no selective coloring.
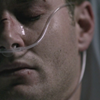
First of all, we're going to prepare the base. The first step is to sharpen the base (filter>sharpen>sharpen). For this image I sharpened twice.
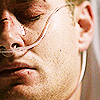
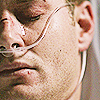
Next, to brighten the image, I used a curves layer (layer>new adjustment layer>curves).
RGB:
1st point - I 110; O 164
2nd point - I 43; O 64
Red:
I 124; O 128
Blue:
I 129; O 126
I feel like it's still too dark, so duplicate the curves layer (shortcut: ctrl+J).

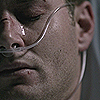
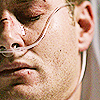
The image is cold and colorless. Add a hue/saturation layer (layer>new adjustment layer>hue/saturation) with saturation +20.
To add some more warmth, I added two color fill layers (layer>new fill layer>solid color) and set both of them to soft light at 50% opacity. The first color (bottom layer) is #7d655c and the second is #be8d7a.
Now, to add a bit of contrast add a levels layer (layer>new adjustment layer>levels). Set the input levels of the RGB channel to: 20; 1.05; 250.
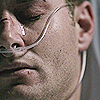
For the finishing touches, copy all layers into a new one (shift+ctrl+alt+E) and set the layer to soft light. Blur the layer, I used gaussian blur (filter>blur>gaussian blur) and set the radius to 5.
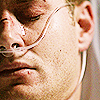
Final step is to add a light texture. You can easily make your own! I made two new layers, the first one I painted a solid black, and for the second one I used a regular brush in white and simply used it to make a bulb of white, next I blurred the white layer, merged both layer and set the merged layer to soft light at 30% opacity.
This is the texture I made:

You can see it's nothing fancy, the trick here is to place the white in the area you want to brighten, and remember the black areas will darken. You can play around with different positions for the light bulb and different opacity levels until you reach the desired effect.
The result:
PSD can be found in the original post here.
Comments are always appreciated :)