coloring tutorial: Misfits
Programm: PS 5
Difficulty: easy
Translatable: yes (uses photo filter, but I guess you can leave that layer out)
psd: no
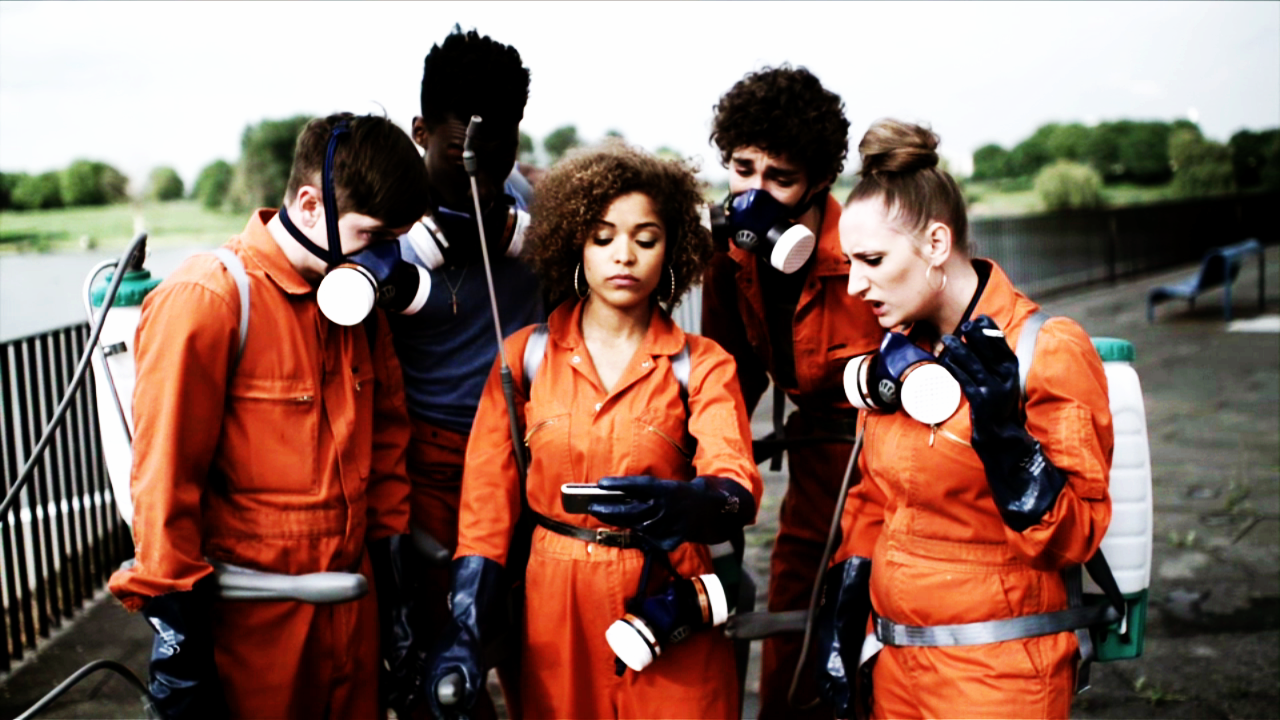
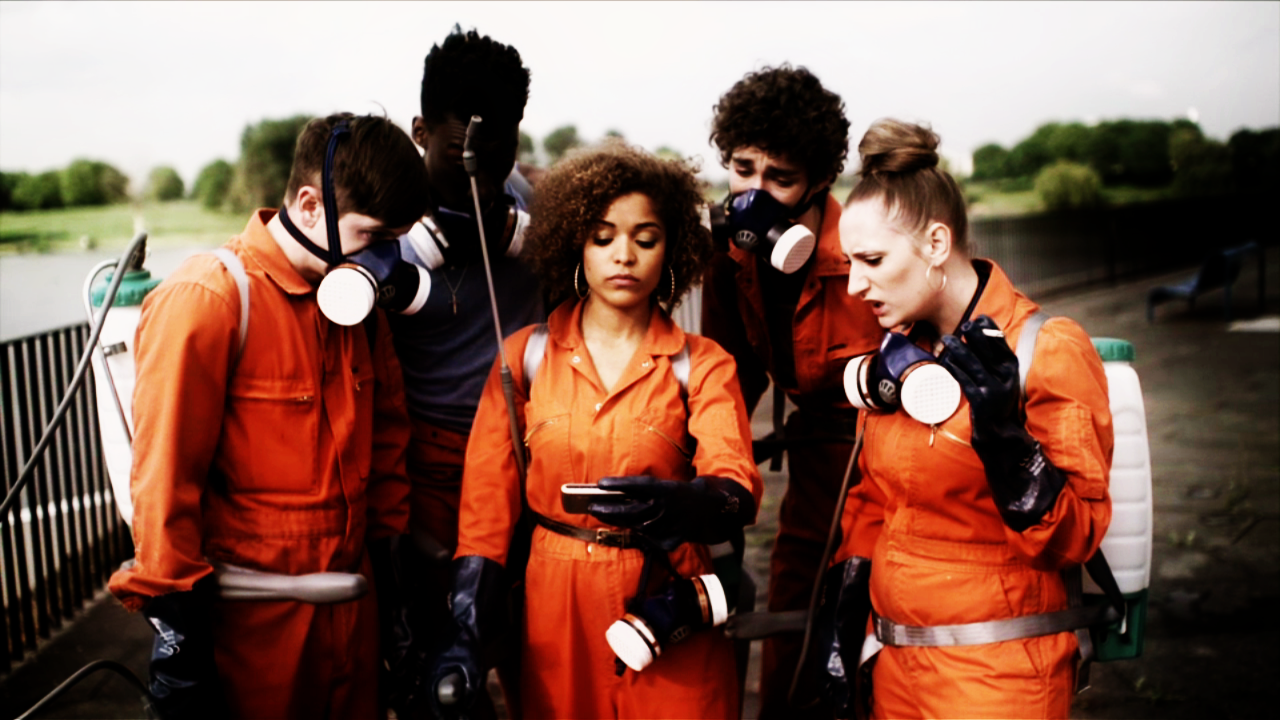
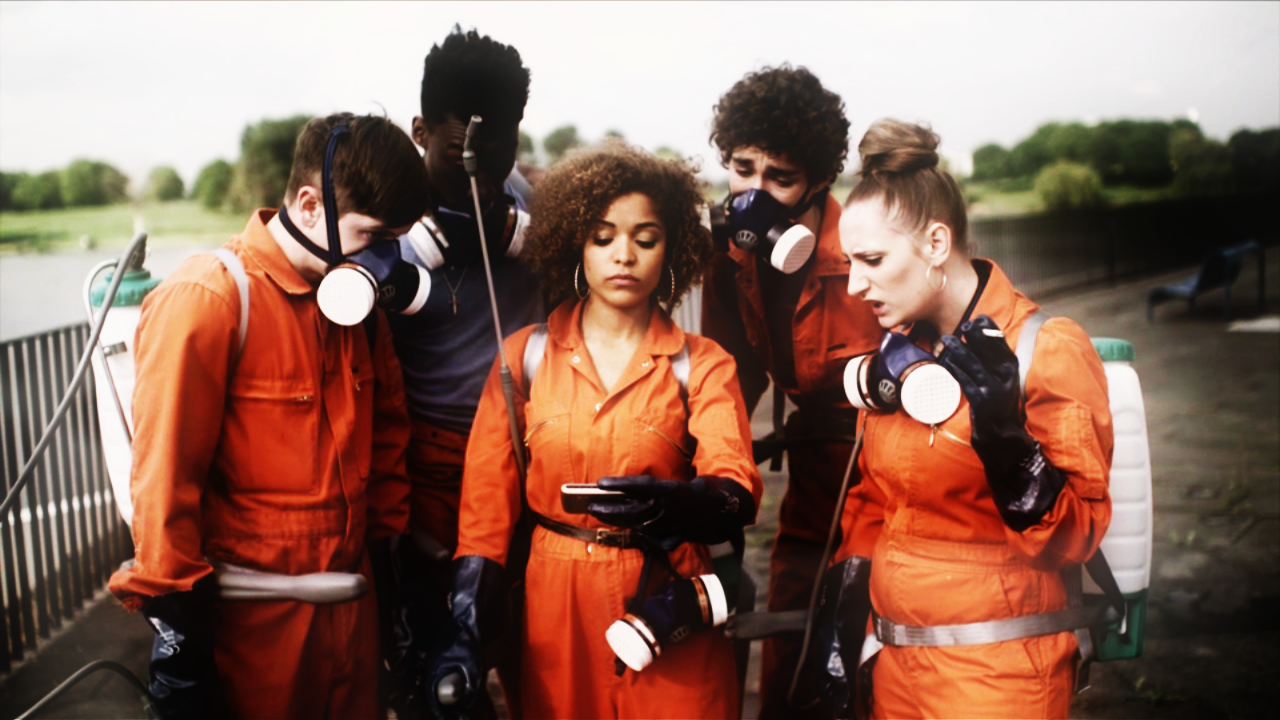
We'll be going from
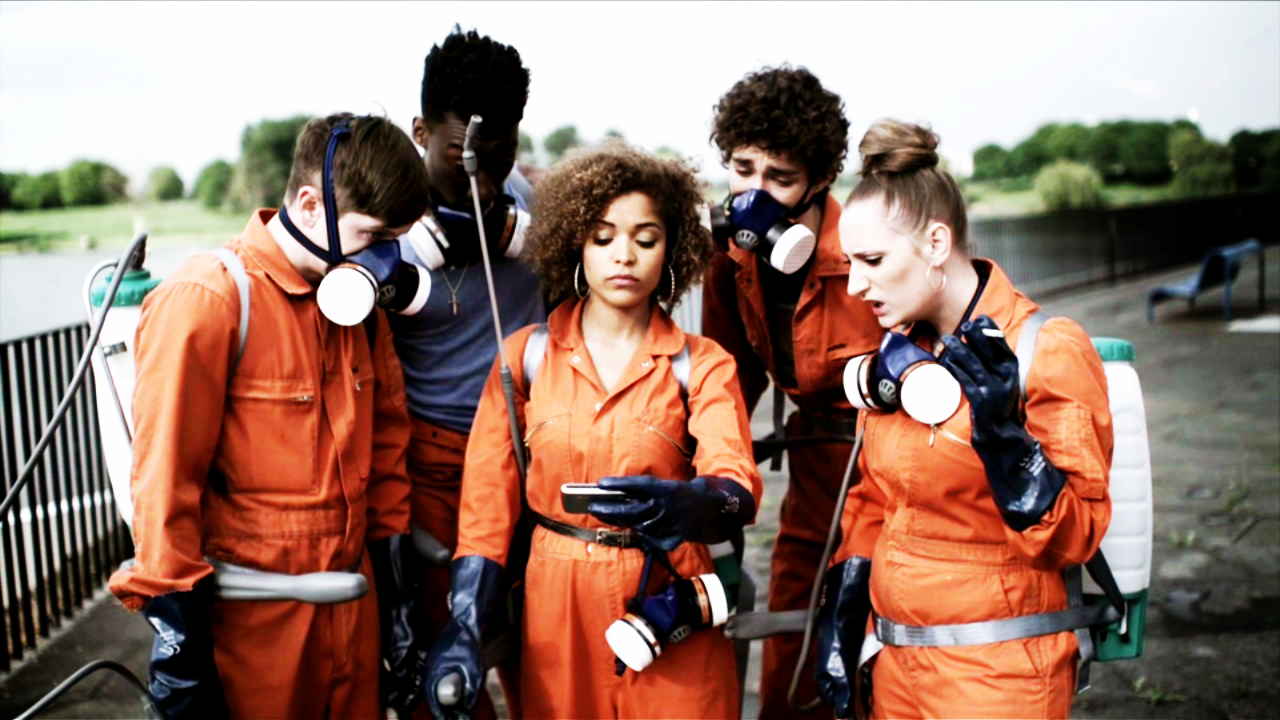
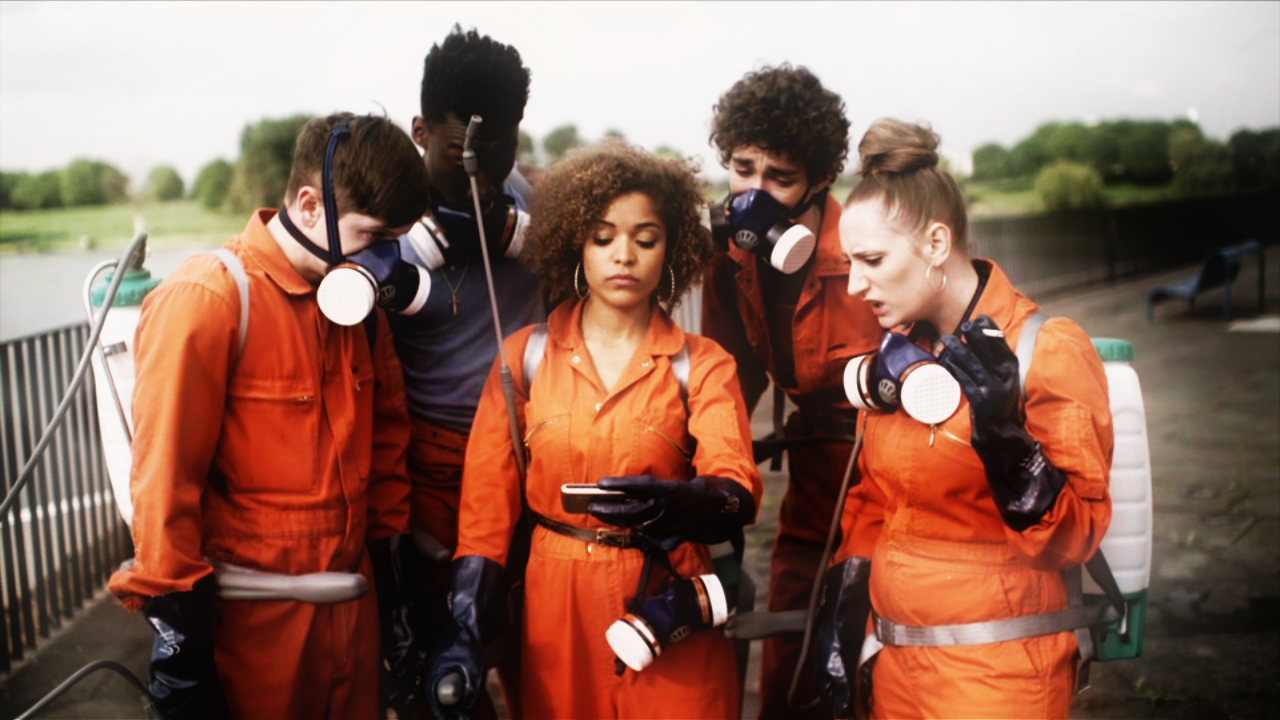
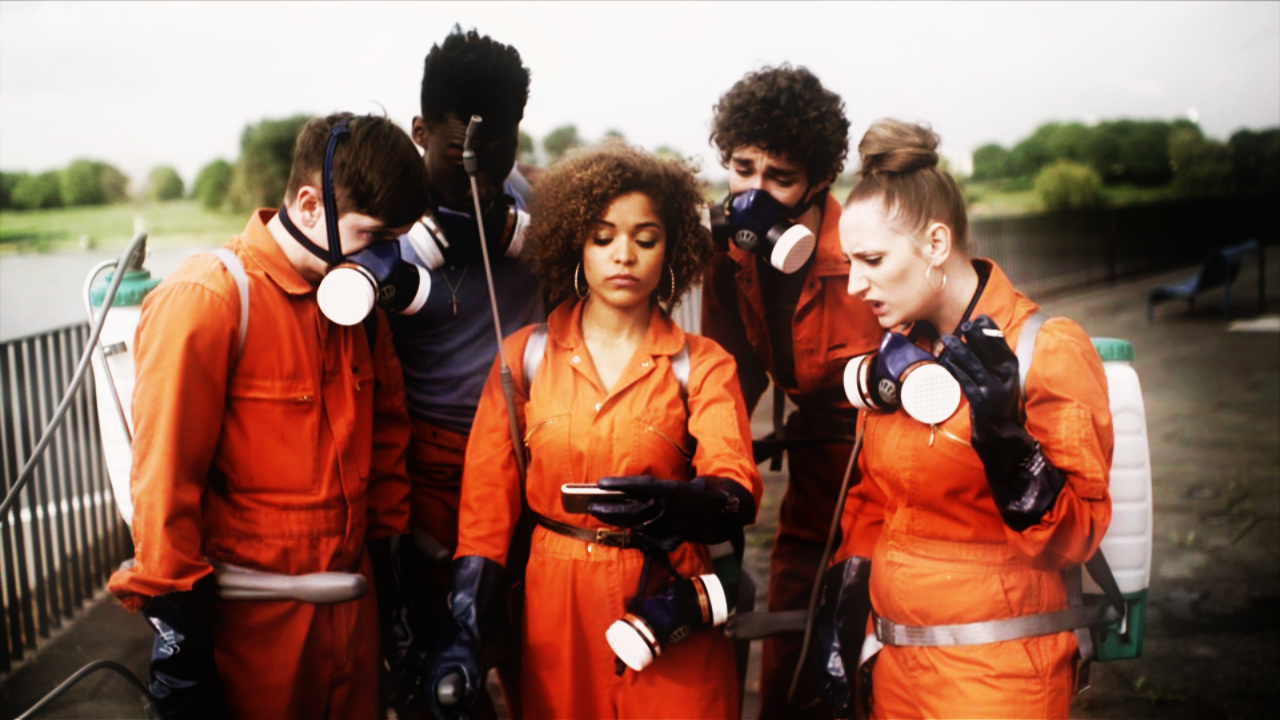
to
.
Before we get started, the usual:
Firstly, a disclaimer of sorts: I'm still a learning when it comes to PS, and I'm reading TONS of tutorials myself. Whenever I really like one, I either save or bookmark it and add the creator's name to my resources. And, err, that happens a lot. Since I usually don't use all the steps from tutorials at once, but only, you know, a selective color setting, a color combination for a gradient or a certain trick, I don't keep track of what exactly I adopted from where. I know, however, that at least two steps of this tutorial are, uhm, strongly inspired by single steps from someone else's tutorials. So, if you recognize something you posted in a tutorial of your own, please drop me a note, so that I can give credit for it.
Secondly, might be important if you want to recreate this to practice: The numbers of the layers don't equal the order in which I added them since I don't edit my pics straight from button to top. I start out with a few usual steps, then hopp upside down, add something there and delete something there, go back and forth and back again. Just, you know, experimenting. Trial and error. So, if you want to recreate it, do it in the order explained in part II. Part I is just an overview of all layers with the exact settings.
And remember, you'll have to play with the settings and opacities for your own image. This is meant to be a guideline, not a recipe.
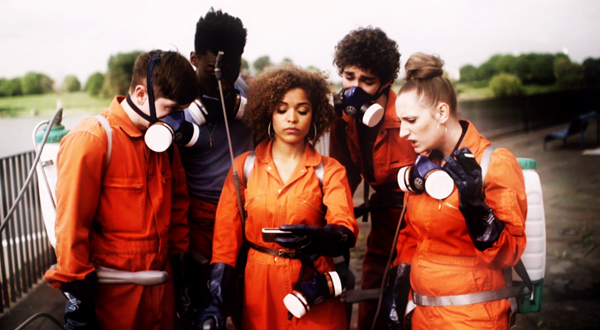
The base is this Misfits screencap (by me):
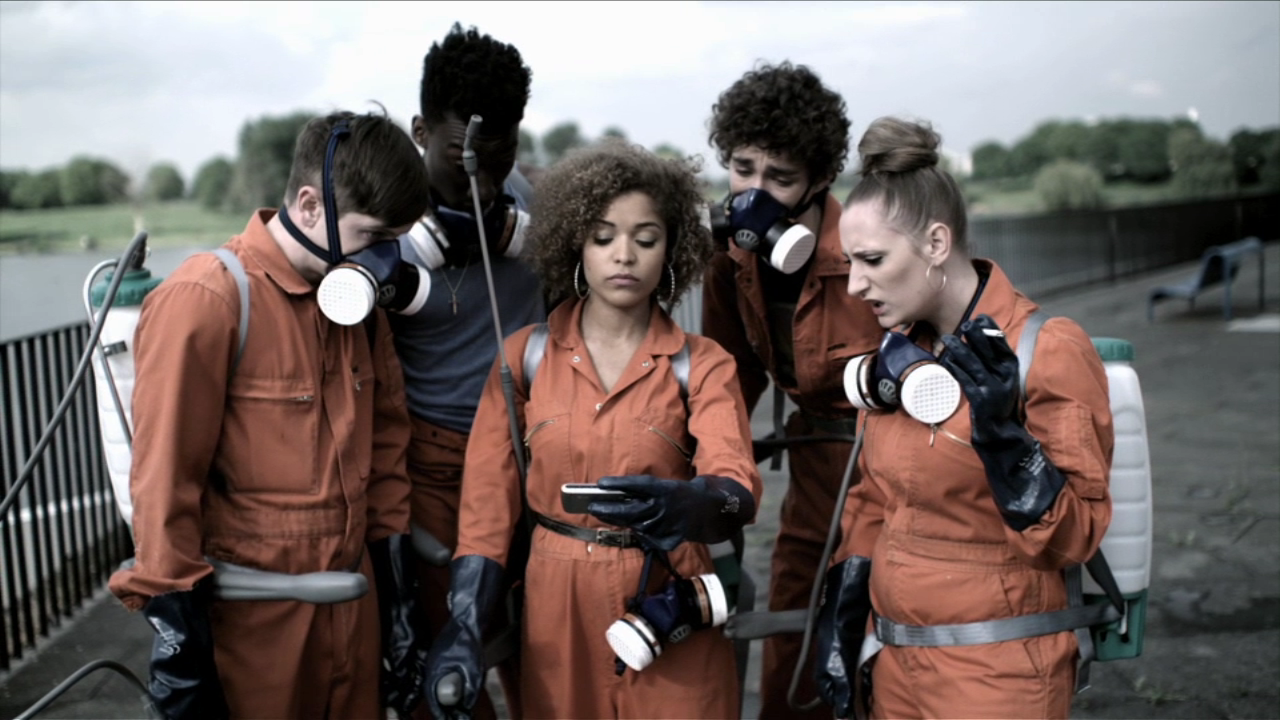
As usual, I edited it in it's original size and cropped later (the pics are thumbnails, click for original size). This coloring is rather specific, as in, while I really like to use it as a basic way to make the colors in Misfits caps pop, I'm afraid it'd overpower caps from most other shows.
Lastly, remember: you'll have to play with the settings and opacities for your own image.
I. THE LAYER PALETTE
layer 0 (background):
The base set to normal.
layer 1:
New adjustment layer "Gradient Map",
colorstop for the foreground #f3e5db,
colorstop for the background #f6f6f6,
set to soft light,
at 100% opacity.
layer 2:
New adjustment layer "Gradient Map",
colorstop for the foreground #d8d8da,
colorstop for the background #fdfdfd,
set to soft light,
at 100% opacity.
layer 3:
New adjustment layer "Curves",
RGB: input 130/output 100 (default Curves layer Darker)
at 100% opacity.
layer 4:
New adjustment layer "Hue/Saturation",
saturation: +29,
at 100% opacity.
layer 5:
New adjustment layer "Gradient Map",
colorstop for the foreground #ffffff,
colorstop for the background #000000,
set to soft light,
at 100% opacity.
layer 6:
New adjustment layer "Gradient Map",
colorstop for the foreground #000000,
colorstop for the background #683617,
set to normal,
at 37% opacity.
layer 7:
New adjustment layer "Curves",
RGB: input 12/output 2 and input 115/output 128 and input 240/output 253
at 100% opacity.
layer 8:
Duplicated base,
set to soft light,
at 100% opacity.
layer 9:
Duplicated base,
set to soft light,
at 100% opacity.
layer 10:
New adjustment layer "Gradient Map",
colorstop for the foreground #d8d8da,
colorstop for the background #fdfdfd,
at 2% opacity.
layer 11:
New blank layer with lightblobs,
made with a standard softbrush, 70% opacity, #ffffff,
at 100% opacity.
layer 12:
Copy-merged and pasted copy,
set to soft light,
at 100% opacity.
layer 13:
New adjustment layer "Gradient Map",
colorstop for the foreground #ffffff,
colorstop for the background #000000,
set to soft light,
at 37% opacity.
layer 14:
New blank layer,
this brush, 70% opacity, #ffffff as foreground, #000000 as background color,
slightly blured,
set to normal,
at 100% opacity.
layer 15:
Copy-merged and pasted copy,
blured using Gausian Blur, radius 36,4 px
set to soft light,
at 100% opacity.
layer 16:
New adjustment layer "Hue/Saturation",
saturation: +6,
at 100% opacity.
layer 17:
New adjustment layer "Color Balance",
shadows: Cyan/Red +2, Magenta/Green -1 and Yellow/Blue +4,
highlights: Yellow/Blue +5,
at 100% opacity.
layer 18:
New adjustment layer "Photo Filter",
warming (85), density 7 %,
at 100% opacity.
layer 19:
New adjustment layer "Gradient Map",
colorstop for the foreground #d8d8da,
colorstop for the background #fdfdfd,
at 2% opacity.
layer 20:
Copy-merged and pasted copy,
set to soft light,
at 39% opacity.
layer 21:
New color fill layer #fafafa,
set to color burn,
at 100% opacity.
II. THE STEPS
The first thing I do with almost every screencap is to use an action I have saved as a very basic first coloring. Others may use screen layers, but I prefer this way of lighting the image up a little and lifting a bit of the, uh, curtain screencaps often have. The action adds a light beige gradient map set to soft light (layer 1), a light grey gradient map to soft light (layer 2) and 2 duplicates of the base set to soft light (layer 8 + 9). The gradients do the lighting-up, and the soft light-bases even out that effect out while also giving some contrast.
Yeah, that doesn't really work well for Misfits caps, but, you know, creature of habit. It also gives me soft light layers to work beneath which I'm a) rather fond of, b) used to and c) do a lot. So, the next few steps all happen above the first two gradients (layer 1 + 2), but below the two duplicated bases (layer 8 + 9).
The first thing I did after the action was using a Curves layer, the PS default setting to darken an image (layer 3) and upping the saturation (layer 4).
After that, a b/w gradient on layer soft light, but reversing the usual setting. That means, I chose white as foreground color and black as background color instead of the standard (or, of course, you can just reverse the standard b/w). The effect is kind of simillar to duplicating the base and setting it to luminosity, but it's not quite as drastic. It basically amps up the saturation while at the same time decreasing the contrast (layer 5).
Then, another standard step for me: I made a merged copy and pasted it on top of the layers palette (layer 12). Set to soft light, it gives the image more contrast and color. Sometimes, like in this case it's much too much contrast, but we'll correct that.
While I was rather content with the look of the background, the area with the gang itself needed to be fixed. So I made a new blank layer directly under the new soft light layer, used a soft brush on the parts of the image I wanted to be lighter like so, and set it to soft light (layer 11).
Which made the image too light again, and also sort of uneven. To correct that, I went back to below layer 8 and added a dark brown gradient (layer 6).
And directly on the heels of it, a Curves layer to keep the image from becoming too dark and take out some of the contrast (layer 7). Back and forth, I know, but I think it pays off in the end. Also, I'm long-winded and complicated, I know that.. ;) But this important, because of the soft light layer in the next step. If the image is too dark and contrasted at this point, the effect of the soft light layer will be to drastic.
I copy-merged the result so far again, set it to soft light and blurred it (layer 15). That's a nice effect I tend to use a lot (and not only me, I guess) to give it a warmer look and overall smoother look. It also puts a nice emphasis on the effect created by the lightblobs earlier.
Ok, getting there. But the image is still too dark and to contrasted. So the next thing I did was loading this texture by blakravell as a brush (layer 14) below the soft light layer I just added and using it on a reduced opacity. I also blured it just enough to soften the hard edges. Isolated, and put on a black background to make it visible, the layer looks like this.
Next, I added another reversed b/w layer on soft light, at a lower oppacity (layer 13) below the layer with the brush. Used like this, it lights up the really dark parts of the image without changing the rest of the coloring much.
I copy-merged what I had so far again, and set it to soft light (layer 20). The next few steps are basically fine-tuning, and happen below this layer.
A hue-saturation layer to increase the saturation just a little (layer 16); then a color balance layer, to change the color scheme just little (getting rid of some yellow and adding a blue-ish tint; layer 17), a photo filter layer to make the colors a tad warmer (layer 18), and a grey gradient map on low oppacitiy to make the colors a little softer (layer 19).
And lastly, a light grey solid color layer as a final touch on the contrast (layer 21).
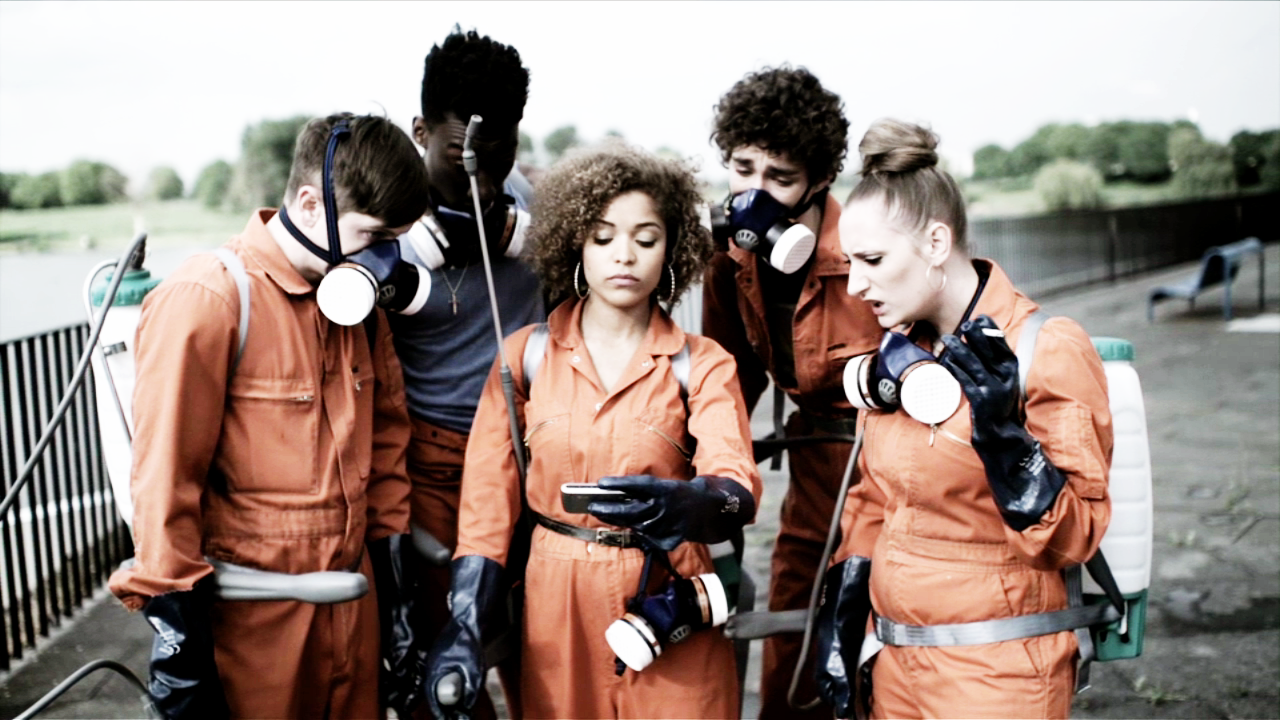
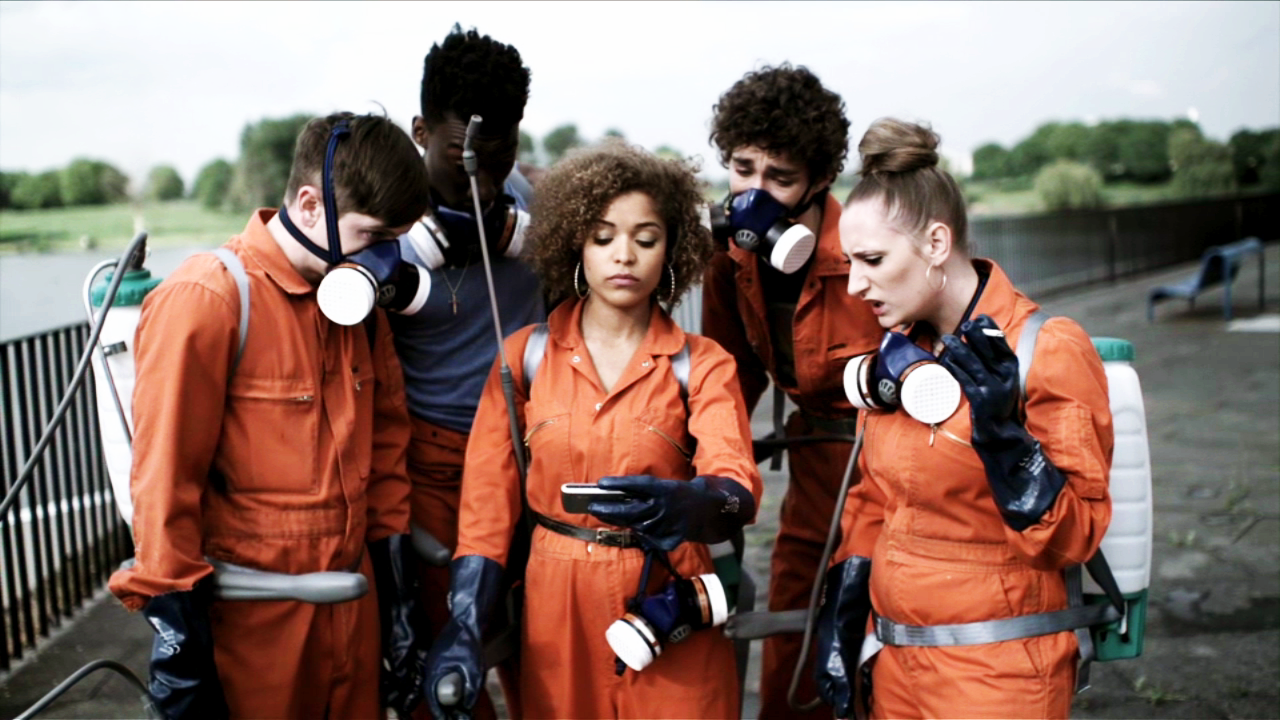
The final step: Flattening the image and cropping.
And that's our result:
As for any rules, well, there are none. But if you copy exactly, credit would be nice. And don't even ask for a .psd, I won't hand it out.
Please direct any questions HERE.
Difficulty: easy
Translatable: yes (uses photo filter, but I guess you can leave that layer out)
psd: no
We'll be going from
to
.
Before we get started, the usual:
Firstly, a disclaimer of sorts: I'm still a learning when it comes to PS, and I'm reading TONS of tutorials myself. Whenever I really like one, I either save or bookmark it and add the creator's name to my resources. And, err, that happens a lot. Since I usually don't use all the steps from tutorials at once, but only, you know, a selective color setting, a color combination for a gradient or a certain trick, I don't keep track of what exactly I adopted from where. I know, however, that at least two steps of this tutorial are, uhm, strongly inspired by single steps from someone else's tutorials. So, if you recognize something you posted in a tutorial of your own, please drop me a note, so that I can give credit for it.
Secondly, might be important if you want to recreate this to practice: The numbers of the layers don't equal the order in which I added them since I don't edit my pics straight from button to top. I start out with a few usual steps, then hopp upside down, add something there and delete something there, go back and forth and back again. Just, you know, experimenting. Trial and error. So, if you want to recreate it, do it in the order explained in part II. Part I is just an overview of all layers with the exact settings.
And remember, you'll have to play with the settings and opacities for your own image. This is meant to be a guideline, not a recipe.
The base is this Misfits screencap (by me):
As usual, I edited it in it's original size and cropped later (the pics are thumbnails, click for original size). This coloring is rather specific, as in, while I really like to use it as a basic way to make the colors in Misfits caps pop, I'm afraid it'd overpower caps from most other shows.
Lastly, remember: you'll have to play with the settings and opacities for your own image.
I. THE LAYER PALETTE
layer 0 (background):
The base set to normal.
layer 1:
New adjustment layer "Gradient Map",
colorstop for the foreground #f3e5db,
colorstop for the background #f6f6f6,
set to soft light,
at 100% opacity.
layer 2:
New adjustment layer "Gradient Map",
colorstop for the foreground #d8d8da,
colorstop for the background #fdfdfd,
set to soft light,
at 100% opacity.
layer 3:
New adjustment layer "Curves",
RGB: input 130/output 100 (default Curves layer Darker)
at 100% opacity.
layer 4:
New adjustment layer "Hue/Saturation",
saturation: +29,
at 100% opacity.
layer 5:
New adjustment layer "Gradient Map",
colorstop for the foreground #ffffff,
colorstop for the background #000000,
set to soft light,
at 100% opacity.
layer 6:
New adjustment layer "Gradient Map",
colorstop for the foreground #000000,
colorstop for the background #683617,
set to normal,
at 37% opacity.
layer 7:
New adjustment layer "Curves",
RGB: input 12/output 2 and input 115/output 128 and input 240/output 253
at 100% opacity.
layer 8:
Duplicated base,
set to soft light,
at 100% opacity.
layer 9:
Duplicated base,
set to soft light,
at 100% opacity.
layer 10:
New adjustment layer "Gradient Map",
colorstop for the foreground #d8d8da,
colorstop for the background #fdfdfd,
at 2% opacity.
layer 11:
New blank layer with lightblobs,
made with a standard softbrush, 70% opacity, #ffffff,
at 100% opacity.
layer 12:
Copy-merged and pasted copy,
set to soft light,
at 100% opacity.
layer 13:
New adjustment layer "Gradient Map",
colorstop for the foreground #ffffff,
colorstop for the background #000000,
set to soft light,
at 37% opacity.
layer 14:
New blank layer,
this brush, 70% opacity, #ffffff as foreground, #000000 as background color,
slightly blured,
set to normal,
at 100% opacity.
layer 15:
Copy-merged and pasted copy,
blured using Gausian Blur, radius 36,4 px
set to soft light,
at 100% opacity.
layer 16:
New adjustment layer "Hue/Saturation",
saturation: +6,
at 100% opacity.
layer 17:
New adjustment layer "Color Balance",
shadows: Cyan/Red +2, Magenta/Green -1 and Yellow/Blue +4,
highlights: Yellow/Blue +5,
at 100% opacity.
layer 18:
New adjustment layer "Photo Filter",
warming (85), density 7 %,
at 100% opacity.
layer 19:
New adjustment layer "Gradient Map",
colorstop for the foreground #d8d8da,
colorstop for the background #fdfdfd,
at 2% opacity.
layer 20:
Copy-merged and pasted copy,
set to soft light,
at 39% opacity.
layer 21:
New color fill layer #fafafa,
set to color burn,
at 100% opacity.
II. THE STEPS
The first thing I do with almost every screencap is to use an action I have saved as a very basic first coloring. Others may use screen layers, but I prefer this way of lighting the image up a little and lifting a bit of the, uh, curtain screencaps often have. The action adds a light beige gradient map set to soft light (layer 1), a light grey gradient map to soft light (layer 2) and 2 duplicates of the base set to soft light (layer 8 + 9). The gradients do the lighting-up, and the soft light-bases even out that effect out while also giving some contrast.
Yeah, that doesn't really work well for Misfits caps, but, you know, creature of habit. It also gives me soft light layers to work beneath which I'm a) rather fond of, b) used to and c) do a lot. So, the next few steps all happen above the first two gradients (layer 1 + 2), but below the two duplicated bases (layer 8 + 9).
The first thing I did after the action was using a Curves layer, the PS default setting to darken an image (layer 3) and upping the saturation (layer 4).
After that, a b/w gradient on layer soft light, but reversing the usual setting. That means, I chose white as foreground color and black as background color instead of the standard (or, of course, you can just reverse the standard b/w). The effect is kind of simillar to duplicating the base and setting it to luminosity, but it's not quite as drastic. It basically amps up the saturation while at the same time decreasing the contrast (layer 5).
Then, another standard step for me: I made a merged copy and pasted it on top of the layers palette (layer 12). Set to soft light, it gives the image more contrast and color. Sometimes, like in this case it's much too much contrast, but we'll correct that.
While I was rather content with the look of the background, the area with the gang itself needed to be fixed. So I made a new blank layer directly under the new soft light layer, used a soft brush on the parts of the image I wanted to be lighter like so, and set it to soft light (layer 11).
Which made the image too light again, and also sort of uneven. To correct that, I went back to below layer 8 and added a dark brown gradient (layer 6).
And directly on the heels of it, a Curves layer to keep the image from becoming too dark and take out some of the contrast (layer 7). Back and forth, I know, but I think it pays off in the end. Also, I'm long-winded and complicated, I know that.. ;) But this important, because of the soft light layer in the next step. If the image is too dark and contrasted at this point, the effect of the soft light layer will be to drastic.
I copy-merged the result so far again, set it to soft light and blurred it (layer 15). That's a nice effect I tend to use a lot (and not only me, I guess) to give it a warmer look and overall smoother look. It also puts a nice emphasis on the effect created by the lightblobs earlier.
Ok, getting there. But the image is still too dark and to contrasted. So the next thing I did was loading this texture by blakravell as a brush (layer 14) below the soft light layer I just added and using it on a reduced opacity. I also blured it just enough to soften the hard edges. Isolated, and put on a black background to make it visible, the layer looks like this.
Next, I added another reversed b/w layer on soft light, at a lower oppacity (layer 13) below the layer with the brush. Used like this, it lights up the really dark parts of the image without changing the rest of the coloring much.
I copy-merged what I had so far again, and set it to soft light (layer 20). The next few steps are basically fine-tuning, and happen below this layer.
A hue-saturation layer to increase the saturation just a little (layer 16); then a color balance layer, to change the color scheme just little (getting rid of some yellow and adding a blue-ish tint; layer 17), a photo filter layer to make the colors a tad warmer (layer 18), and a grey gradient map on low oppacitiy to make the colors a little softer (layer 19).
And lastly, a light grey solid color layer as a final touch on the contrast (layer 21).
The final step: Flattening the image and cropping.
And that's our result:
As for any rules, well, there are none. But if you copy exactly, credit would be nice. And don't even ask for a .psd, I won't hand it out.
Please direct any questions HERE.