Tutorial 28: SDC & Code Geass
Requested by kokoro_chan93, emperor_lelouch and sakurahanami.
How to go from

to
and

to
with Photoshop. Uses Selective Coloring, so probably not translatable.
is A and
is B
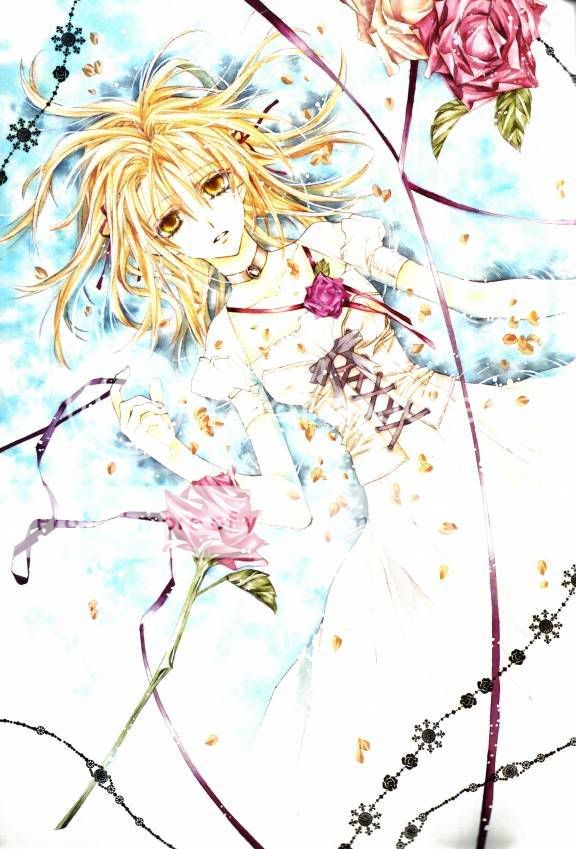
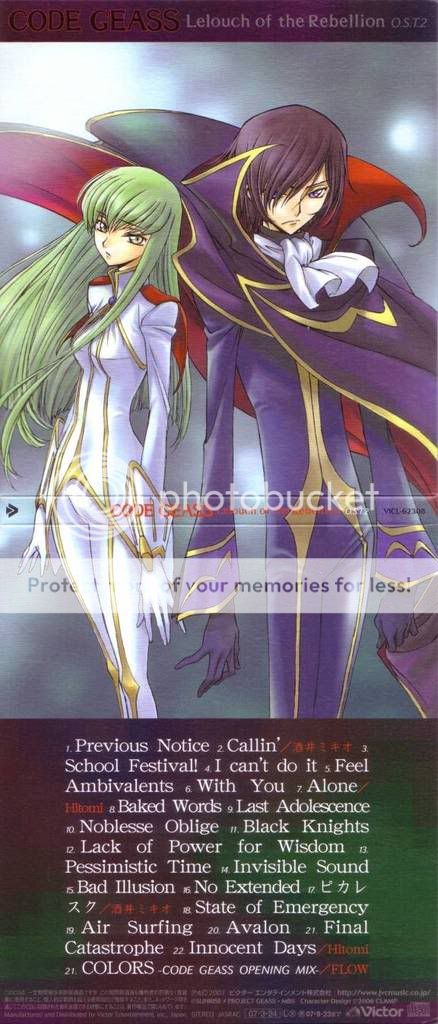
1. Prepare your base, I'm using this SDC art and Lulu from this image today. It isn't a must, but this tutorial works best when your image has some blue in it.
A
B
2. For that icon batch I really was into starting with dark exclusion layers to tone the images down and go crazy with colors afterwards. So start the coloring here as well with a new layer, filled with #26231F set to Exclusion, 100%.
A
B
3. Not dark enough, but another exclusion layer would wash the images out too much. Instead make a Channel Mixer... adj. layer and put in these settings to turn it more blue and darkish:
Red: 111 -10 -8
Green: -4 102 -6
Blue: 3 -10 98
A
B
3. Nice groundwork, now a Soft Light duplicate of your base should follow: that way the image gets more contrast and brightens up, but keeps the toned down colors we achieved with the first two steps. The opacity should be something between 80-100%.
A
B
4. Both images have blue colors to work with, so I really wanted to boost them up. For that, create a Selective Color... adj. layer with these settings:
Reds: -100 2 48 90
Cyans: 8 0 -9 0
Neutrals: 56 -5 1 -38
Duplicate that layer once and lower the opacity if needed (A has both at 100%, but for B I lowered the opacity of the duplicate layer to 74%).
A
B
5. A few parts of the SDC icon were too bright, so for A I made a new layer, took a small soft brush and brushed with a dark gray a few shadows (like for skin and hair) to give the image more depth. Then I set that layer to Multiply, 6%.
A
6. To support the orange and skin colors a bit, create a new layer and fill it with #F9E3DB on Color Burn, 100%.
A
B
7. The colors and contrast could still go up a bit, so make a Hue/Saturation... adj. layer with master saturation set to at least +10, and another Soft Light, 41% duplicate (or whatever opacity fits your image).
A
B
8. Now the same I did in tutorial 27: because I wanted to use a lot of light textures, I darkened the images first in order to not get blind. Make a Brightness/Contrast... adj. layer with brightness -11 and contrast +3.
A
B
9. Texture part! I wanted to make the icons look more interesting while adding a bit white, so I took this texture by ohfreckle, inverted and flipped it horizontally and then set it to Screen, 66%. I erased the big disturbing A and a bit of the text.
A
B
10. A and B get different light textures now.
For A, take this lens texture by gravira and also this one by hellodarliing (both are my fave lens textures and I'm using them a lot) on Screen, 100%.
A
For B, take the lens texture by gravira as well (flipped horizontally), but then also this favourite texture of mine by haudvafra (erase disturbing parts) and these lights by expose42, all on Screen, 100%.
B
11. To make the colors a bit warmer while getting more contrast, duplicate the color layer from step 6, drag it to the top and lower the opacity to something around 30%.
A
B
12. I still wanted to add a few red highlights, so I took this texture by spiritcoda, I think, on Lighten, 100%. B doesn't have this step because it was red enough. xD
A
13. To really finish the coloring, raise the blues up even a bit further with a Color Balance... adj. layer like this:
Midtones: -20 0 -14
Highlights: -6 0 0
Then make another Brightness/Contrast... adj. layer to adjust everything a bit (darken it if it's too bright and add some contrast); I set it to brightness -5 and contrast +8.
A
B
14. To finish the icons, I wanted to make a shiny edge. For that, create a new layer, take a big soft brush and brush with white along the edges of the icon, maybe only at the top and bottom. Set that layer to Screen, 30%, add text if you want and that's it!
A
B
Questions? Just ask! :D
Other examples:


Be creative and experiment however you want, and I'd love to see your results! I'm curious what you come up with. :D
Please comment to this post since I'll most likely respond there.
This post is open for tutorial requests.
More tutorials are here, and these will be coming next.
How to go from
to
and
to
with Photoshop. Uses Selective Coloring, so probably not translatable.
is A and
is B
1. Prepare your base, I'm using this SDC art and Lulu from this image today. It isn't a must, but this tutorial works best when your image has some blue in it.
A
B
2. For that icon batch I really was into starting with dark exclusion layers to tone the images down and go crazy with colors afterwards. So start the coloring here as well with a new layer, filled with #26231F set to Exclusion, 100%.
A
B
3. Not dark enough, but another exclusion layer would wash the images out too much. Instead make a Channel Mixer... adj. layer and put in these settings to turn it more blue and darkish:
Red: 111 -10 -8
Green: -4 102 -6
Blue: 3 -10 98
A
B
3. Nice groundwork, now a Soft Light duplicate of your base should follow: that way the image gets more contrast and brightens up, but keeps the toned down colors we achieved with the first two steps. The opacity should be something between 80-100%.
A
B
4. Both images have blue colors to work with, so I really wanted to boost them up. For that, create a Selective Color... adj. layer with these settings:
Reds: -100 2 48 90
Cyans: 8 0 -9 0
Neutrals: 56 -5 1 -38
Duplicate that layer once and lower the opacity if needed (A has both at 100%, but for B I lowered the opacity of the duplicate layer to 74%).
A
B
5. A few parts of the SDC icon were too bright, so for A I made a new layer, took a small soft brush and brushed with a dark gray a few shadows (like for skin and hair) to give the image more depth. Then I set that layer to Multiply, 6%.
A
6. To support the orange and skin colors a bit, create a new layer and fill it with #F9E3DB on Color Burn, 100%.
A
B
7. The colors and contrast could still go up a bit, so make a Hue/Saturation... adj. layer with master saturation set to at least +10, and another Soft Light, 41% duplicate (or whatever opacity fits your image).
A
B
8. Now the same I did in tutorial 27: because I wanted to use a lot of light textures, I darkened the images first in order to not get blind. Make a Brightness/Contrast... adj. layer with brightness -11 and contrast +3.
A
B
9. Texture part! I wanted to make the icons look more interesting while adding a bit white, so I took this texture by ohfreckle, inverted and flipped it horizontally and then set it to Screen, 66%. I erased the big disturbing A and a bit of the text.
A
B
10. A and B get different light textures now.
For A, take this lens texture by gravira and also this one by hellodarliing (both are my fave lens textures and I'm using them a lot) on Screen, 100%.
A
For B, take the lens texture by gravira as well (flipped horizontally), but then also this favourite texture of mine by haudvafra (erase disturbing parts) and these lights by expose42, all on Screen, 100%.
B
11. To make the colors a bit warmer while getting more contrast, duplicate the color layer from step 6, drag it to the top and lower the opacity to something around 30%.
A
B
12. I still wanted to add a few red highlights, so I took this texture by spiritcoda, I think, on Lighten, 100%. B doesn't have this step because it was red enough. xD
A
13. To really finish the coloring, raise the blues up even a bit further with a Color Balance... adj. layer like this:
Midtones: -20 0 -14
Highlights: -6 0 0
Then make another Brightness/Contrast... adj. layer to adjust everything a bit (darken it if it's too bright and add some contrast); I set it to brightness -5 and contrast +8.
A
B
14. To finish the icons, I wanted to make a shiny edge. For that, create a new layer, take a big soft brush and brush with white along the edges of the icon, maybe only at the top and bottom. Set that layer to Screen, 30%, add text if you want and that's it!
A
B
Questions? Just ask! :D
Other examples:
Be creative and experiment however you want, and I'd love to see your results! I'm curious what you come up with. :D
Please comment to this post since I'll most likely respond there.
This post is open for tutorial requests.
More tutorials are here, and these will be coming next.