Placard Dress: Design Ideas
*sounds of brain spinning and gears grinding*
Having thought about the various inspiration images from my last post, I think it is pretty clear that I am interested in making one of the ‘placard front’/high necked dresses. The gown I end up making won’t be a recreation of any specific inspiration image, but I am pulling from all three current versions (as well as tidbits about historic tailoring I have picked up over the years) in an attempt to get the overall shaping and design to be recognizable.
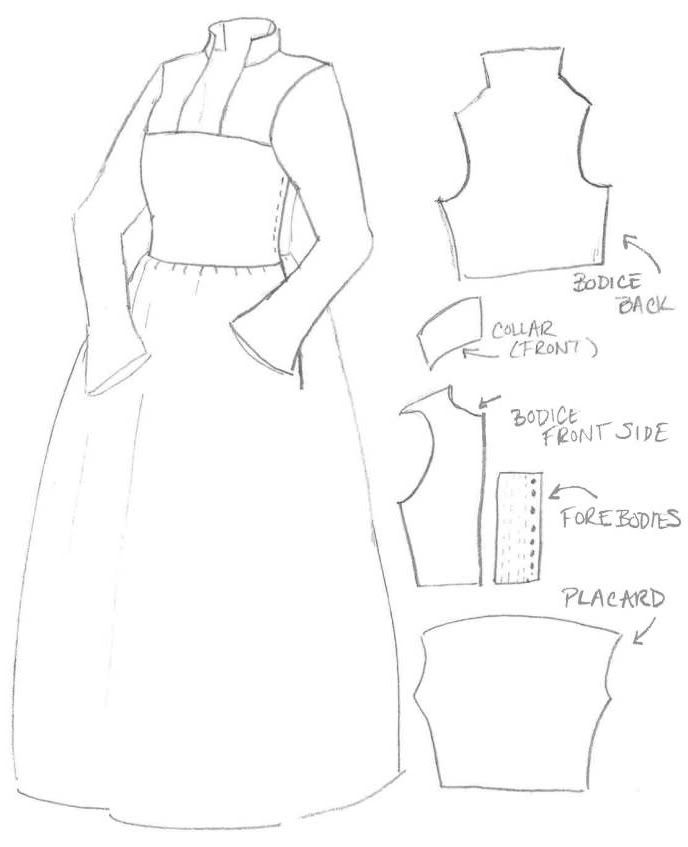
So, I sat down with the Tudor Tailor book last night and came up with the following rough sketch. There is still a lot of tweaking to do here (the neckline isn’t yet what I want, and honestly may not get there until I am doing my canvas mock-up), but the rough design is here.

Until my mock-up is in progress (and I learn what an idiot I am) I am planning on drafting for a ‘three part’ collar; the back of the collar being an extension of the top of the bodice’s back, and the front being made of two separate/shaped bits that attach to the bodices frontside pieces at the neckline.
I am hoping to set the shoulder seam toward the back of the shoulder: extending from the bottom of the collar-join and terminating in the upper 1/3rd of the armseye at the back. I am under the impression that this sort of seam placement is historically acceptable, and I like the ‘non-standard patterning’ look it gives to the finished back of a garments. It also gives me an excuse to do some creative sleeve drafting later, in order to try to get the sleeve seam to line up with the shoulder seam toward the back of the arm.
The shoulders will also be slightly dropped off the shoulder point, as this seems to be a common feature of all three inspiration images.
The neck will be ‘open’ (not designed to close at center-front), with the two bodice-frontside pieces having attached forebodies that will be concealed behind the overlapping placard. The forebodies will be lightly boned (probably with zip strips) and should allow me a means of creating the necessary support/shaping that I am looking for.
The placard will extend from side-seam to side-seam (or close to) across the front of the dress. The bodice will have side seams, and not back-side seams. This is to prevent a plethora of seaming/placard attachment points making the whole top look cobbled together. The top of the placard will curve slightly upward rather than in a straight line, as this shaping appears to be part of all three inspiration images. Depending on the strain that the mock-up placard demonstrates, this piece may also require some light boning in addition to canvas backing.
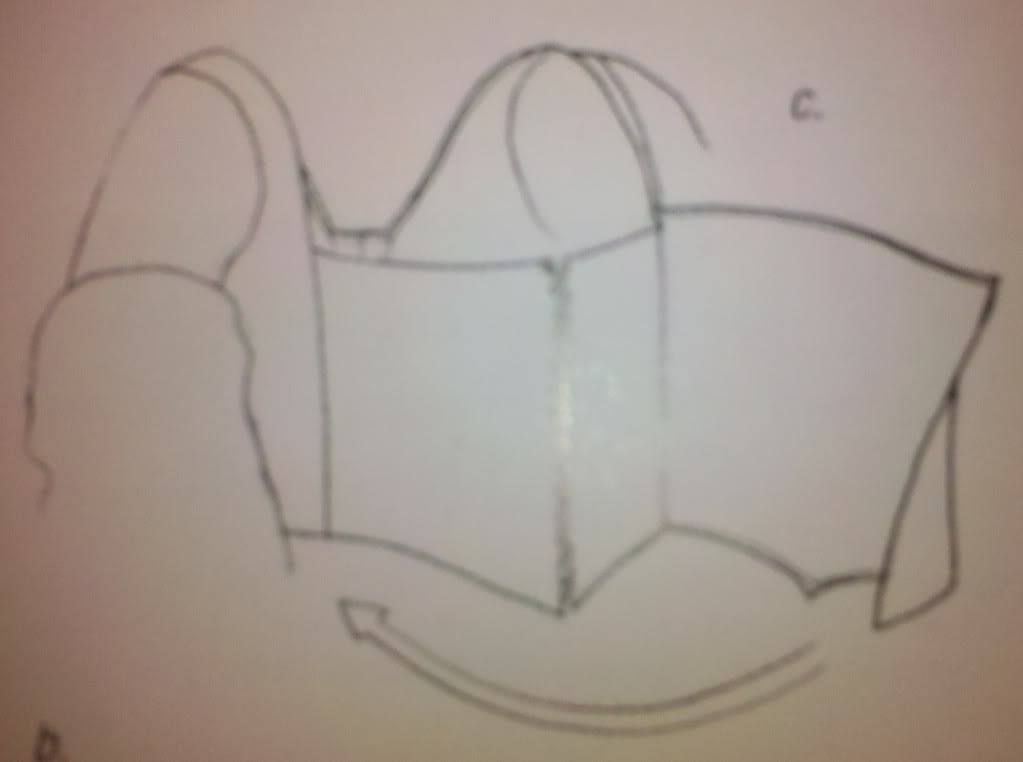
The forebodies/placard combination should close in a manner similar to this one (from the Tudor Tailor):

Using attack_laurel‘s cartridge pleating method, I will attach my skirt to a narrow waistband, before attaching that band to the bodice. I anticipate the opening in the skirt aligning with the “open” side of the placard. I am secretly thinking I may very well use this side-opening skirt as an excuse to make myself a ‘pocket’….
…wait, did German women have ‘pockets’ (the kind that hand around one’s waist on a cord) in the 16th C?
Things to consider still:
1) Regionalism of this garment; in order to better determine sleeve shape and trim details. Then again, I may just do some ‘standard frau’ sleeves and trim and takes the placards inspiration from these same original images.
a. Donkey cuffs on the sleeves?
b. Lots of slashing? A little?
c. Multiple sets of guards on the skirt?
d. Large solid bits of trim on the bodice top, or groupings of narrower trims?
2) How to fix the ‘open’ side of the placard to the bodice while the dress is being worn. Pins? Hooks-n-eyes? Bueller?
3) Stiffness of the collar; to stand or to flop, that is the question… Probably to stand. Pad stitching, here I come!
4) I am sure there are more, you tell me!
Comments, suggestions, non-flamey criticism welcome!