(no subject)
Program:PSP9
Level:Medium but most can figure it out.
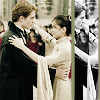
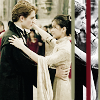
Go from
to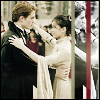
1)Start out with this snappy base I got from a cropped picture on Mugglenet > sharpen once

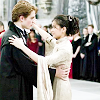
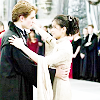
2)Duplicate the base twice and set both to layers to screen. (dont worry if it looks really washed out. We will put the color back into it)

-
-
3)Duplicate the base again>drag to top>set to multiply at 40%
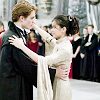
4)Create new layer>fill with dark blue (#222942)>set to exclusion at 75%
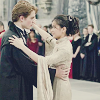
5)Creat new layer>fill with an olive green (#97ab89)>set to burn at 35%

6)Merge all of your layer
7)Adjust curves... I dont have exact numbers. Fiddle around until it looks right. It will vary with each picture. I didn't touch the RGB. I added slightly more red and green and took out a little bit of blue.
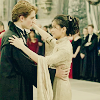
8)Create a new layer>flood fill with dark blue (#222942)>set to exclustion at 50%
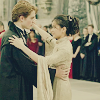
9)Create a new layer>flood fill with a light tan (#dfbc93)>set to multiply at 45%
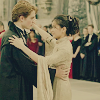
10)Duplicate base picture>drag to top>set to Luminace
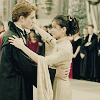
11)Adjust>Automatic contract enhancement>Bias:Darker Strength:Normal Apperance:Bold
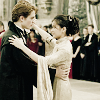
12)We are now done with the main part of the icon!
13)Merge all layer>create a new image>desaturate (Shortcut: SHIFT L)
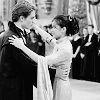
14)Adjust>Automatic contract enhancement>Bias:Darker Strength:Normal Apperance:Bold
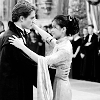
15)Adjust>Clarify set to 4
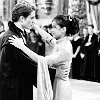
16)Crop this image to 15x100 by Cho's face. (sorry only have an example with Cedric but it applies the same)
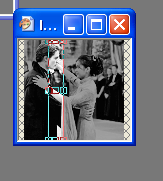
17)Paste this cropped desaturated icon onto the colored icon to the far right by the border.
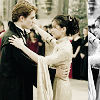
18)Do the same with Cedric, only put him in front of Cho.
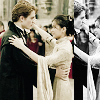
19)Select either your rectangle tool or rounded edge rectangle tool and very carefully make long thin rectangles on either side of Cho and Cedric. I find this works well if you zoom in on the icon to 300% or so. I used an olive green.
20)I made a thicker rectangle between Cho in Cedric in a deep dark red.
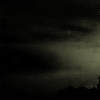
21)Add this texture finally to the icon to give it a flair of color
I added a 1px borer and Tada! You're done

For a bigger version: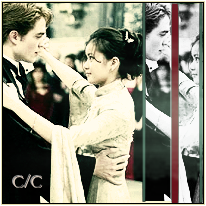
Level:Medium but most can figure it out.
Go from

to

1)Start out with this snappy base I got from a cropped picture on Mugglenet > sharpen once

2)Duplicate the base twice and set both to layers to screen. (dont worry if it looks really washed out. We will put the color back into it)

-

-

3)Duplicate the base again>drag to top>set to multiply at 40%

4)Create new layer>fill with dark blue (#222942)>set to exclusion at 75%

5)Creat new layer>fill with an olive green (#97ab89)>set to burn at 35%

6)Merge all of your layer
7)Adjust curves... I dont have exact numbers. Fiddle around until it looks right. It will vary with each picture. I didn't touch the RGB. I added slightly more red and green and took out a little bit of blue.

8)Create a new layer>flood fill with dark blue (#222942)>set to exclustion at 50%

9)Create a new layer>flood fill with a light tan (#dfbc93)>set to multiply at 45%

10)Duplicate base picture>drag to top>set to Luminace

11)Adjust>Automatic contract enhancement>Bias:Darker Strength:Normal Apperance:Bold

12)We are now done with the main part of the icon!
13)Merge all layer>create a new image>desaturate (Shortcut: SHIFT L)

14)Adjust>Automatic contract enhancement>Bias:Darker Strength:Normal Apperance:Bold

15)Adjust>Clarify set to 4

16)Crop this image to 15x100 by Cho's face. (sorry only have an example with Cedric but it applies the same)

17)Paste this cropped desaturated icon onto the colored icon to the far right by the border.

18)Do the same with Cedric, only put him in front of Cho.

19)Select either your rectangle tool or rounded edge rectangle tool and very carefully make long thin rectangles on either side of Cho and Cedric. I find this works well if you zoom in on the icon to 300% or so. I used an olive green.

20)I made a thicker rectangle between Cho in Cedric in a deep dark red.

21)Add this texture finally to the icon to give it a flair of color

I added a 1px borer and Tada! You're done

For a bigger version:
