Header Tutorial
I made a tutorial for this header

Using these images
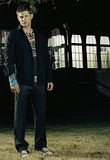
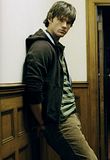
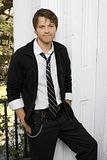
these brushes
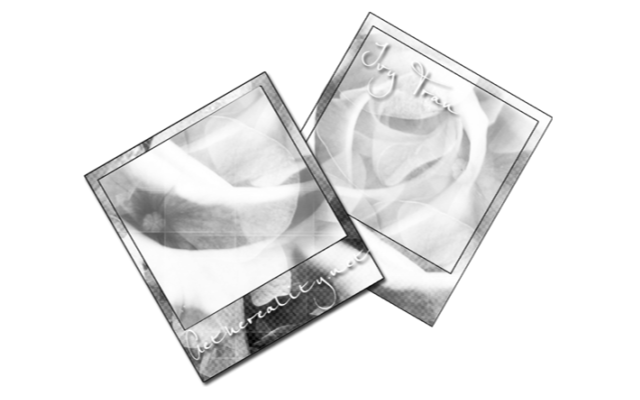
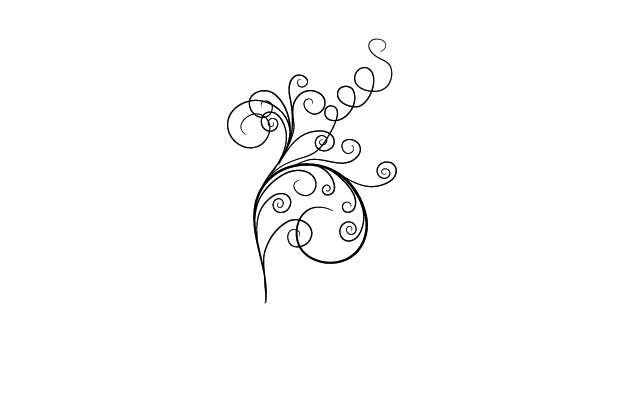
and these textures (credit given along the way)
texture 1
texture 2
1. Firstly you need to take the images and cut the background away. To do this select the lasso tool and set it to 2.0 pixels. Next, zoom in close and draw around the image and then go to edit- cut. You might need to use the eraser to neaten it up as it can look rough around the edges. When it’s finished it should look like this http://i85.photobucket.com/albums/k63/hobbleit/tutorial/jjmtut2.jpg
2. Next, open a new canvas at the size of your choice, mine is 900x300px. Add the first texture from here http://www.shivika.net/ and desaturate it. Then add the second texture also from http://www.shivika.net/. Desaturate that one as well and set to hard light.
3. Add a Polaroid brush from http://aethereality.net/brushes.php?x=&sort=&screen=10 (its memory lane) in black and set that to normal 50%. It should now look like this. http://i85.photobucket.com/albums/k63/hobbleit/tutorial/jjmtut3.jpg
4. Next, add your images and resize them to fit the header, and desaturate the images. Use the levels to darken the images and sharpen.
5. Open a new layer and fill with #bfe2ff, set that to burn 100%. Open another new layer and fill with #951d1d and set that to screen 50%.
6. Next open a new layer underneath the three images and use a brush from http://minces.deviantart.com/art/PhotoShop-Brushes-7-80885167 in black. Duplicate that image and flip it horizontally. Move that to the other side of the images so it matches. http://i85.photobucket.com/albums/k63/hobbleit/tutorial/jjmtut4.jpg
7. Open yet another new layer and select the rectangle select tool. Drag it across the image. Next select the gradient tool and make sure it is set to FG to BG (RGB). Using the same two colours used to colour the image, drag the gradient tool diagonally across the rectangle. Then, choose a text brush in the red and add to the rectangle. Erase any parts that go outside the rectangle and set to addition. http://i85.photobucket.com/albums/k63/hobbleit/tutorial/jjtut5.jpg
8. Merge all the layers together and select the channel mixer.
Red: 120, -15, 15
Green: 20, 100, 0
Blue: 10, -15, 105
Set the layer to normal 75%
9. Finally, add an orange coloured gradient and set that to soft light 25%.

Using these images


these brushes


and these textures (credit given along the way)
texture 1

texture 2

1. Firstly you need to take the images and cut the background away. To do this select the lasso tool and set it to 2.0 pixels. Next, zoom in close and draw around the image and then go to edit- cut. You might need to use the eraser to neaten it up as it can look rough around the edges. When it’s finished it should look like this http://i85.photobucket.com/albums/k63/hobbleit/tutorial/jjmtut2.jpg
2. Next, open a new canvas at the size of your choice, mine is 900x300px. Add the first texture from here http://www.shivika.net/ and desaturate it. Then add the second texture also from http://www.shivika.net/. Desaturate that one as well and set to hard light.
3. Add a Polaroid brush from http://aethereality.net/brushes.php?x=&sort=&screen=10 (its memory lane) in black and set that to normal 50%. It should now look like this. http://i85.photobucket.com/albums/k63/hobbleit/tutorial/jjmtut3.jpg
4. Next, add your images and resize them to fit the header, and desaturate the images. Use the levels to darken the images and sharpen.
5. Open a new layer and fill with #bfe2ff, set that to burn 100%. Open another new layer and fill with #951d1d and set that to screen 50%.
6. Next open a new layer underneath the three images and use a brush from http://minces.deviantart.com/art/PhotoShop-Brushes-7-80885167 in black. Duplicate that image and flip it horizontally. Move that to the other side of the images so it matches. http://i85.photobucket.com/albums/k63/hobbleit/tutorial/jjmtut4.jpg
7. Open yet another new layer and select the rectangle select tool. Drag it across the image. Next select the gradient tool and make sure it is set to FG to BG (RGB). Using the same two colours used to colour the image, drag the gradient tool diagonally across the rectangle. Then, choose a text brush in the red and add to the rectangle. Erase any parts that go outside the rectangle and set to addition. http://i85.photobucket.com/albums/k63/hobbleit/tutorial/jjtut5.jpg
8. Merge all the layers together and select the channel mixer.
Red: 120, -15, 15
Green: 20, 100, 0
Blue: 10, -15, 105
Set the layer to normal 75%
9. Finally, add an orange coloured gradient and set that to soft light 25%.