GingerTARDIS Step-by-Step
One of the traditional decorations this time of year, at least where I live, is the gingerbread house. Baked, hardened, assembled and decorated, these confections are really a sight to behold.
So now that the holiday season is upon us, I was looking forward to decorating my own baked dwelling.
When my mom suggested (possibly jokingly) that I do the TARDIS.
The TARDIS.
It was brilliant. The perfect way to geekify one of my favorite holidays!
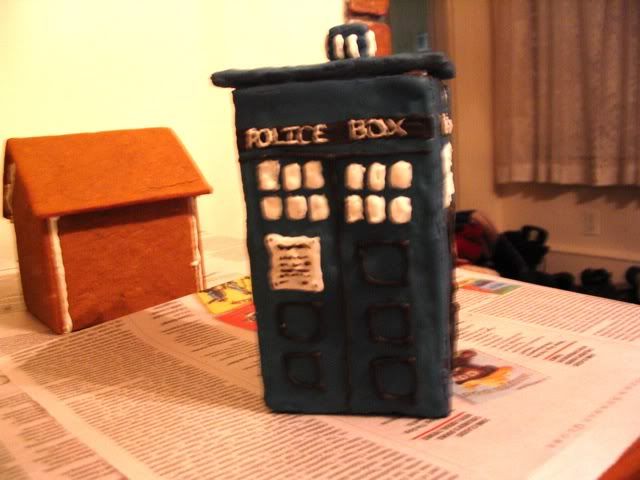
Sunday evening and Monday afternoon were devoted to the creation of this:
It starts, of course, with the gingerbread:

(I'd show the stencils, but they are, alas, no more. Also, they were a rectangle and two squares, so they weren't much to look at)
And then, once you've got that, you need some icing.

I used royal icing, and an entire eyedropper of blue food coloring. -_-;

Girl has to make sure her TARDIS is the right color, after all. Let me tell you, that stuff stains your hands like NO OTHER.
My plan was to ice the pieces, decorate them, then assemble it.
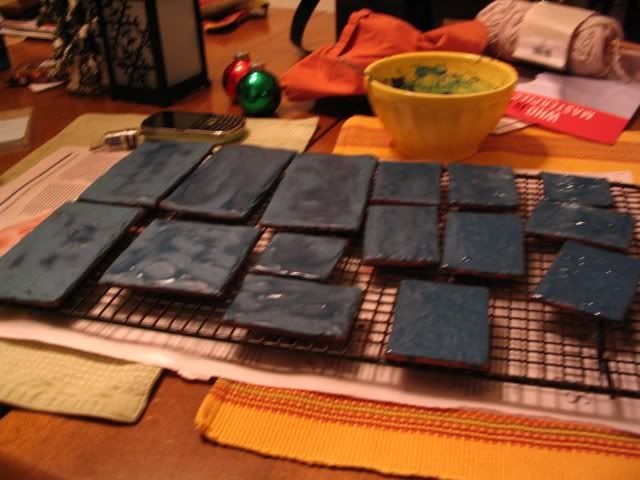
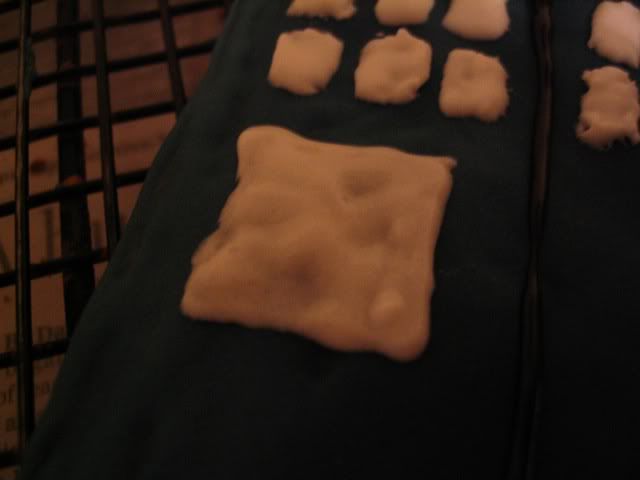
In order to ice everything, I had to put them on a rack over wax paper, glob some frosting on,

(generally more than that, but it's a start)
and spread it around (I used a spoon, until I figured out my finger was more efficient).

Then you leave it to dry overnight.
~INTERLUDE~
During this "overnight" I was partying it up with the awesome peeps over at ontd_startrek . They are the coolest cats of all, and their awesomeness kept me from screaming at the toothpicks when they wouldn't draw with icing right.
~END INTERLUDE~


Now that everything's dry, it can be decorated! Yaaaaaay!
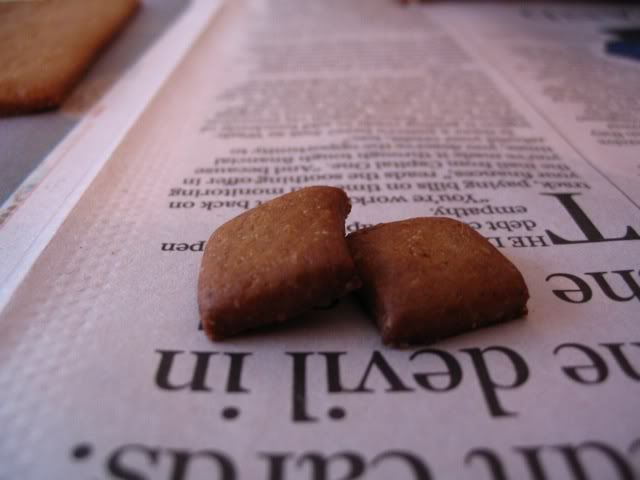
But wait, what's this?
Of course! Who could forget the light on the top of the TARDIS?
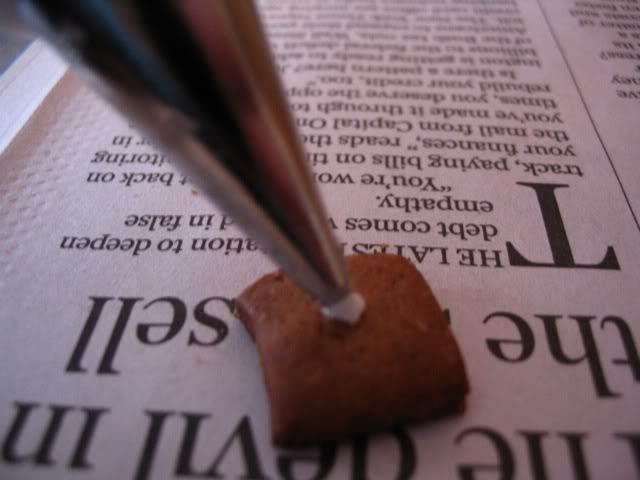
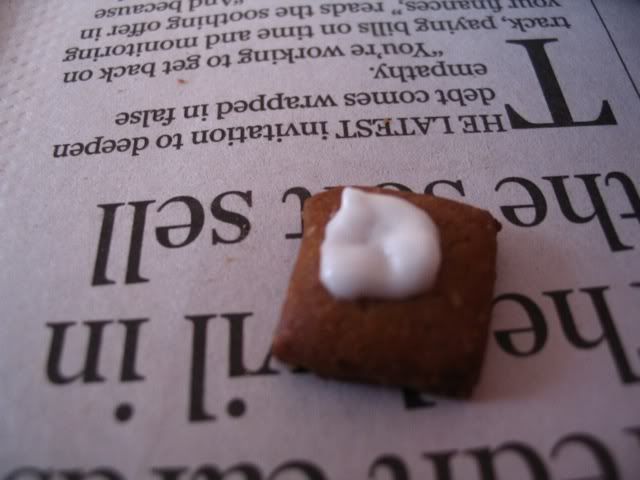
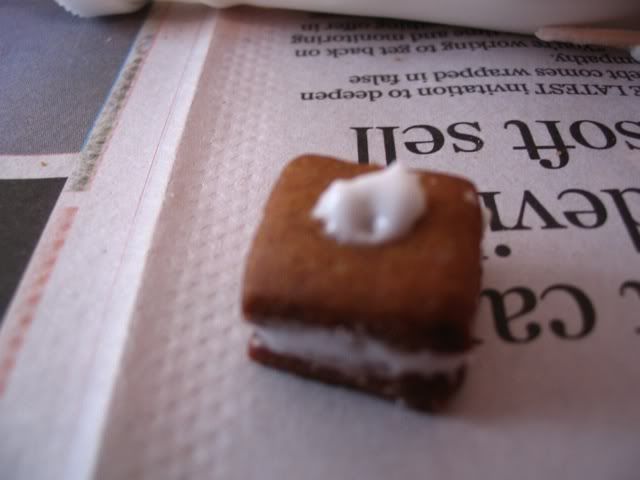
First you lay down the base for the two to be glued together...
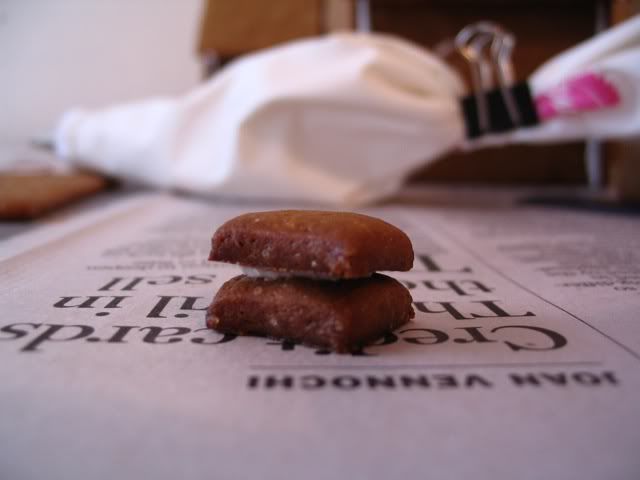
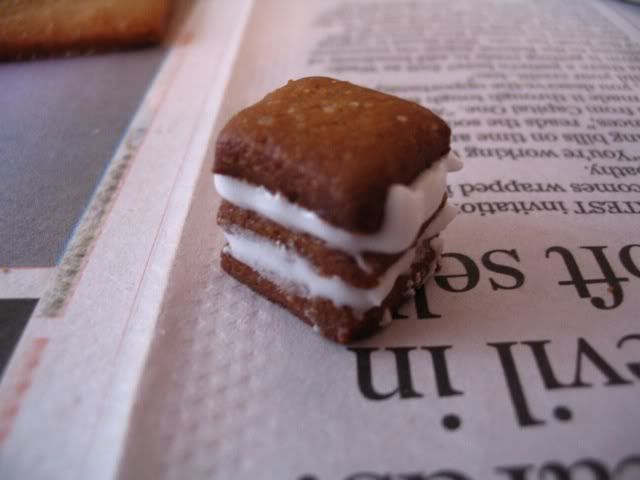
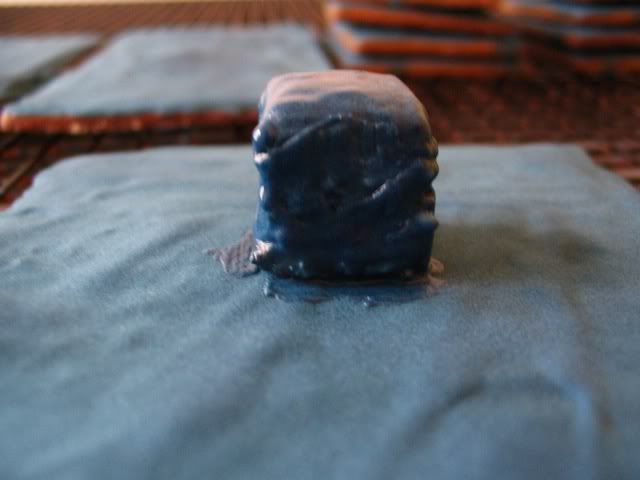
Then when that's dry you fill in the sides so its smooth (it kinda looks like a gingerbread whoopie pie)...
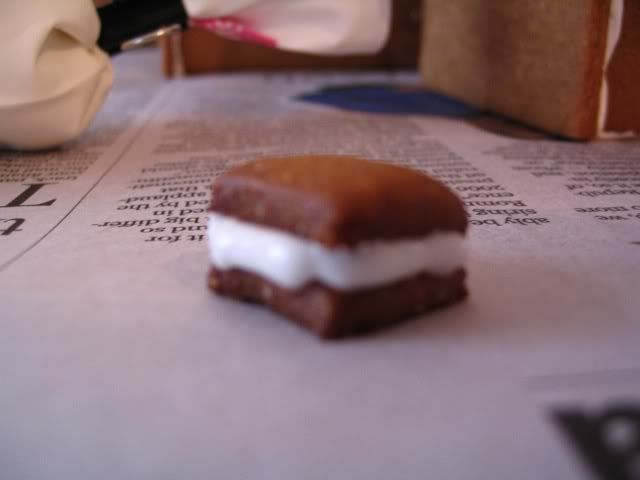
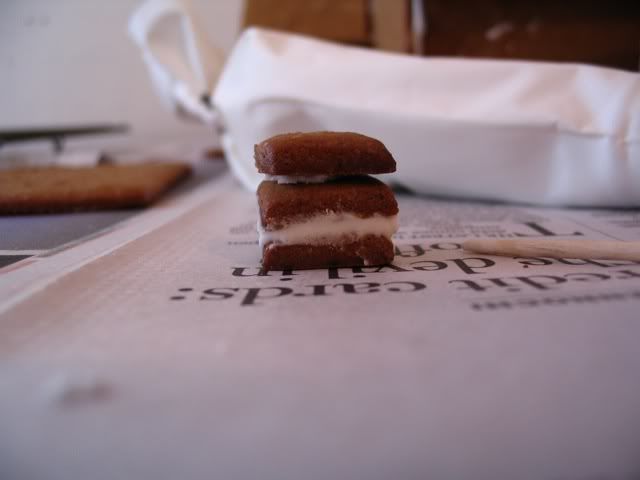
And you flatten it off.
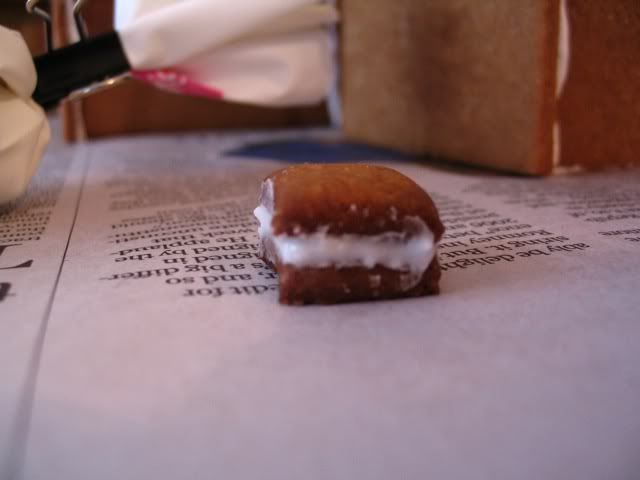
Now, I quickly realized that this was too short, so I was very glad I had another to add on top.
And now, SHIT GETS REAL.
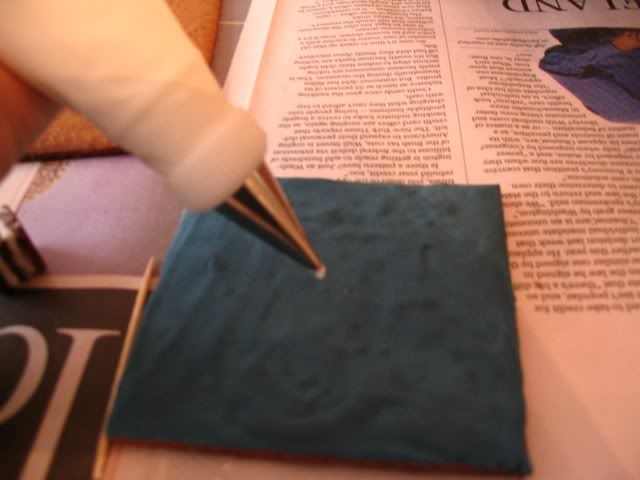
I attached the as-yet-unpainted light to the top.
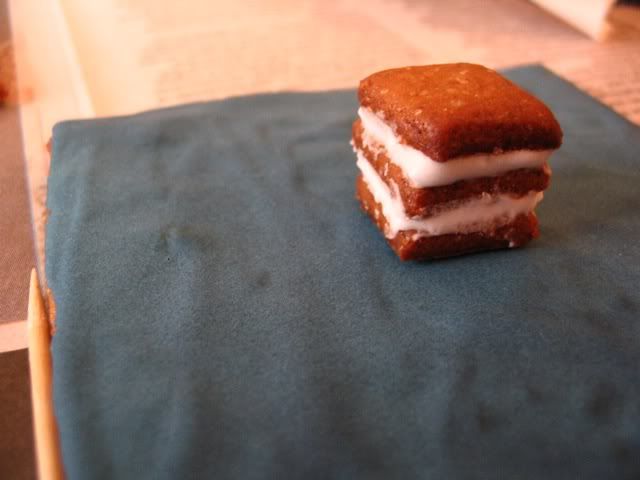
I was really glad I got it right the first time.
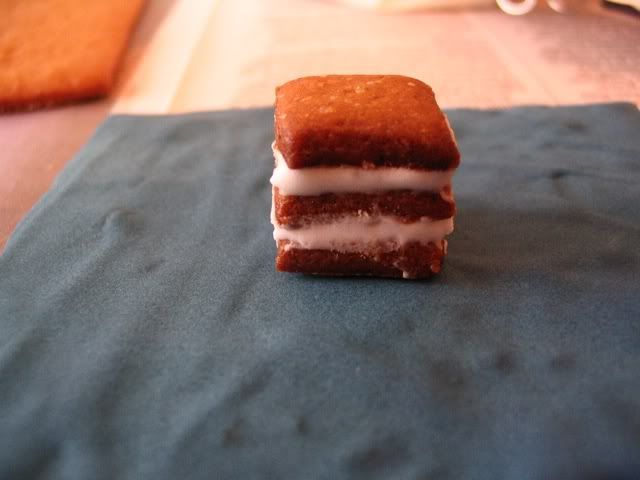
And now we fingerpaint it!
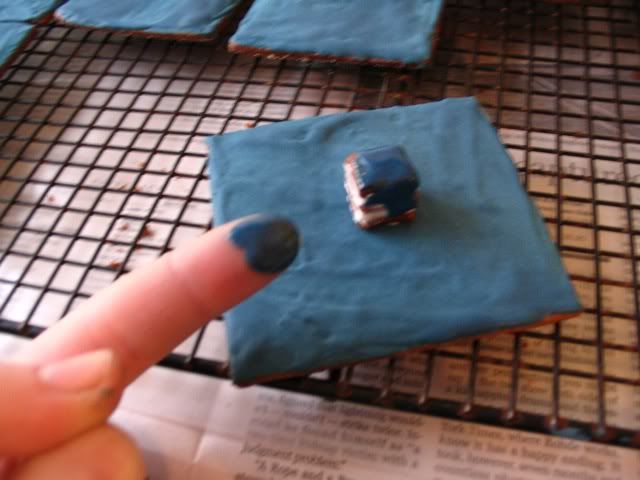
(fingerpainting with icing is the best because you can lick your fingers and it's delicious.)
(ADDENDUM:don't icing-fingerpaint with kids who don't know that eating non-icing fingerpaint isn't okay)
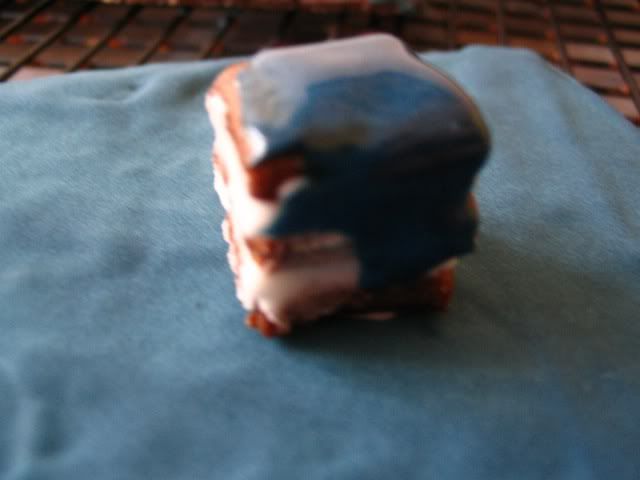
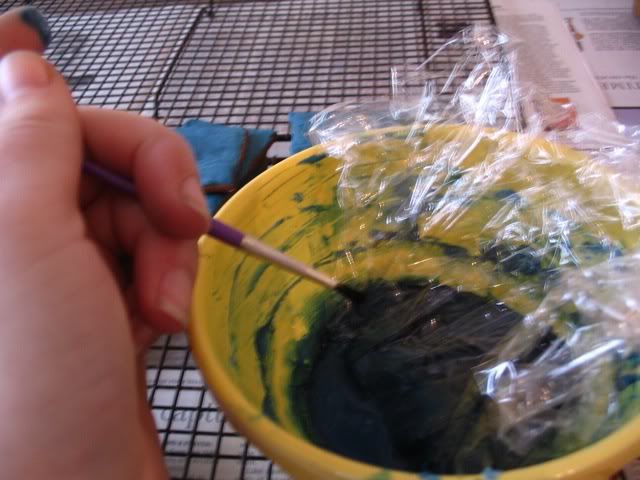
But as it happens, my finger was too unwieldy to paint such a small obkect, so I had to get out a paintbrush.
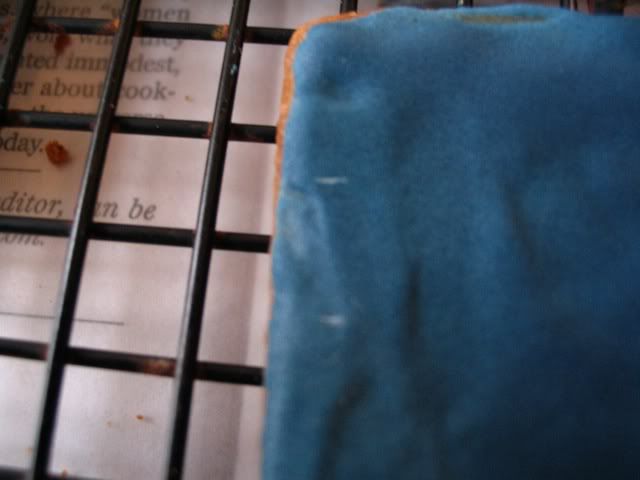
Once that was done, I moved on to the panels. The first thing to do was mark where the "POLICE BOX" banner was gonna be, which I did with a toothpick.
Then came the windows.
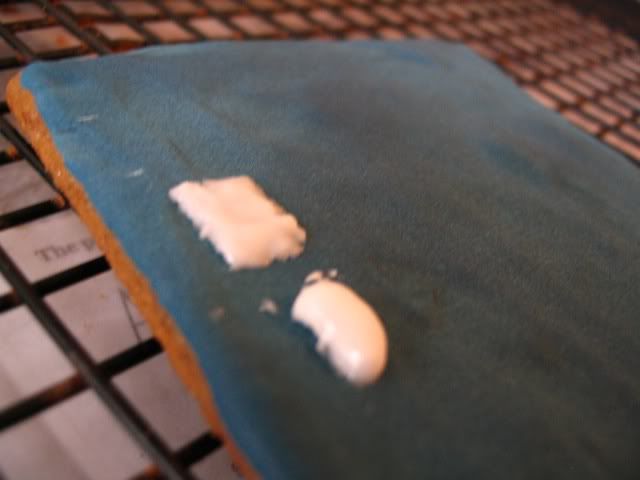
Holy God, the goddamn windows.
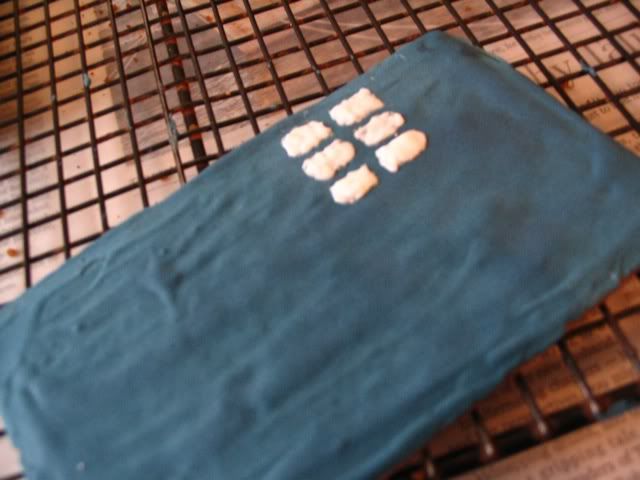
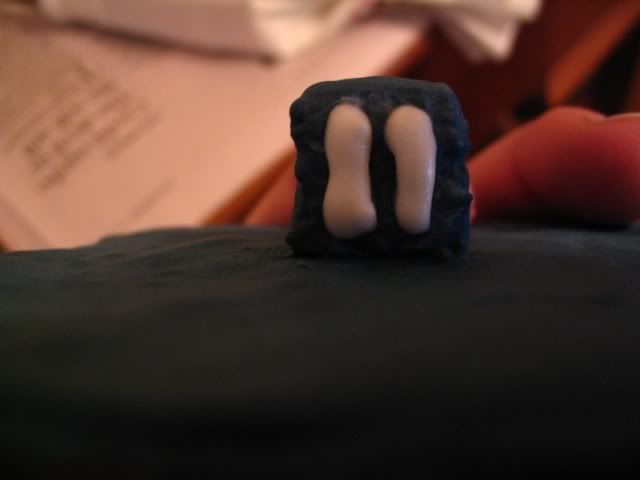
They were so hard to paint. See, the blue icing was thinner because it had food coloring in it, and the black (coming up) was the thinnest of all. The white was like trying to paint with sugary Elmer's glue.
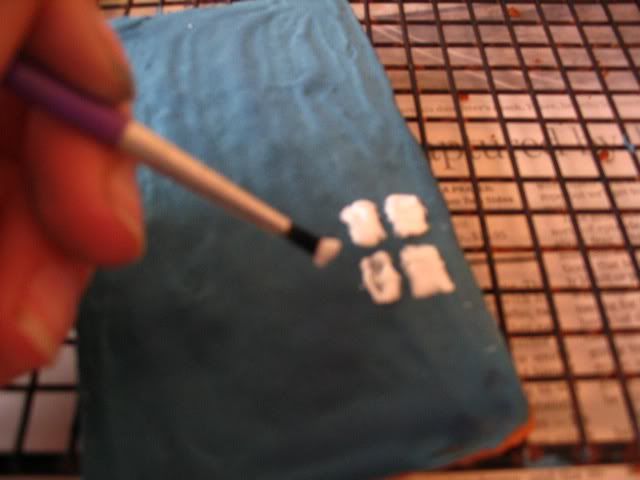
(Pictured: FAIL)
Suffice to say, I took quite a few visits to the party.
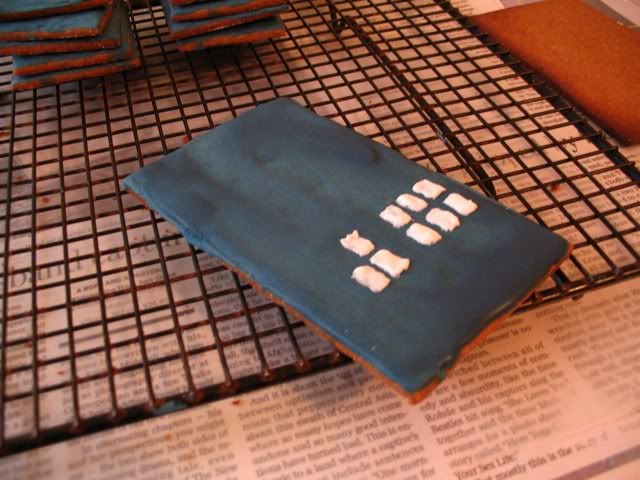
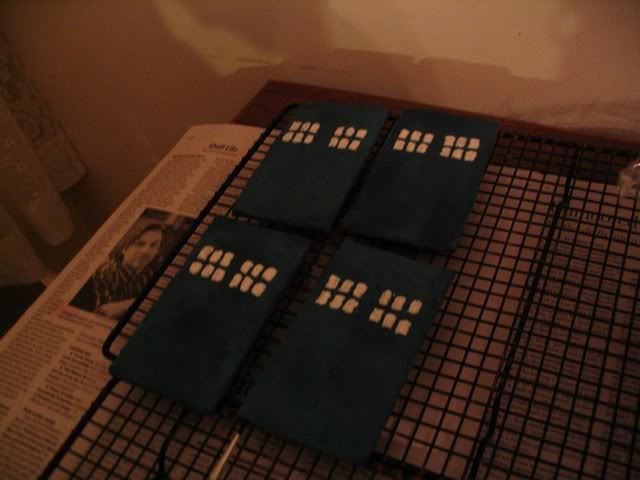
I also did the lantern on top during this time.
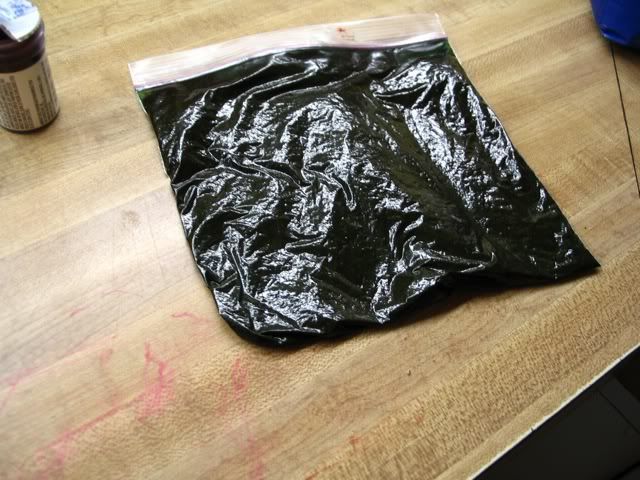
When I was finally done with that, I began the fight to create black icing.
See, my problem was I only had red, yellow, blue, and green to make this.
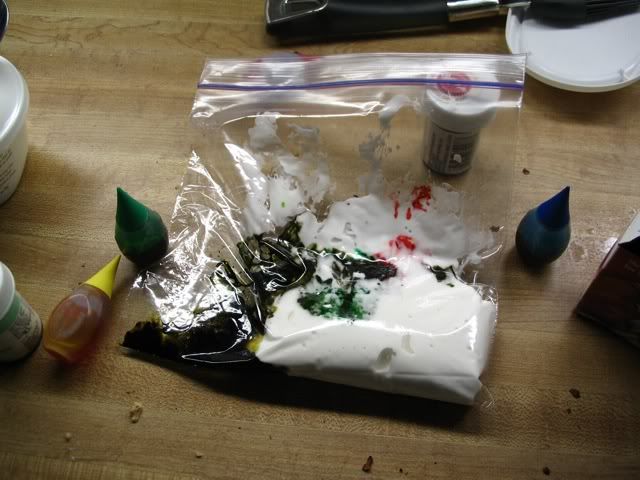
There were the little eyedroppers in the photo, and also two containers of gel coloring, one green one red.
It went from white, to this ugly khaki (unphotographed), to kelly green (I'm still not sure how that happened)
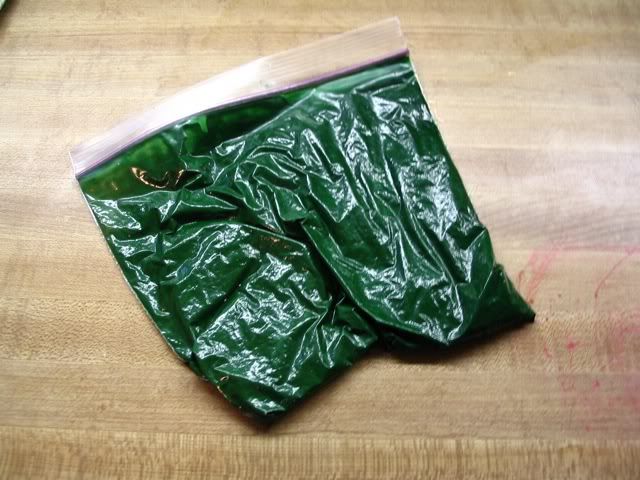
to almost-not-quite-black
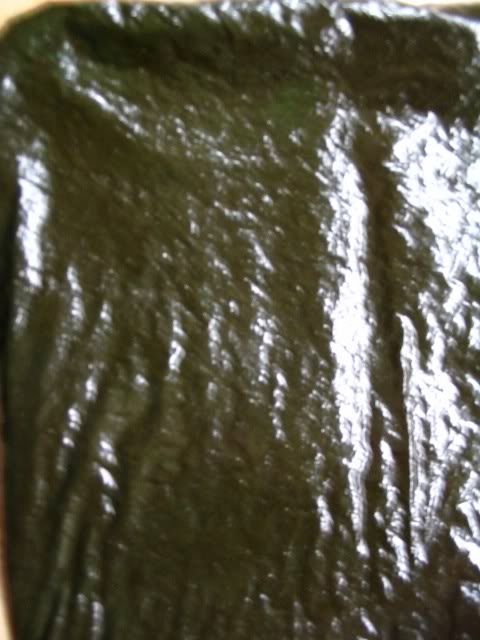
to as black as it was going to get (which, as it so happens, is pretty spot-on)
I piped the white notice on the door (NOTE: This was after it got dark outside, and thanks to the crappy lighting in my dining room all of the pictures are darker)
and then set to outlining the panels
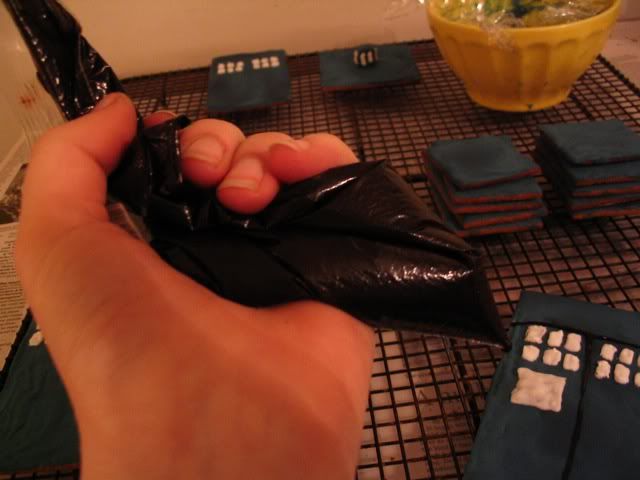
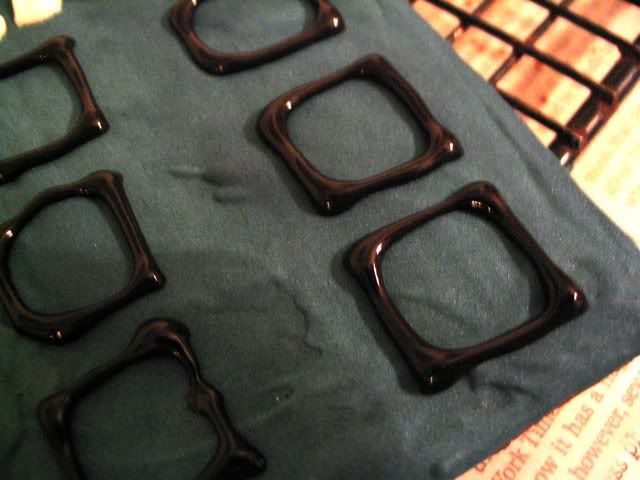
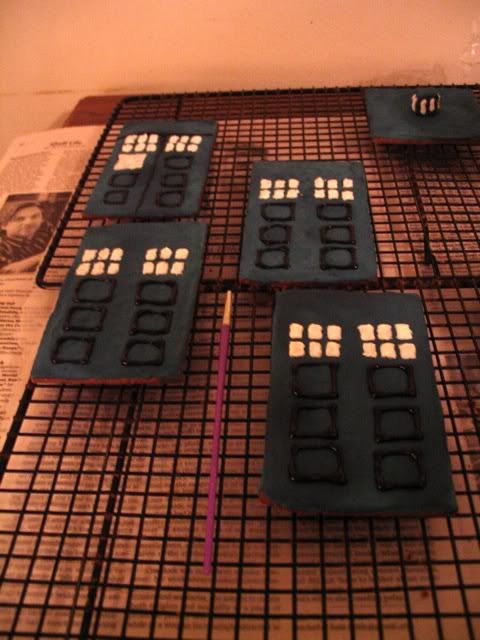
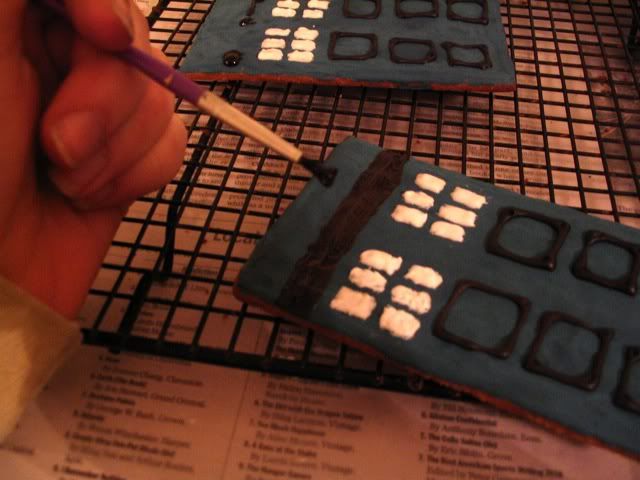
Then came the banners at the top.
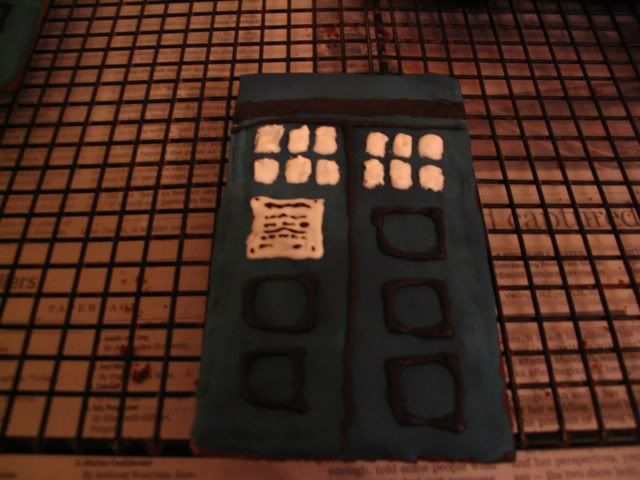
I brought out the paintbrush again, this time with even better results than with the blue.
Because I'm a detail freak (most of the time) I took a toothpick and scribbled the writing on the notice and the tacks stuck in the corners.
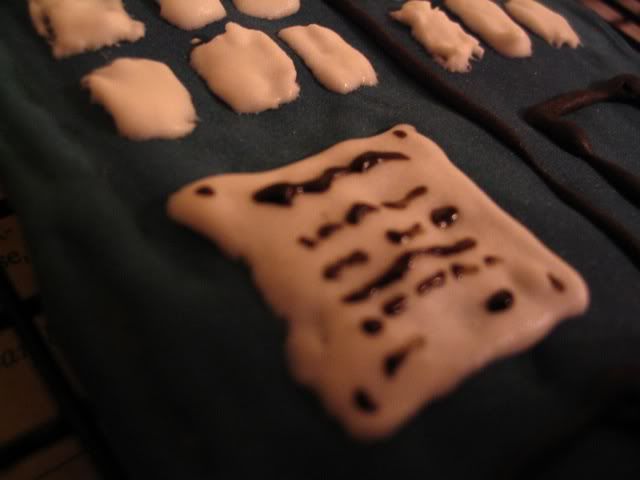
And then the writing. OH GOD, writing.
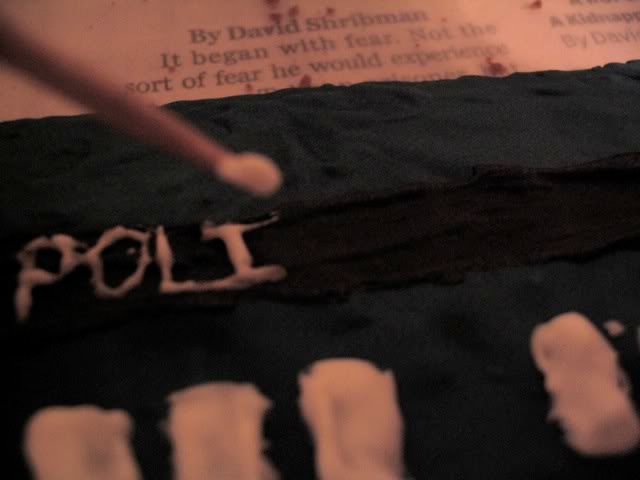
Remember the sugary glue analogy? Yeah, if you thought that was hard for making rectangles, imagine the fun I had writing.
(I actually had a lot of fun, and I just realized how much this sounds like I'm bitching over the challenges. Yeah, it was hard, but I felt so accomplished and awesomely geeky that it didn't even matter).
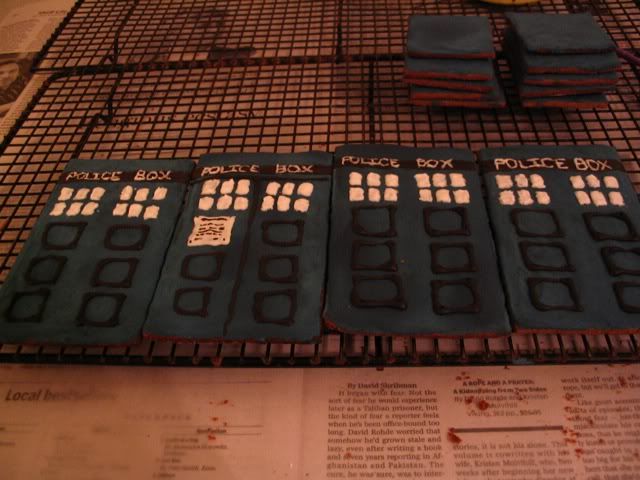
After gleefully destroying my eyes, it was time to assemble the pieces. This is pretty much just a solid montage right here.
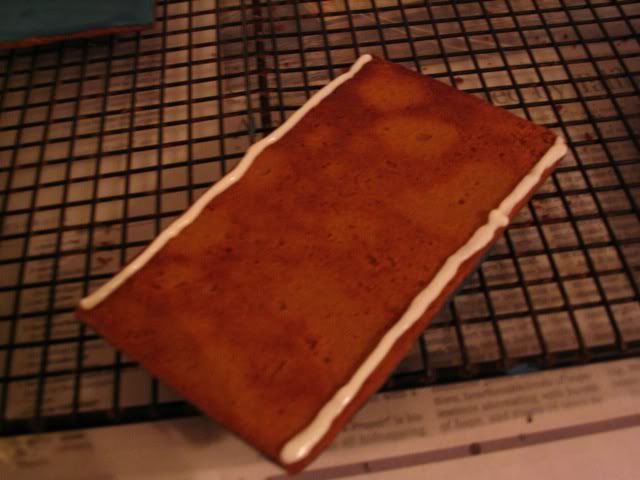
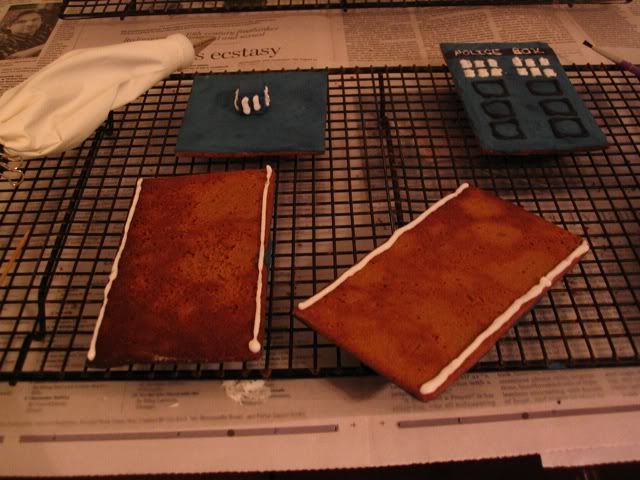
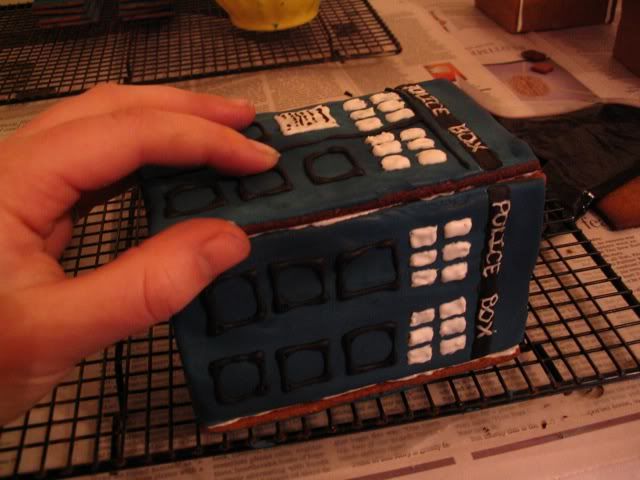
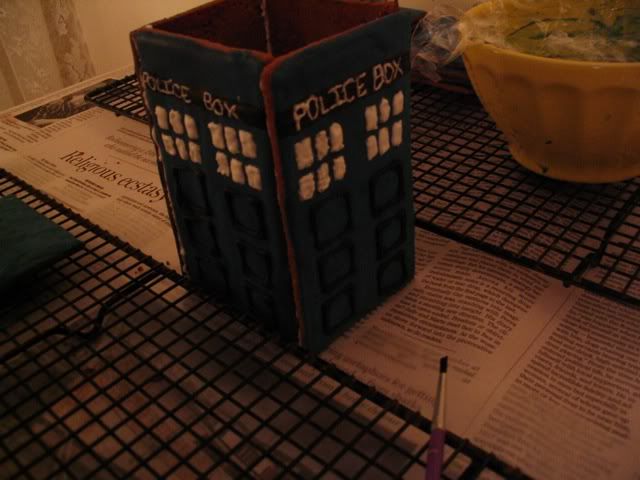
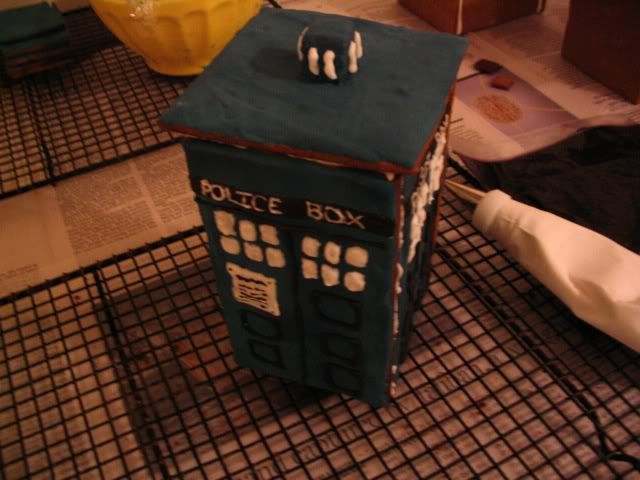
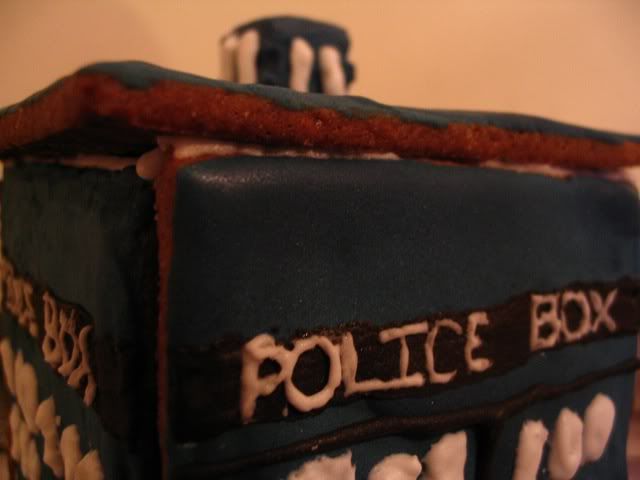
Once it was stable, I repeated what I did with the light, and filed in the cracks before painting over them.

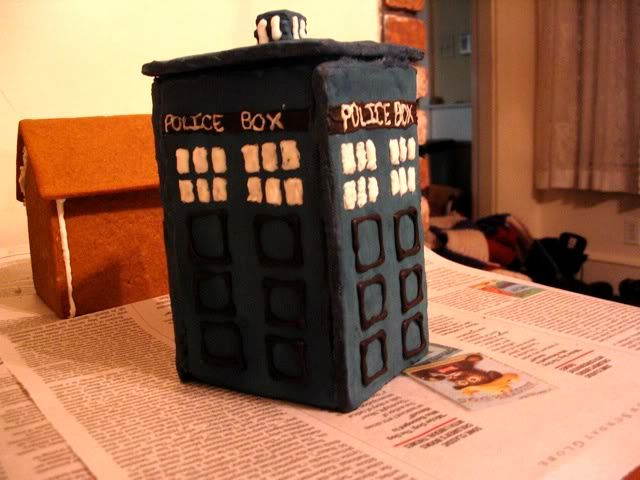
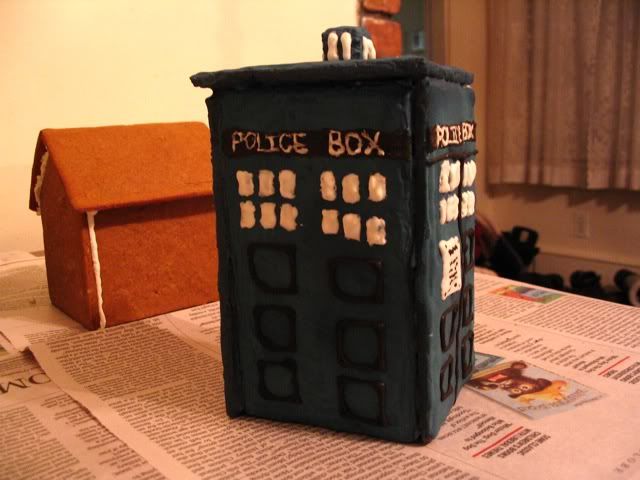
AND THEN WE'RE DONE.
This whole thing is dedicated to the lovelies over at ontd_startrek, for partying and spamming with and being awesome in general.

So now that the holiday season is upon us, I was looking forward to decorating my own baked dwelling.
When my mom suggested (possibly jokingly) that I do the TARDIS.
The TARDIS.
It was brilliant. The perfect way to geekify one of my favorite holidays!
Sunday evening and Monday afternoon were devoted to the creation of this:

It starts, of course, with the gingerbread:

(I'd show the stencils, but they are, alas, no more. Also, they were a rectangle and two squares, so they weren't much to look at)
And then, once you've got that, you need some icing.

I used royal icing, and an entire eyedropper of blue food coloring. -_-;

Girl has to make sure her TARDIS is the right color, after all. Let me tell you, that stuff stains your hands like NO OTHER.
My plan was to ice the pieces, decorate them, then assemble it.
In order to ice everything, I had to put them on a rack over wax paper, glob some frosting on,

(generally more than that, but it's a start)
and spread it around (I used a spoon, until I figured out my finger was more efficient).

Then you leave it to dry overnight.

~INTERLUDE~
During this "overnight" I was partying it up with the awesome peeps over at ontd_startrek . They are the coolest cats of all, and their awesomeness kept me from screaming at the toothpicks when they wouldn't draw with icing right.
~END INTERLUDE~


Now that everything's dry, it can be decorated! Yaaaaaay!

But wait, what's this?
Of course! Who could forget the light on the top of the TARDIS?


First you lay down the base for the two to be glued together...

Then when that's dry you fill in the sides so its smooth (it kinda looks like a gingerbread whoopie pie)...

And you flatten it off.

Now, I quickly realized that this was too short, so I was very glad I had another to add on top.


And now, SHIT GETS REAL.

I attached the as-yet-unpainted light to the top.

I was really glad I got it right the first time.

And now we fingerpaint it!

(fingerpainting with icing is the best because you can lick your fingers and it's delicious.)
(ADDENDUM:don't icing-fingerpaint with kids who don't know that eating non-icing fingerpaint isn't okay)

But as it happens, my finger was too unwieldy to paint such a small obkect, so I had to get out a paintbrush.


Once that was done, I moved on to the panels. The first thing to do was mark where the "POLICE BOX" banner was gonna be, which I did with a toothpick.

Then came the windows.

Holy God, the goddamn windows.

They were so hard to paint. See, the blue icing was thinner because it had food coloring in it, and the black (coming up) was the thinnest of all. The white was like trying to paint with sugary Elmer's glue.

(Pictured: FAIL)
Suffice to say, I took quite a few visits to the party.


I also did the lantern on top during this time.

When I was finally done with that, I began the fight to create black icing.
See, my problem was I only had red, yellow, blue, and green to make this.

There were the little eyedroppers in the photo, and also two containers of gel coloring, one green one red.
It went from white, to this ugly khaki (unphotographed), to kelly green (I'm still not sure how that happened)

to almost-not-quite-black

to as black as it was going to get (which, as it so happens, is pretty spot-on)

I piped the white notice on the door (NOTE: This was after it got dark outside, and thanks to the crappy lighting in my dining room all of the pictures are darker)

and then set to outlining the panels


Then came the banners at the top.

I brought out the paintbrush again, this time with even better results than with the blue.

Because I'm a detail freak (most of the time) I took a toothpick and scribbled the writing on the notice and the tacks stuck in the corners.

And then the writing. OH GOD, writing.

Remember the sugary glue analogy? Yeah, if you thought that was hard for making rectangles, imagine the fun I had writing.
(I actually had a lot of fun, and I just realized how much this sounds like I'm bitching over the challenges. Yeah, it was hard, but I felt so accomplished and awesomely geeky that it didn't even matter).

After gleefully destroying my eyes, it was time to assemble the pieces. This is pretty much just a solid montage right here.


Once it was stable, I repeated what I did with the light, and filed in the cracks before painting over them.


AND THEN WE'RE DONE.
This whole thing is dedicated to the lovelies over at ontd_startrek, for partying and spamming with and being awesome in general.
