Wig Tutorials are fun!
Can we get a w00t w000t on that? Yea, probably not since this is like a Part 2 of a tutorial which I haven't done yet because I haven't had a wig yet that needed it after I got my digital camera.
Anyway, onto the tutorial.
How to Add Wefts:
Starting with an Enchantment wig in Daydream and buying some matching extensions from Dr.Locks, we got the base materials needed for Natalie's Jibrille wig. I won't be explaining how to make the wefts here. Did you guys know that Katie Bair's site also has a tutorial on how to make wefts? That's basically how I do it so, you know, why not go there?
Anyway, start by pinning the wig to the foamhead, two at the temples, one near the hairline and one in the back. Take the tail of the wig and tug it lightly and if it moves too much for your liking, pin it some more in different places. Wigs that are too loose are bound to move around as well so Meg's Mika wig for instance, needed more pins to keep it from moving way too much.
Please note that these pictures were brightened and sharpened considerably. If given the choice, I would have preferred to do this on a different wig but none of the other ones left needed wefts in them. The bad thing with this wig is that with the flash it's too bright to capture most of the details I wanted and without the flash, it was too dark. It was stupid, really.
Step 1: Separate
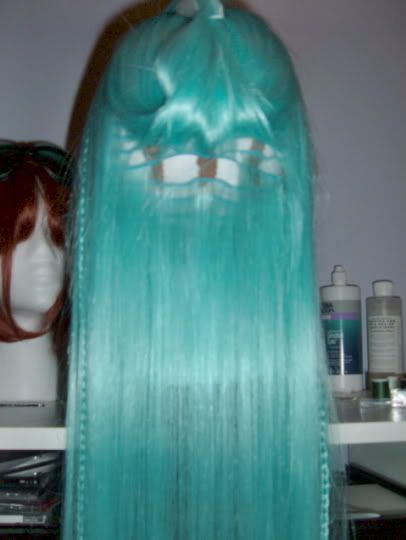
By the time this picture was taken, I had already put in the two base braids for the wig and had my weft position picked out. Based on where you want your weft to go, measure the length in inches and make sure when you make your weft that it fits that size. If it goes too big for what you wanted, the caulk line might stick out of the sides of the wig. That's generally a bad thing but it can be fixed by rearranging and hoping it'll stay.
Anyway, back to the step. Take the hair that you want covering the weft and twist it into a clip and just set it off to the side or where ever. As you can see, it's pretty thin now because you can see the desk top through the hair. The bad thing about this is that most of the hair hanging down there is the tail of Jibrille. It's the hair that stays down and out of the ponytail that I'll put it back up into later on. So obviously, we need more hair there.
For those of you that were confused by my term, "Caulk line" or weft, here's a picture of both.
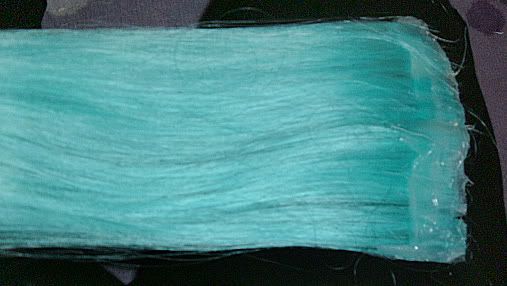
This is the weft on my lap and the caulk line is the line at the top where the hair is sealed into the caulk. Mine's pretty messy right now as you can see but usually I cut it a lot better than that and this one is old anyway. I didn't feel like making more for the wig so I just recycled the older ones, which had thread and everything sticking everywhere.
Step 2: Get it Ready
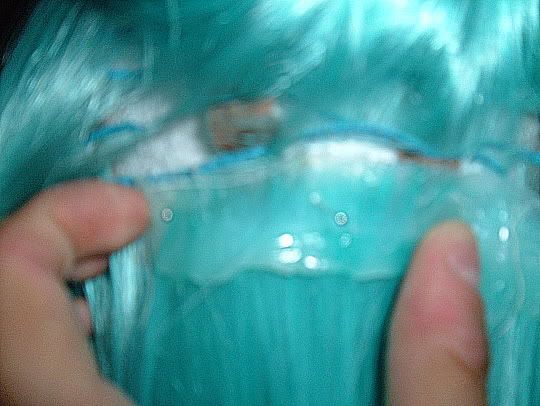
Once you have the weft ready, stick it up to the line where you want it to be added onto and pin it in the caulk line just to keep it in place and to get rid of a lot of stress from your hands. If you don't pin it in, you're always going to be working either against gravity or your own hand because it'll flop or fall around and you'll have to keep on re-adjusting it. It sucks ands its a pain bumping into your own hand because it needs to hold it there.
The pins that you use don't have to be fancy but they just have to be able to take out easily because once you finished with an area, take the pin out to make sure that it's hooked onto the line that you want to be. Btw, the tiny dot things you see inbetween my fingers are the pin tops but because Natalie's wig is so light, you really can't see them. When you put in the pins, make sure to put them in halfway down the caulk line. If you put it in near the top, you'll find that it won't hold the weight of the weft after you take your hand away and it'll snap through. If you put it halfway and pretty much in the thick part of the weft, it'll be strong enough.
For those who don't know what line I'm talking about that your weft should line up with, here's a picture. My finger is right above it.
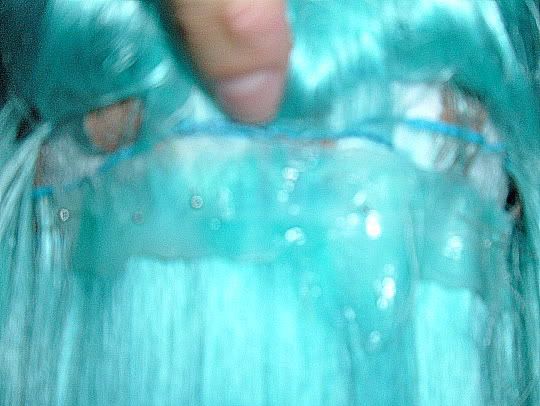
This step is also the biggest because there's multiple things you gotta do to make it ready to add in. One was setting in it and the other is getting your needle and threading it. The thing with adding in a weft is really not the weft itself but it's how you do it! A weft normally takes me like 5 minutes to sew in because I stop a lot (I constantly work below my target so I have to work against gravity and the fact that my arms aren't worked enough) but with a regular sewing needle, it'll take longer. Here's the best tool you will ever use for any weft.
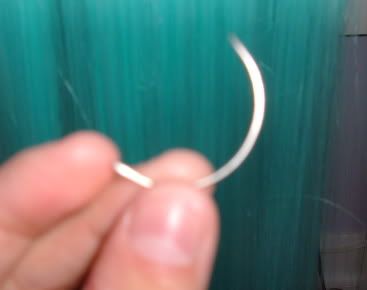
This is the curved needle. It's incredibly easy to thread because the hole is huge and it comes back to you after you put it in. With a regular needle, you'd have to make sure that it's through the weft, through the mesh/line and then you'd have to angle it to come back to you. It's incredibly time consuming and it takes a while to even thread. It's bad. The curved needle curved back to you so it's easy.
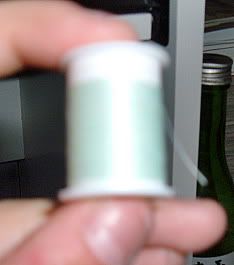
I also chose a color similiar to the wig but because an exact match just wasn't in the house, this'll have to do.
Step 3: Sew it In
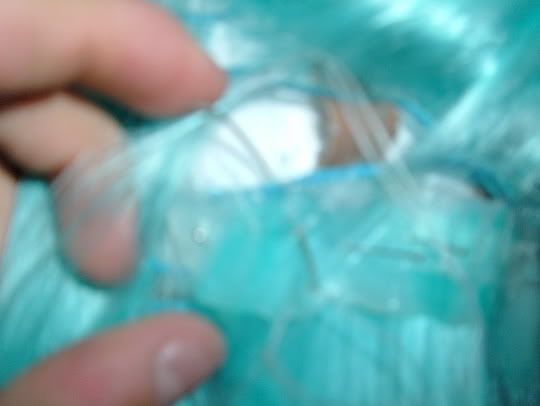
If you know how to sew, this step is pretty much explained in the actual Step: thing. Just remember when you sew it in that you need to go halfway down because now instead of the pin supporting it, the thread will now be supporting it. The great thing about this, you can halfass sew it in because after a while, the caulk line actually starts sticking to the line and it'll basically do the work on its own. Just remember that when you sew it in, sew it from one point to another. Make sure that nothing is sticking up from it.
When you're finished with it, tie it off and you're done.
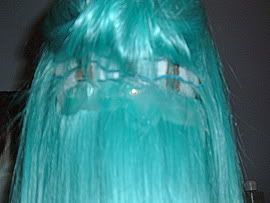
As you can see, I got confused and it ended up starting on one line and ending on another. >.> If that happens, don't worry. It's all good. It's still good and....just consider that you're a moron.
Here ya go, Natalie, a picture of it before I curl it.
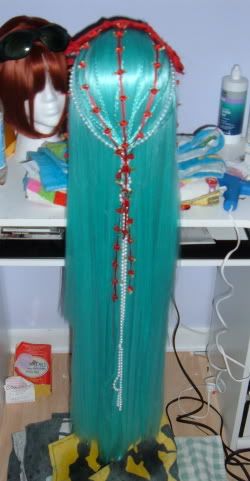
After I finish curling it, I'll take closer pictures of it since technically, it's groovin' while wet. Yea, I used the hot water method to get rid of some frizz and technically, I had washed the bangs out then too so both parts of it were wet.
Also, don't be freaking out if you need me and I'm not online. I'll generally be on when I can and disappear just as quickly. With four more wigs to complete before I can rest, I'll be locked away in my room.