[Tutorial] texture making
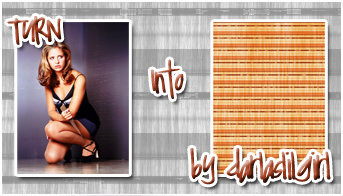
Start image // End product

//
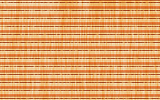
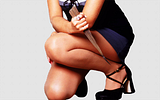
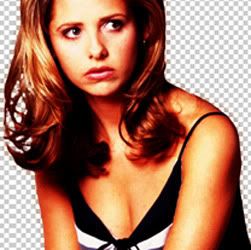
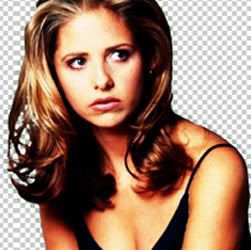
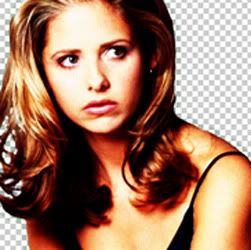
The first thing I did was to make a base for the texture to be created from. I liked the skin tones in the image so I used the selection tools (magnetic lasso tool and quick selection tool) to remove the blue background from the image.

I then made a large canvas (1680px by 1050px), however it only needs to be the size you want the textures to be. I moved the image over to the new canvas and resized to fit the whole image onto the canvas.
//
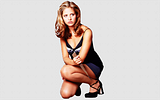
To finish the base image off I used adjustment layers to enhance the image. I used a gradient map with the colours purple (#521194) and white (#FFFFFF) set to linear and multiply in order to slightly darken the image.

I wanted to up the reds in the image so I used a colour balance layer. On this image I used
+

The next adjustment I used was a second colour balance layer under the previous layer, to tone down the red midtones by bringing up the blue midtones. On this image I used
+
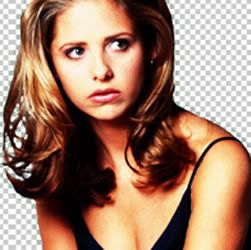
I then duplicated the original resized extracted base image and moved it to the top of the layer stack and set it to screen with a lowered opacity and fill each down to between 35% & 45% . I then duplicated the layer and set it to softlight. this allowed me to enhance the highlights and shadows in the image.
Screen // Softlight
//
//
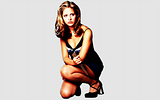
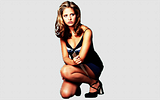
Now the new base is completed. In order to keep the layer pallete tidy I added all of these layers to a layer group. I then selected the base image and used this selection to add a mask to to the group folder. this makes any adjustments inside the folder only visable on the vase image and wont affect anything above the group with opacity and fill percent changes or that is set to a blend mode

With this next step we get to start making it resemble a texture.
I added a new layer above the group to start working with at the next step.
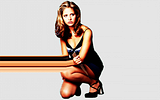
Using the smudge tool with "sample all layers" ticked, smudge the image into an abstact image. Because we made a new layer in the last step if you dont like what occours just delete the layer and start again without destroying the original base. I smudged left from the left arm & leg area and liked the pattern that occoured.
//

(These are simmilar to what occoured the first time but not the same as i forgot to save them)
I then copy and pasted it across the canvas to make a line horozontally. Once this was completed I merged all the layers into one and duplicated it vertically down the canvas. To allow for further modification later if needed, I grouped them up and stamped the group on a new layer which could then be used for filtering.
//
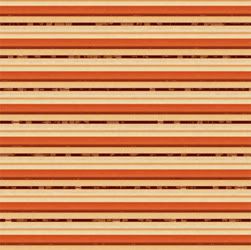
I wasnt as keen on the clean lines on the texture at this point so I duplicated the stamped layer and added the sponge filter with
This allows for texture to be added whilst not deforming the overall image. After confirming this I then reduced the layer fill down to 78% allowing the effect to be slighty reduced.
+
I then reset the foreground & background colours to
//
//
//

//

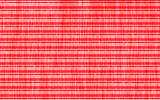
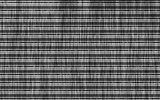
At this stage you can add gradient maps/ black and white/ hue and saturation layers/filters to further alter it if needed i.e..
//
layers pallete:

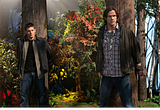
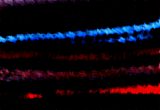
Using different filters/blend modes and some adjustment layers as well as other filters to above I created these examples. Just remember that different images/brushes/layers/filters will produce different results and enjoy making your own textures.
large:
>>

>>
Icon:
>>
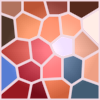
Feel free to snag any of the four textures ive made but please credit either; darlaslilgirl or hellish_media.