.093
Go from this to
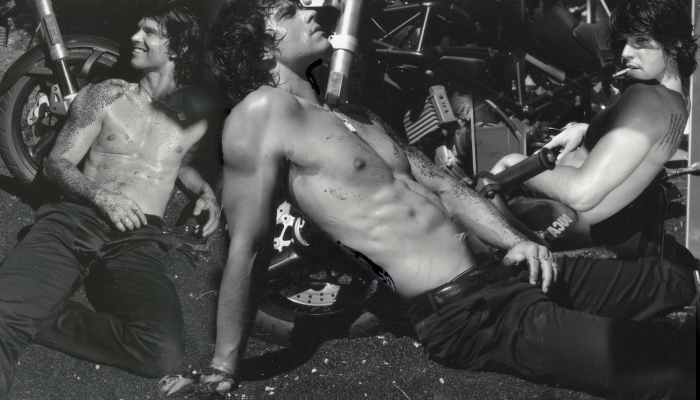
.
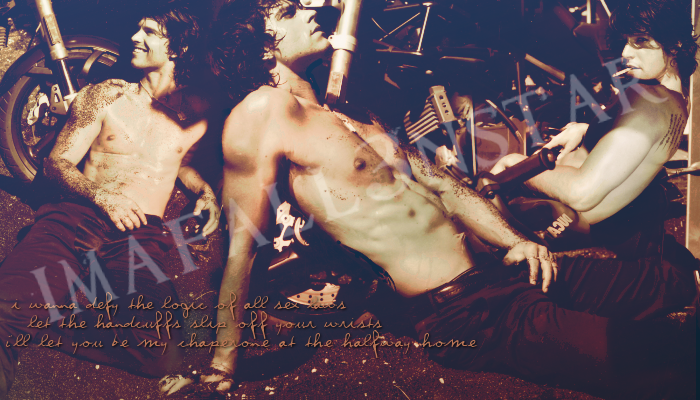
#1 Duplicated your base and set it to Hardlight 30%
#2 New layer, fill with #E1DECF, set to Burn 83%
#3 New layer, fill with #D28A26, set to Burn 34%
#4 New layer, fill with #041E41, set to Exclusion 73%
#5 New layer, fill with #FFC0C0, set to Softlight 52%
#6 New layer, fill with
this gradient [The colors are #E1DECF and #6B7860], set to Overlay at 100%
#7 Duplicate your base and drag it to the top. Take your Retouch tool and set it to Saturation Up. Take your round or square brush and set the Hardness to 100. Go over the image until most of it is red. Set it to Lighten 62%.
Add your text and you're done.
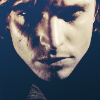
Icons using this tutorial:

Notes: