2 Tutorials
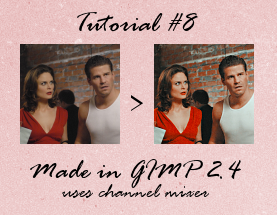
STEP 1- Get your image (I got mine from this site). Crop it, scale to 100x100.
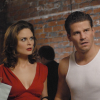
STEP 2- Since the picture is blurry I sharpened it. (Filters>Enhance>Sharpen) set to 10
STEP 3- To brighten it up, duplicate the base and set to 'ADDITION' between 10-20% opacity (mine was set to 15%)
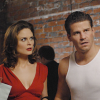
STEP 4- Next, duplicate your base again, drag to top. Open up Channel Mixer (Colors>Components>Channel Mixer), put in these settings:
RED: 120, -40, 10
GREEN: -10, 50, 70
BLUE: -40, 50, 100
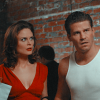
Set that layer to 'COLOR', with opacity between 80-100% (mine was set to 90%)
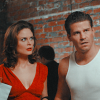
STEP 5- Copy the image (Edit>Copy Visible), then paste (Edit>Paste) as a new layer. Sharpen the layer if you wish
STEP 6- Add this texture (made by
cielo_gris to the image.
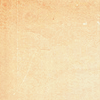
Set the layer to 'OVERLAY', 30%
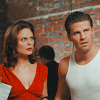
STEP 7- Flatten the image. Then sharpen it using Unsharp Mask (Filters>Enhance>Unsharp Mask)
RADIUS- 2.0
AMOUNT- 0.20
THRESHOLD- 0
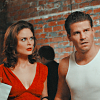
&& that's it! :D
Icons made using similar steps:
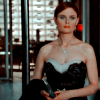
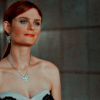
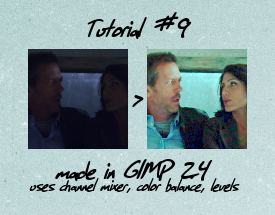
.((NOTE: with this tutorial, a lot of settings will require that you experiment, and will often require changes depending on your icon)).
STEP 1- Start with your base (Mine was capped by the amazing dj43). Crop it, scale to 100x100
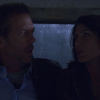
STEP 2- ((This step is optional, but I find it useful in brightening and balancing out my pictures)) Duplicate your base, then use the Equalize tool (Colors>Auto>Equalize).
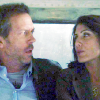
((Mine doesn't look too bad, but some images can turn out really ugly.))
Adjust the opacity, setting it around 10%, but it can be more depending on your image. (mine was set to 30%)
My result
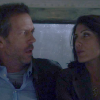
STEP 3- Flatten (Image>Flatten Image) the image.
STEP 4- To brighten the icon, duplicate the base, set it to 'SCREEN' around 50% (Mine was set to 40%)
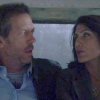
STEP 5- Add a new layer, then fill with color #f3f00d.

Set the layer to 'SOFT LIGHT' around 60% opacity (Mine was set to 60%)
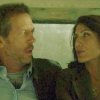
STEP 6- Copy the image (Edit>Copy Visible), and paste as a new layer.
STEP 7- Since the yellow is now dominating the image, open up Channel Mixer (Colors>Components>Channel Mixer), then put in these settings:
RED: 140, -10, -70
GREEN: -2, 95, 37
BLUE: 20, 5, 115
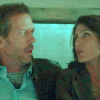
Set that layer to around 90% opacity (95%)
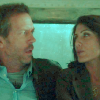
STEP 8- To put some more blue in the image, add a new layer filled with #3c99f8.

Set to 'SOFT LIGHT' between 30-40% (Mine was set to 35%)
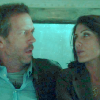
STEP 9- To keep the red from getting overwhelmed, add another new layer, fill with #f72e2e.

Set to 'SOFT LIGHT' around 20% (Mine was set to 20%)
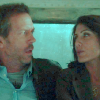
STEP 10- I want to add a bit more depth to my image. To do that, duplicate your base and drag it to the top. Then open the Hue-Saturation tool (Colors>Hue-Saturation) and put in the following settings;
MASTER:
HUE: 10 (this will depend a lot on your image - you want to change it so that the peope's skins are not so red)
LIGHTNESS: 45
SATURATION: 50
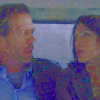
That doesn't look very pretty, so set the layer to 'SOFT LIGHT', with the opacity depending on your image (mine was set to 30%)
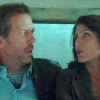
STEP 11- Copy the image (Edit>Copy Visible), paste as a new layer.
STEP 12- Next, open up Color Balance (Colors>Color Balance), putting in these settings
MIDTONES
-35, 25, 10
SHADOWS
-10, -5, 8
HIGHLIGHTS
20,-2,-5
((the goal of this step is to add a blue/green color to the picture, without completely washing out the red))
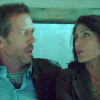
Then set that layer to 'SCREEN', opacity 30-40% (Mine was set to 35%)
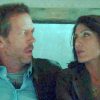
STEP 13- Copy the image (Edit>Copy Visible), paste as a new layer.
STEP 14- I want to brighten the overall icon up a little more. To do that, open up Levels (Colors>Levels), put in these settings:
VALUE
Input- 20, 1.00, 255
Output- 5, 255
RED
Input- 10,1.25, 255
Output- 5, 250
GREEN
Input- 5, 1.25, 255
Output- 0, 250
BLUE
Input- 10, 1.10, 255
Output- 15, 250
(these will need to be adjusted, depending on your image)
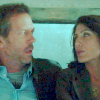
STEP 15- duplicate your base again, drag to the top, put in the following settings
MASTER:
HUE: 10 (this one should be pretty close to what you put in for step 10)
LIGHTNESS: 45
SATURATION: 70
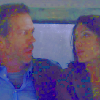
As in step 10, it doesn't look very pretty, so set layer to 'SOFT LIGHT', with opacity depending on your image ( Mine was 30%)
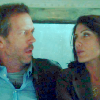
You can be done here, but I wanted to fix my image a bit more.
STEP 16- Flatten (Image>Flatten image) the image.
STEP 17- I didn't like how the skin looked rather pixelated, so I duplicated the base. Using the Teardrop Tool with the 'rate' set to 60, I blurred House && Cuddy's skin. I then switched from 'Blur' to 'Sharpen' to sharpen up both of their eyes and Cuddy's lips. I then set the layer to 40% opacity. Since this means some of the areas still look rather pixelated, I set the tool to blur again, with the rate at 30, and blurred the worst areas of skin on the base.
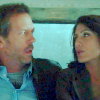
STEP 18- Flatten (Image>Flatten mage) the image again. I then sharpened the image using the Unsharp Mask (Filters>Enhance>Unsharp Mask), with the following settings;
RADIUS- 2.0
AMOUNT- 0.20
THRESHOLD- 0
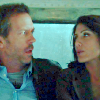
&& you're done! :D
ICONS MADE USING SIMILAR STEPS
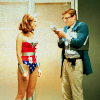

- If you have any questions at all, please ask! I'll get back to you ASAP
- Feel free to WATCH/FRIEND this community
- My other tutorials can be found HERE
- I love seeing results! =D