Tutorial 04: Aries no Mu
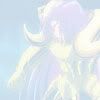
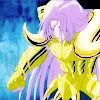
From 
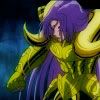
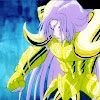
to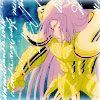
Difficulty: Easy
Program: Photoshop CS3
Traslatable: No
1.- We take our base
2.- Duplicate your base then go to Filter->Blur-> Gaussian Blur: Radius 3.5 px and set to Overlay, 100%
*3. Create a New Adjustment Layer: Brightness/Contrast:
Brightness: 25
Contrast: 35

*4. Create a new layer and fill it with #d5dde6, and set to Screen, 100%
Oooooooooooooooook... I can't see anything... that's gonna change
5. Duplicate your base and put it on the top, then set it Color Burn, 100%
Better, right?
6. Now create another layer and fill it with #eb9bbe, and set to Soft Light, 100%
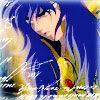
7. And the last new layer you have to create fill it with #ffbd27 and set to Multiply, 30%
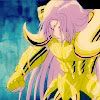
8.- And finally, I used this brush from liminalstate for the border.
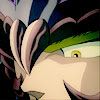
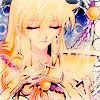
Another examples:

*The color and the Brightness/Contrast layers can variate according your image.
to
Difficulty: Easy
Program: Photoshop CS3
Traslatable: No
1.- We take our base
2.- Duplicate your base then go to Filter->Blur-> Gaussian Blur: Radius 3.5 px and set to Overlay, 100%
*3. Create a New Adjustment Layer: Brightness/Contrast:
Brightness: 25
Contrast: 35
*4. Create a new layer and fill it with #d5dde6, and set to Screen, 100%
Oooooooooooooooook... I can't see anything... that's gonna change
5. Duplicate your base and put it on the top, then set it Color Burn, 100%
Better, right?
6. Now create another layer and fill it with #eb9bbe, and set to Soft Light, 100%
7. And the last new layer you have to create fill it with #ffbd27 and set to Multiply, 30%
8.- And finally, I used this brush from liminalstate for the border.
Another examples:
*The color and the Brightness/Contrast layers can variate according your image.