tutorial 003 (elisha cuthbert icon)
Colouring tutorial for: 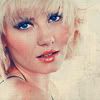
Made in Photoshop 7.0. Not translatable.
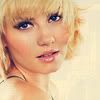
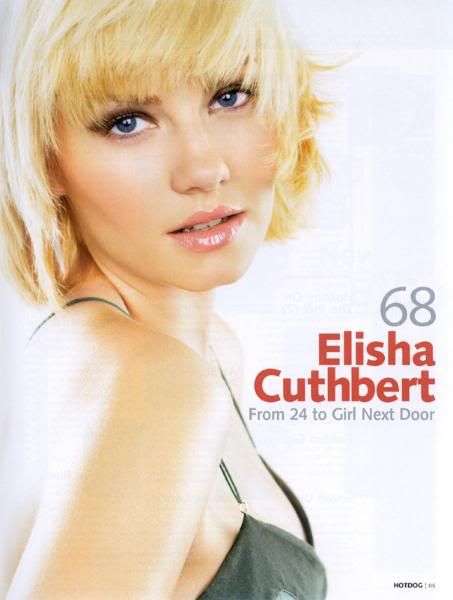
Start by cropping your original image to your icon size:
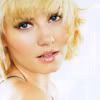
because the image was very light*, i added a curves adjustment layer to darken it slightly (input:146, output:118):
* if your base is dark, you may want to move the curve the other way here, in order to lighten it up a little
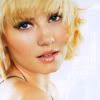
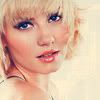
new layer; fill with dark blue (#0A1A4F) and set to exclusion at 77% opacity:
new brightness/contrast adjustment layer (brightness:-3, contrast:+11):
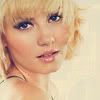
new selective colours adjustment layer
(reds: -22, +52, +50, -11
yellows: +100, +21, -55, -41
neutrals: +10, 0, -9, -5):
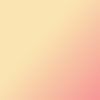
new layer; fill with this gradient. set to soft light at 50% opacity:
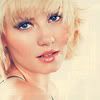
new selective colour adjustment layer
(reds: -12, +23, +36, -19
yellows: +100, +15, -90, -17
cyans: +100, 0, -100, 0
blues: +100, 0, 0, 0
neutrals: +18, +14, -8, -16):
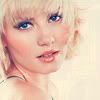
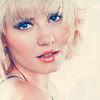
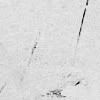
new layer; add this texture (cropped from a larger texture by sanami276). set to overlay at 22% opacity:
new selective colour adjustment layer
(reds: +100, +31, +23, -22
yellows: +100, +15, -41, +100
cyans: +100, 0, -0, 0
blues: +100, 0, 0, 0
neutrals: +69, +0, -11, +18):
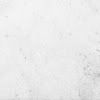
new layer; add this texture (cropped from a larger texture by weapon_icons). set to linear burn at 56% opacity:
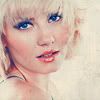
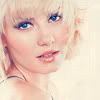
finally, another curves adjustment layer (input:146, output:118):

Any questions/comments, please just ask!
Made in Photoshop 7.0. Not translatable.
Start by cropping your original image to your icon size:
because the image was very light*, i added a curves adjustment layer to darken it slightly (input:146, output:118):
* if your base is dark, you may want to move the curve the other way here, in order to lighten it up a little
new layer; fill with dark blue (#0A1A4F) and set to exclusion at 77% opacity:
new brightness/contrast adjustment layer (brightness:-3, contrast:+11):
new selective colours adjustment layer
(reds: -22, +52, +50, -11
yellows: +100, +21, -55, -41
neutrals: +10, 0, -9, -5):
new layer; fill with this gradient. set to soft light at 50% opacity:
new selective colour adjustment layer
(reds: -12, +23, +36, -19
yellows: +100, +15, -90, -17
cyans: +100, 0, -100, 0
blues: +100, 0, 0, 0
neutrals: +18, +14, -8, -16):
new layer; add this texture (cropped from a larger texture by sanami276). set to overlay at 22% opacity:
new selective colour adjustment layer
(reds: +100, +31, +23, -22
yellows: +100, +15, -41, +100
cyans: +100, 0, -0, 0
blues: +100, 0, 0, 0
neutrals: +69, +0, -11, +18):
new layer; add this texture (cropped from a larger texture by weapon_icons). set to linear burn at 56% opacity:
finally, another curves adjustment layer (input:146, output:118):
Any questions/comments, please just ask!