Tutorial!

We'll be making this icon today! This isn't the exact, precise cropping as the original because I didn't save it as I made it. This is a recreation of the original.
First I take this pic and resize it to what I want.
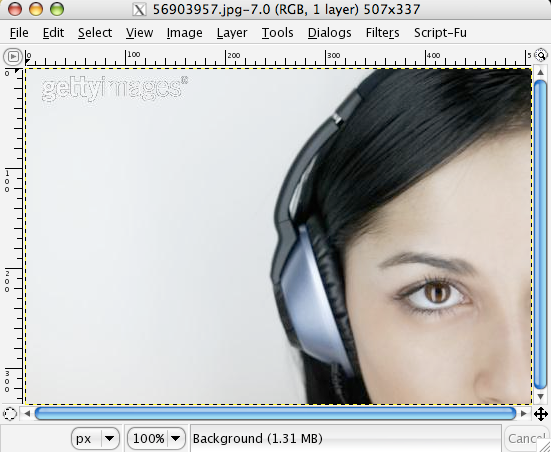
I get this base:
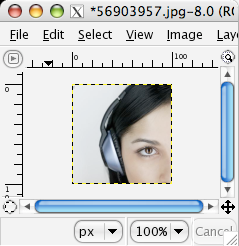
.
Then the most important thing is to erase the area where the animation will be. So you get this:
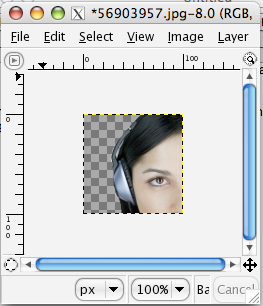
Next, I found a picture of some sheet music.
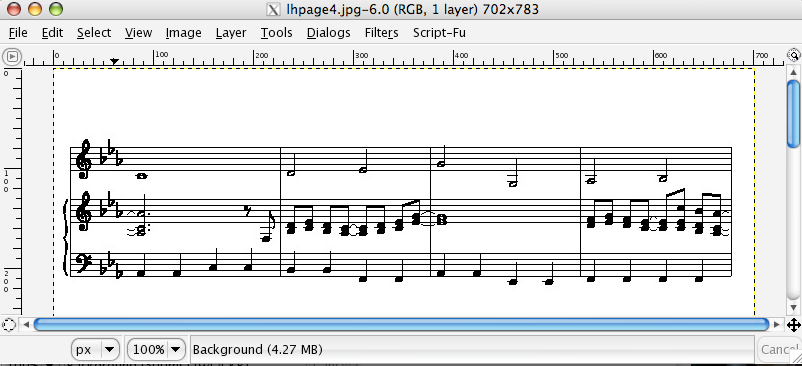
I took the first line and resized it to the height I needed (100px). Then I created a new image that is 61x100 because I want the transparent area to be covered completely. And at it's widest, it is 56px, but I wanted some overlap, just in case.
Now begins the musical animation. I started out lining up the lines of music and then added layers with the next segment/measure of music. I ended up with 5 layers.
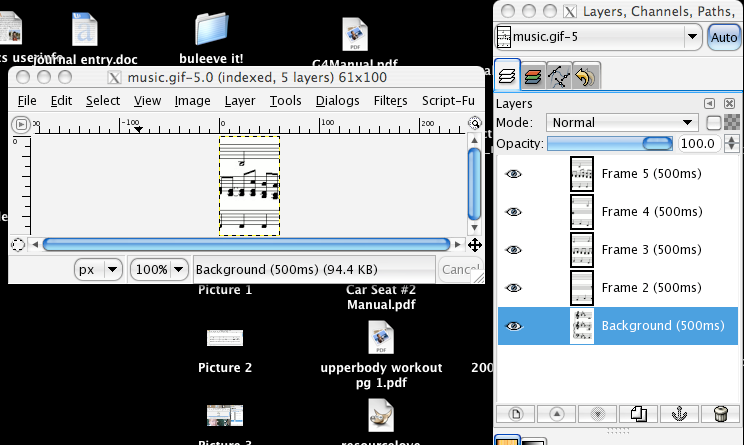
The next part is important. You have to integrate the two images. There might be a better way, but the easiest way for me was to duplicate the girls face for each frame of music. The reason for this is because otherwise, you'll have frames of music without the girl's face. So after you have 5 faces, you can start pasting the music frames into the image. One other important thing to note here is that you'll have to delete the layer titled Background. (Because the music layer has to be beneath the face, and you can't put something below Background. But as long as you have a copy of the background, you can put things beneath it) So once you have your layers like this:
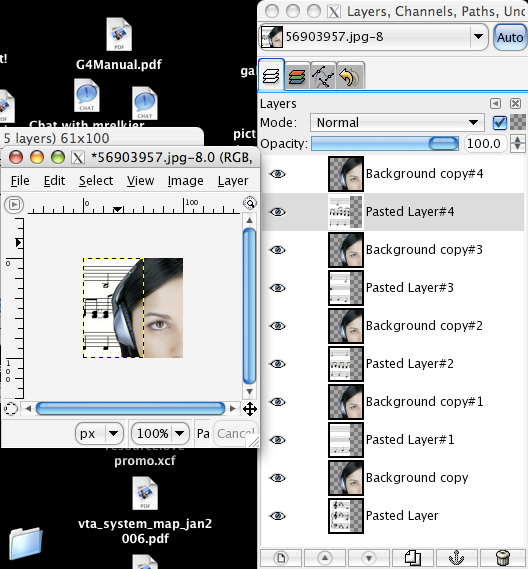
,
you can merge the layers like this:
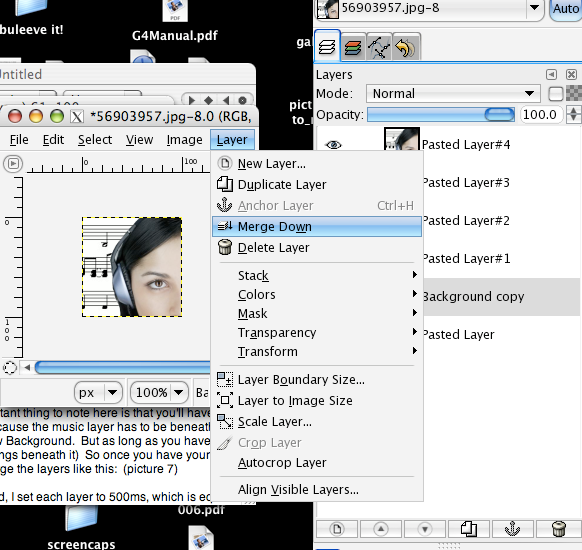
For the animation to flow at a nice speed, I set each layer to 500ms, which is equal to half a second. To do that, just edit the layer description by clicking twice and adding (500ms).
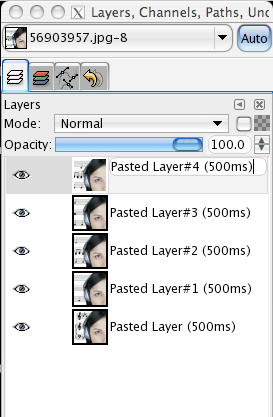
Then you have to optimize the animation.
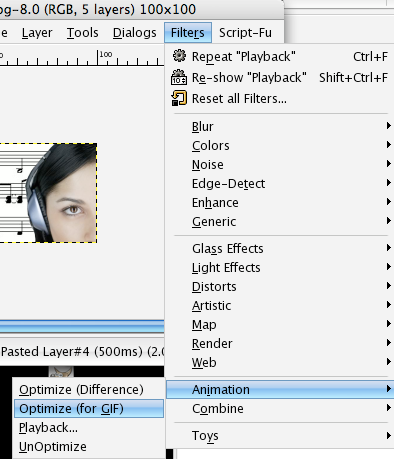
Which gives you this:
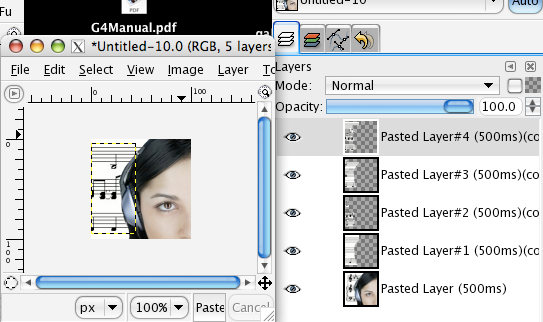
Save it as a gif and select the option Save As Animation
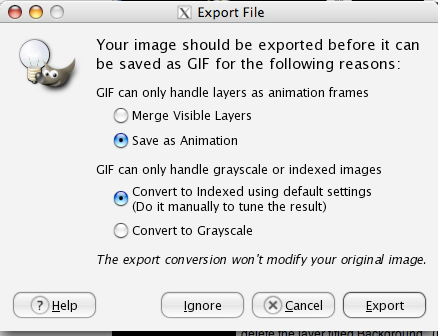
and you're done! If you'd like to use this icon please remember my rules!
:D