Tutorial :: Bringing Light to the Dark :: Fixing those Dark Screen-Caps :: Photoshop CS2
Just because I already had the images in my PC somewhere and I'm procrastinating on the studying bit:
--------- ****** -----------
Ever had those pesky screen-caps you love but are just too darn dark to use and make into icons?
Turn this: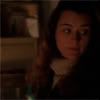
into this: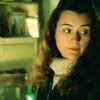
Basic knowledge in Photoshop is necessary
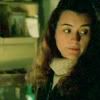
Taking that screen-cap (from NCIS' Ziva David) that is here (thumbnailed):

Cut out the section you want and put it into a 100X100 canvas.
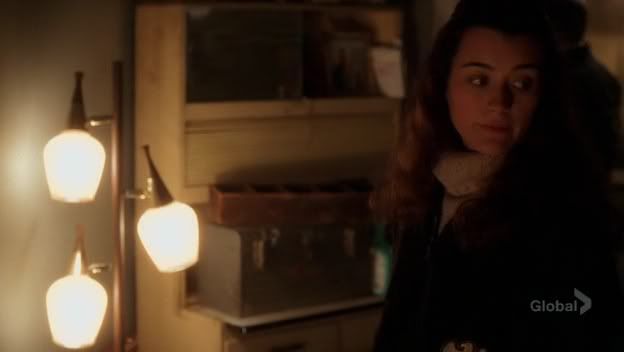
Then duplicate that layer and set to screen. The image will brighten and I did that another two more times until I'm happy with it. Sometimes it takes less or more duplicates though. It depends on how dark the original pictures is. However, if let say you like the brightness "between" two layers set to 'screen', then just adjust the opacity of one of the layers.
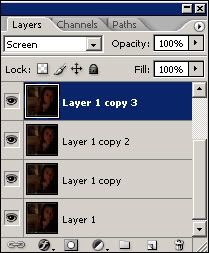
Getting this:
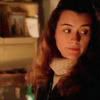
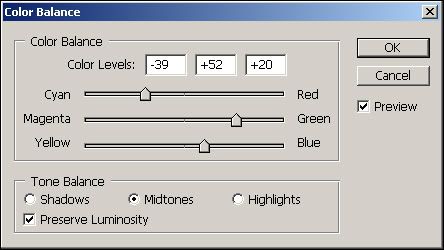
But it still looks a wee bit too... "red". So, go to New Adjustment Layer > Colour Balance and set it to: Cyan - Red (-39), Magenta-Green (+52), Yellow-Blue (+20). But that's just me, play around with the colours if you want a more yellow effect than push the dial closer to yellow (it'll be a negative number) or if you'd like a more blue tone, then move it closer to blue.
Getting this:
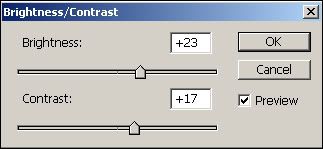
Finally, adjust the New Adjustment Layer > Brightness/Contrast by: Brightness (+23) and Contrast (+17). Again, this is up to you and depends on how bright you'd like your icon to be.
Voila:
And here's another one using McGee. Though this picture was darker and required about 5 duplicated layers set to screen. The Colour Balance and Brightness/Contrast also varied from the above settings. So just play around and find the setting you like:
From
to
Please credit if you use this tutorial. :)
--------- ****** -----------
Ever had those pesky screen-caps you love but are just too darn dark to use and make into icons?
Turn this:
into this:
Basic knowledge in Photoshop is necessary
Taking that screen-cap (from NCIS' Ziva David) that is here (thumbnailed):
Cut out the section you want and put it into a 100X100 canvas.
Then duplicate that layer and set to screen. The image will brighten and I did that another two more times until I'm happy with it. Sometimes it takes less or more duplicates though. It depends on how dark the original pictures is. However, if let say you like the brightness "between" two layers set to 'screen', then just adjust the opacity of one of the layers.
Getting this:
But it still looks a wee bit too... "red". So, go to New Adjustment Layer > Colour Balance and set it to: Cyan - Red (-39), Magenta-Green (+52), Yellow-Blue (+20). But that's just me, play around with the colours if you want a more yellow effect than push the dial closer to yellow (it'll be a negative number) or if you'd like a more blue tone, then move it closer to blue.
Getting this:
Finally, adjust the New Adjustment Layer > Brightness/Contrast by: Brightness (+23) and Contrast (+17). Again, this is up to you and depends on how bright you'd like your icon to be.
Voila:
And here's another one using McGee. Though this picture was darker and required about 5 duplicated layers set to screen. The Colour Balance and Brightness/Contrast also varied from the above settings. So just play around and find the setting you like:
From
to
Please credit if you use this tutorial. :)