(no subject)
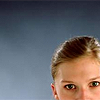
Before:
~After:
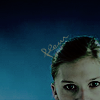
as requested by grace_oh
made for Photoshop, but should translate
Please use your own image when following this. You'll learn so much more that way. Please also keep in mind that every image is different, so the picture you choose may not end up looking very much like mine in the end. That said, feel free to fool around a bit and change some things to better suit your image. Have fun!
1. I start with this promo picture of Fleur in Harry Potter and the Goblet of Fire. (picture compliments of Veritaserum) I crop it, resize it to 100x100 pixels, and sharpen it. I always fade the sharpening to at least 90%; for this one I might have faded it to about 60%.

2. I then went through my normal basing procedures. A tutorial on how I do this is here. I make a new layer and press alt + ctrl + shift + e to merge my existing layers onto the new layer. I do auto levels and auto contrast and fool around with curves a bit until I get something I like before setting than layer on 60% to tone it down a bit.
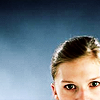
3. I duplicate the layer I set on soft light in my basing process, pull it to the top, and set it on soft light at 60%.
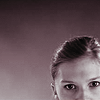
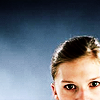
4. A make a new layer, fill it with color #692B32 and set it on multiply opacity 50%.
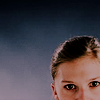
5. Another new layer, this time filled with color #F8EFD0. Set the layer on multiply again, keeping it at 100%. Not much of a difference, but an important one.
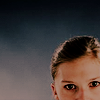
6. I make a final layer of color, filled with color #7DE8FF and set on color burn at 100%.
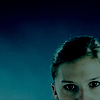
7. I duplicate the very bottom layer, pull it to the top, and set it on screen at 10%.
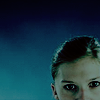
8. To finish the picture off, I duplicate my base (step 2), pull it to the top, and set it on hue at 40% opacity.
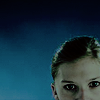
9. For the final touch, I select a light tan color from her skin and write 'fleur.' I'm not exactly sure what font I used, but I think it's Violation. I used the skew tool to curve the text around her head a bit. And it's done!

I'd love to see what you made, so comment away! :D