095 - tutorial #24
This is a long belated tutorial that _childish_fears requested.
Going from this:
to this:
.
Made in Photoshop 7. Translatable!
First I sharpened the cap slightly (unsharp mask to about 50) and then resized to 500px width.
Then I duplicated the base twice setting the first to Soft Light and the second to Screen.
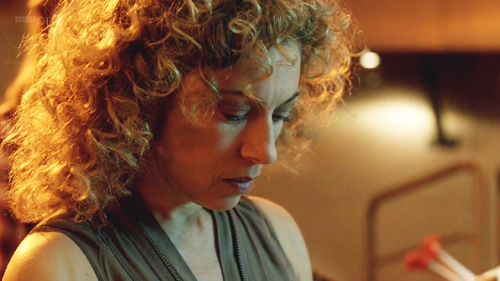
I then took this texture by azuremonkey. I resized it to fit the image better, desaturated it and set it on Soft Light.
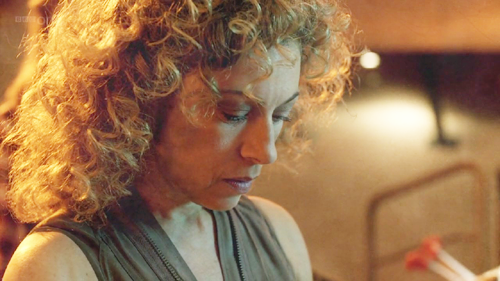
Then I added this texture also by azuremonkey. I also resized it to fit since it was so much bigger, that way all those beautiful colors end up in the image.
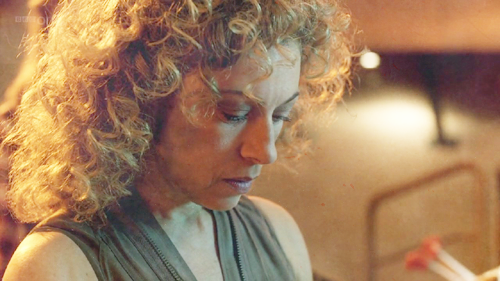
I wanted to have more drastic colors in the image so I added a Gradient Fill Layer with these settings:
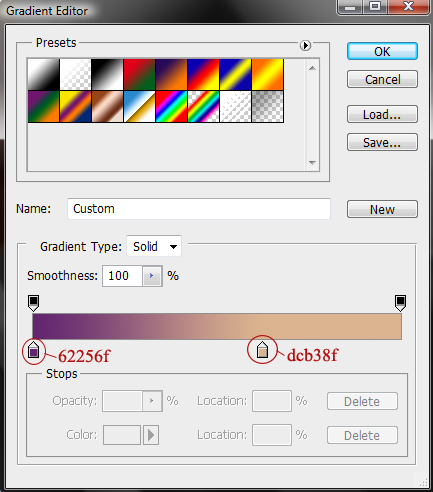
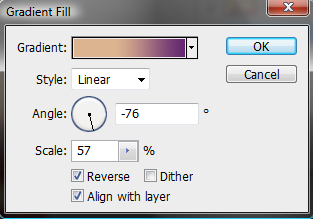
Gradients really depend on the image and the effect you want, but I've found these colors work on a lot of images with different effects.
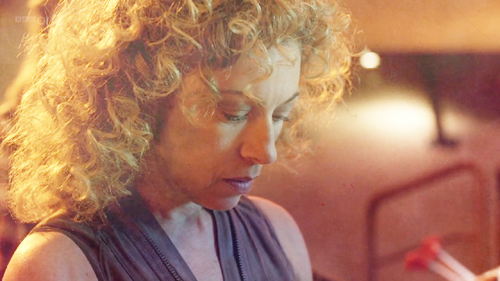
And to finish it all off and add contrast I merged everything and duplicated it, setting that layer on Soft Light!
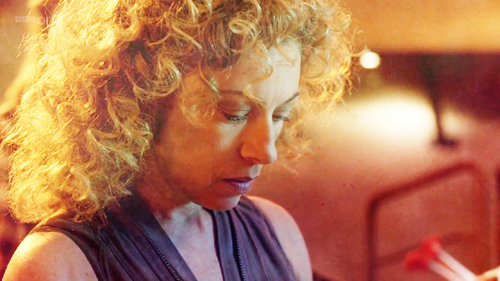
And that's it :D
Going from this:

to this:

.
Made in Photoshop 7. Translatable!
First I sharpened the cap slightly (unsharp mask to about 50) and then resized to 500px width.
Then I duplicated the base twice setting the first to Soft Light and the second to Screen.

I then took this texture by azuremonkey. I resized it to fit the image better, desaturated it and set it on Soft Light.

Then I added this texture also by azuremonkey. I also resized it to fit since it was so much bigger, that way all those beautiful colors end up in the image.

I wanted to have more drastic colors in the image so I added a Gradient Fill Layer with these settings:


Gradients really depend on the image and the effect you want, but I've found these colors work on a lot of images with different effects.

And to finish it all off and add contrast I merged everything and duplicated it, setting that layer on Soft Light!

And that's it :D