almateria (64)
Make 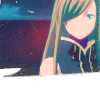
from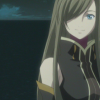
using PSP8. Translatable. Image heavy!
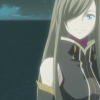
Duplicate base. Set to screen 75%.

=
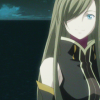
Duplicate base and bring to the top. Set to softlight 100%.

=
Go to Layers > New Adjustment Layer > Hue/Saturation/Lightness. Set saturation to 35.
=
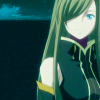
Set #C2F9FE to burn 100%.

=
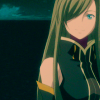
Set #F78F61 to multiply 60%.

=
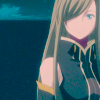
Set #EFCDFD to softlight 100%.

=
Set #EFCDFD to saturation 15%.

=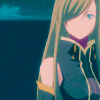
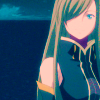
Go to Layers > New Adjustment Layer > Color Balance. Set midtones blue to 20, shadows cyan to -35, shadows blue to 15, highlights red to 10, and highlights yellow to -20.
=
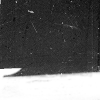
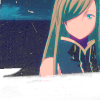
Paste this texture (by peachinparis) and set it to lighten 100%.
=
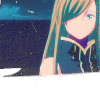
Go to Layers > New Adjustment Layer > Brightness/Contrast. Set both brightness and contrast to 10.
=
Paste this texture (by me) and set it to lighten 100%.
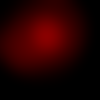
=
Play around with the opacity if your icon is too dark or too light. Please don't copy exactly. Thanks for reading :)
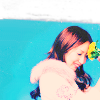
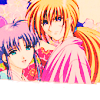
Icons made using this tutorial
Like what you see? Why don't you friend us!

from

using PSP8. Translatable. Image heavy!
Duplicate base. Set to screen 75%.

=

Duplicate base and bring to the top. Set to softlight 100%.

=

Go to Layers > New Adjustment Layer > Hue/Saturation/Lightness. Set saturation to 35.

=

Set #C2F9FE to burn 100%.

=

Set #F78F61 to multiply 60%.

=

Set #EFCDFD to softlight 100%.

=

Set #EFCDFD to saturation 15%.

=

Go to Layers > New Adjustment Layer > Color Balance. Set midtones blue to 20, shadows cyan to -35, shadows blue to 15, highlights red to 10, and highlights yellow to -20.

=

Paste this texture (by peachinparis) and set it to lighten 100%.

=

Go to Layers > New Adjustment Layer > Brightness/Contrast. Set both brightness and contrast to 10.

=

Paste this texture (by me) and set it to lighten 100%.

=

Play around with the opacity if your icon is too dark or too light. Please don't copy exactly. Thanks for reading :)
Icons made using this tutorial


Like what you see? Why don't you friend us!