almateria (61)
Make 
from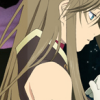
using PSP8. May not be translatable. Uses Curves and is image heavy!
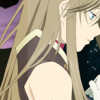
Duplicate base. Set to screen 50%.

=
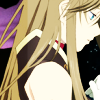
Duplicate base and bring to the top. Set to overlay 100%.

=
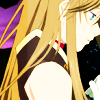
Go to Layers > New Adjustment Layer > Hue/Saturation/Lightness. Set saturation to 40.
=
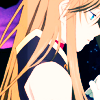
Go to Layers > New Adjustment Layer > Color Balance. Set midtones cyan to -80, midtones blue to 80, and highlights red to 40.
=
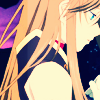
Set #020328 to exclusion 100%.

=
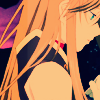
Set #FAA662 to multiply 60%.

=
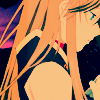
Set #A2F5FA to burn 100%.

=
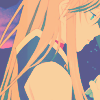
Set #FDD4B9 to luminance 50%.

=
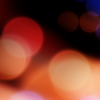
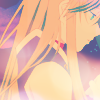
Paste this texture (by me) and set it to screen 100%.
=
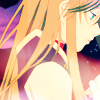
Duplicate base and bring to the top. Set to overlay 100%.

=
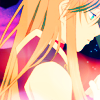
Go to Layers > New Adjustment Layer > Hue/Saturation/Lightness. Set saturation to 40.

=
Go to Layers > New Adjustment Layer > Curves. Set Red input to 70 and output to 80, and Blue input to 35 and output to 85. Set the layer to multiply 55%
=
Play around with the opacity if your icon is too dark or too light. Please don't copy exactly. Thanks for reading :)
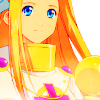
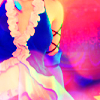
Icons made using this tutorial
Like what you see? Why don't you friend us!

from

using PSP8. May not be translatable. Uses Curves and is image heavy!
Duplicate base. Set to screen 50%.

=

Duplicate base and bring to the top. Set to overlay 100%.

=

Go to Layers > New Adjustment Layer > Hue/Saturation/Lightness. Set saturation to 40.

=

Go to Layers > New Adjustment Layer > Color Balance. Set midtones cyan to -80, midtones blue to 80, and highlights red to 40.

=

Set #020328 to exclusion 100%.

=

Set #FAA662 to multiply 60%.

=

Set #A2F5FA to burn 100%.

=

Set #FDD4B9 to luminance 50%.

=

Paste this texture (by me) and set it to screen 100%.

=

Duplicate base and bring to the top. Set to overlay 100%.

=

Go to Layers > New Adjustment Layer > Hue/Saturation/Lightness. Set saturation to 40.

=

Go to Layers > New Adjustment Layer > Curves. Set Red input to 70 and output to 80, and Blue input to 35 and output to 85. Set the layer to multiply 55%

=

Play around with the opacity if your icon is too dark or too light. Please don't copy exactly. Thanks for reading :)
Icons made using this tutorial


Like what you see? Why don't you friend us!