almateria (60)
Request by mumpo_sloth!
Make
from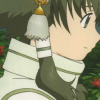
using PSP8. Not translatable. Image heavy!
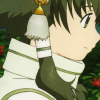
Duplicate base and bring to the top. Set to softlight 100%.

=
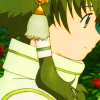
Go to Layers > New Adjustment Layer > Hue/Saturation/Lightness. Set saturation to 60.
=
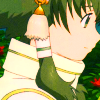
Go to Layers > New Adjustment Layer > Color Balance. Set midtones cyan to -60, midtones blue to 60, and highlights red to 60.
=
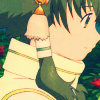
Set #030A37 to exclusion 100%.

=
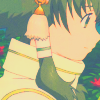
Set #FFCE33 to luminance (legacy) 35%.

=
Set #D1FEFF to burn 100%.

=
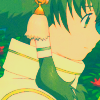
Set #D3FFD1 to burn 100%.

=
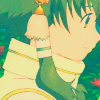
Set #FFD1D3 to softlight 50%.

=
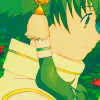
Go to Edit > Copy Merged. Paste this layer on top of everything else and set to burn 35%.

=
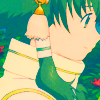
Go to Layers > New Adjustment Layer > Color Balance. Set midtones cyan to -80, midtones blue to 60, and highlights red to 20.

=
Go to Layers > New Adjustment Layer > Hue/Saturation/Lightness. Set saturation to 20.

=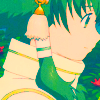
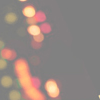
Paste this texture (by awmpdotnet) and set it to hardlight 100%. I moved it around on this icon.
=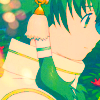
Go to Edit > Copy Merged. Paste this layer on top of everything else and set to burn 30%.

=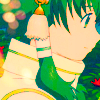
Paste this texture (by urbanwalks) and set it to screen 100%.

=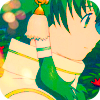
Duplicate the texture from before, still set to hardlight, and bring it to the top. I moved it around again on this icon.

=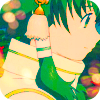
Go to Edit > Copy Merged. Paste this layer on top of everything else and set to burn 10%.

=
Play around with the opacity if your icon is too dark or too light. Please don't copy exactly. Thanks for reading :)
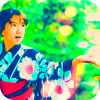
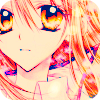
Icons made using this tutorial
Like what you see? Why don't you friend us!
Make

from

using PSP8. Not translatable. Image heavy!
Duplicate base and bring to the top. Set to softlight 100%.

=

Go to Layers > New Adjustment Layer > Hue/Saturation/Lightness. Set saturation to 60.

=

Go to Layers > New Adjustment Layer > Color Balance. Set midtones cyan to -60, midtones blue to 60, and highlights red to 60.

=

Set #030A37 to exclusion 100%.

=

Set #FFCE33 to luminance (legacy) 35%.

=

Set #D1FEFF to burn 100%.

=

Set #D3FFD1 to burn 100%.

=

Set #FFD1D3 to softlight 50%.

=

Go to Edit > Copy Merged. Paste this layer on top of everything else and set to burn 35%.

=

Go to Layers > New Adjustment Layer > Color Balance. Set midtones cyan to -80, midtones blue to 60, and highlights red to 20.

=

Go to Layers > New Adjustment Layer > Hue/Saturation/Lightness. Set saturation to 20.

=

Paste this texture (by awmpdotnet) and set it to hardlight 100%. I moved it around on this icon.

=

Go to Edit > Copy Merged. Paste this layer on top of everything else and set to burn 30%.

=

Paste this texture (by urbanwalks) and set it to screen 100%.

=

Duplicate the texture from before, still set to hardlight, and bring it to the top. I moved it around again on this icon.

=

Go to Edit > Copy Merged. Paste this layer on top of everything else and set to burn 10%.

=

Play around with the opacity if your icon is too dark or too light. Please don't copy exactly. Thanks for reading :)
Icons made using this tutorial


Like what you see? Why don't you friend us!