Tutorial (38)
Make 
from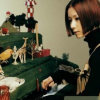
using PSP8. Translatable. Image heavy!
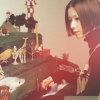
Sharpen base if need be. Paste this texture (by me) and set it to screen 96%. Move around to your liking.

=
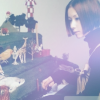
Paste this texture (by me) and set it to screen 78%. Move around to your liking.

=
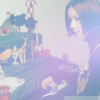
Paste this texture (by me) and set it to luminance (legacy) 38%.

=
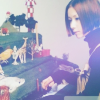
Duplicate base and bring to the top. Set to softlight 100%

=
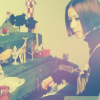
Set #010953 to exclusion 100%

=
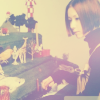
Set #F8BEBE to softlight 100%.

=
Set #DBFCFF to burn 40%.

=
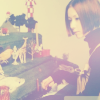
Set #F8BEBE to softlight 50%.

=
Set #FFEEDB to luminance (legacy) 42%.

=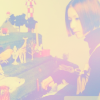
Duplicate base and bring to the top. Set to softlight 30%

=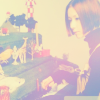
Duplicate base and bring to the top. Set to burn 40%

=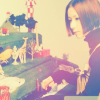
Go to Layers > New Adjustment Layer > Hue/Saturation/Lightness. Set saturation to 30.
=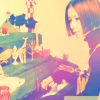
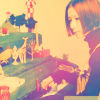
Set #152273 to multiply 100%

=
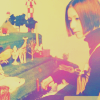
Set #DBDBDB to darken 80%

=
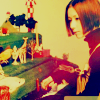
Duplicate base and bring to the top. Set to burn 40%

=
Go to Layers > New Adjustment Layer > Brightness/Contrast. Set brightness to -5 and contrast to 5.
=
Play around with the opacity if your icon is too dark or too light. Please don't copy exactly. Thanks for reading :)
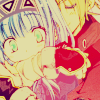
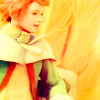
Icons made using this tutorial
Like what you see? Why don't you friend us!

from

using PSP8. Translatable. Image heavy!
Sharpen base if need be. Paste this texture (by me) and set it to screen 96%. Move around to your liking.

=

Paste this texture (by me) and set it to screen 78%. Move around to your liking.

=

Paste this texture (by me) and set it to luminance (legacy) 38%.

=

Duplicate base and bring to the top. Set to softlight 100%

=

Set #010953 to exclusion 100%

=

Set #F8BEBE to softlight 100%.

=

Set #DBFCFF to burn 40%.

=

Set #F8BEBE to softlight 50%.

=

Set #FFEEDB to luminance (legacy) 42%.

=

Duplicate base and bring to the top. Set to softlight 30%

=

Duplicate base and bring to the top. Set to burn 40%

=

Go to Layers > New Adjustment Layer > Hue/Saturation/Lightness. Set saturation to 30.

=

Set #152273 to multiply 100%

=

Set #DBDBDB to darken 80%

=

Duplicate base and bring to the top. Set to burn 40%

=

Go to Layers > New Adjustment Layer > Brightness/Contrast. Set brightness to -5 and contrast to 5.

=

Play around with the opacity if your icon is too dark or too light. Please don't copy exactly. Thanks for reading :)
Icons made using this tutorial


Like what you see? Why don't you friend us!