Me, a tutorial, and some icons!
V odd as officially I now live in the flat alone. I feel so much more responsible for it now - tho Nikki will be popping over to check up on me and pick up her mail. She's coming over tomorrow for coffee and natter. It's been a quiet weekend with a little bit of essentials shopping, new trousers for work, that kinda thing, I have done alot of phoning tho. Been talking to Nita about going travelling in southern Spain over the summer, but we're not sure what's gonna happen cus she may be going to Japan to teach English. Hmmmm, everyone is travelling at the mo, or have been travelling in the past, it has got me thinking of VSO, which gives 2 week voluntary placements. My housemate in England went on it last year and had a great time, but it comes down to money again and I've been looking at flat prices and mortgage deals in case Nikki wants to sell the flat, so I'm not sure if it's possible this year... we shall see.. I'll probably send off for a brochure to take a look whatever happens. Also hopefully Louise, Sarah and Kev will come over next weekend - me and Sarah were talking about it but Louise was on holiday with Douglas so I dunno what she thinks yet, hopefully it'll happen and we'll do the tourist thing! Yay!
Woohooo! Icon tutorial! Not done one of these for ages!
We're making this:

We start with this image of Alyssa Milano from Charmed. Shrink her down to the ole 100x100 size:

and sharpen once:

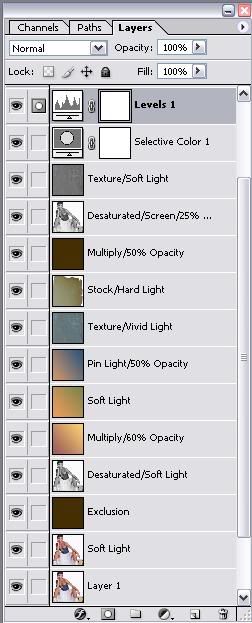
Duplicate the image then set the top layer to Soft Light to get:

Create a new layer and fill it with a dark Brown:

And set this to Exclusion:
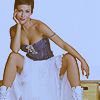
Duplicate the image of Alyssa, drag it above the other layers, desaturate it, and set it to Soft Light:
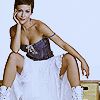
Right, now we've got a whole bunch of gradients to add, either by crumblingwalls or oxoniensis, I'm afraid I can't remember who did what!
This:

at Multiply 60% Opacity:
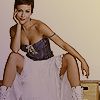
This:

at Soft Light:
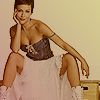
And this:

at Pin Light 50% Opacity:

Now to add texture! I used part of this texture from The Magic Box, and blurred the area over Alyssa so it looks like this:
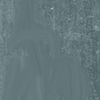
The texture was set to Vivid Light to get:
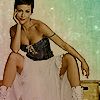
I then used a stock image from Ex-posed:
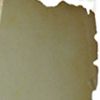
and set it to Hard Light:
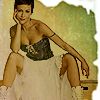
Hmmm, not to keen on her colour so I floodfill a new layer with the same brown as before and set it to Multiply 50% Opacity:
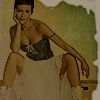
Then I took my image of Alyssa, desaturated it, and placed it on the top layer set at Screen 25% Opacity:

The texture has faded so I duplicated my texture layer, dragged it to the top, desaturated it, and set it to Soft Light:
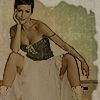
Finally to sort the colours out I played around with a Selective Color Adjustment Layer to get:
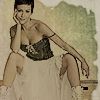
Then a Levels Adjustment Layer to get:
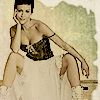
Yay! We have made this icon:

Using these layers:
2 Farscape, 1 CSI, 3 Charmed, 2 Smallville icons:
Random test for your reflexes! Go on! Tranquilize those sheep!