Greyson Chance Edit

Open a new document that is 700 x 400, and made the background black.
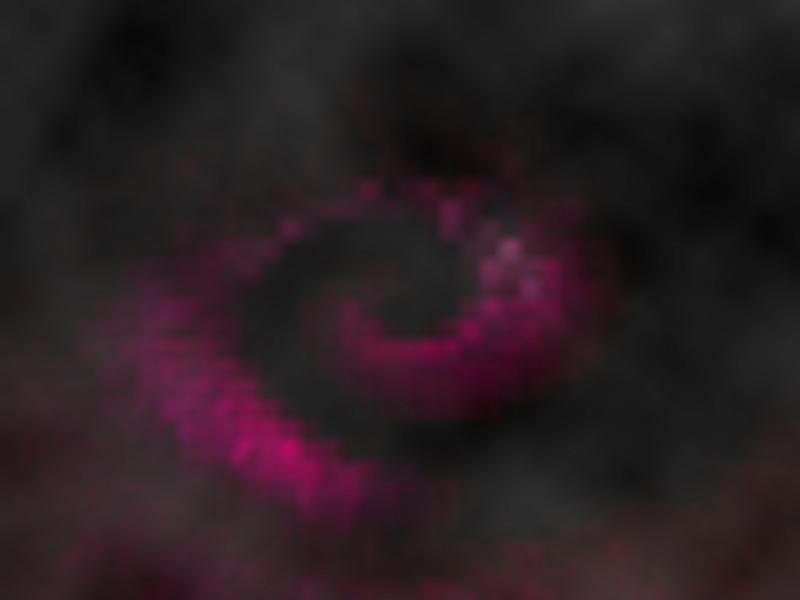
Open this texture and set it to Screen with a fill of 23%.
Now, make a new layer and take a large, soft, white brush, and place 3 large dots in the upper right corner. Go to Filter-Blur-Gaussian Blur, and set it to about 57 pixals.
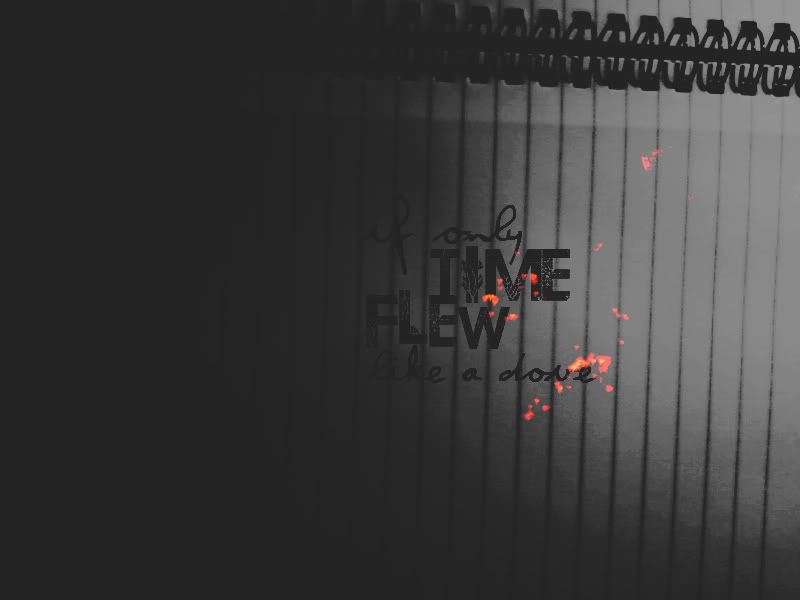
Open your first image, and place it in the upper right corner, and set it to Darken. Duplicate the image layer, and set it to Hard Light with a fill of 46%.Next, create a new layer and with a large, soft, white brush, make 3 dots in the lower left corner. Go to Filter-Blur-Gaussian Blur and set it to about 57 pixals. Open your second image, and place it in the lower left corner. Set it to Screen. Duplicate the second image layer, and set it to Soft Light.
Now, open up this texture and set it to Soft Light with an Opacity of 54% and a fill of 49%.
Open your third image and place it to the right of the second image. Set it to Lighten. Duplicate the image, and set it to Soft Light.
Open this texture, and set it to Soft Light with a fill of 14%.Now, using an eraser, erase any part of the texture that overlaps the image in the lower left corner.
Add your text now.
Coloring
Selective Coloring: Reds: -100, -20, -42, -18 Whites: -100, -26 Neutrals: +37, +6
Photo Filter: #ec8a00 Density: 25%
Brightness/Contrast: -30, +14
Hue/Saturation: Saturation: +26
Color Balance: Midtones: -5, +7, +5
Levels: 18, 1.22, 255
Gradient Fill: Black (Location: 0%) White (Location: 100%) Soft Light with a fill of 60%
Color Fill: #d83838 Linear Burn with a fill of 13%