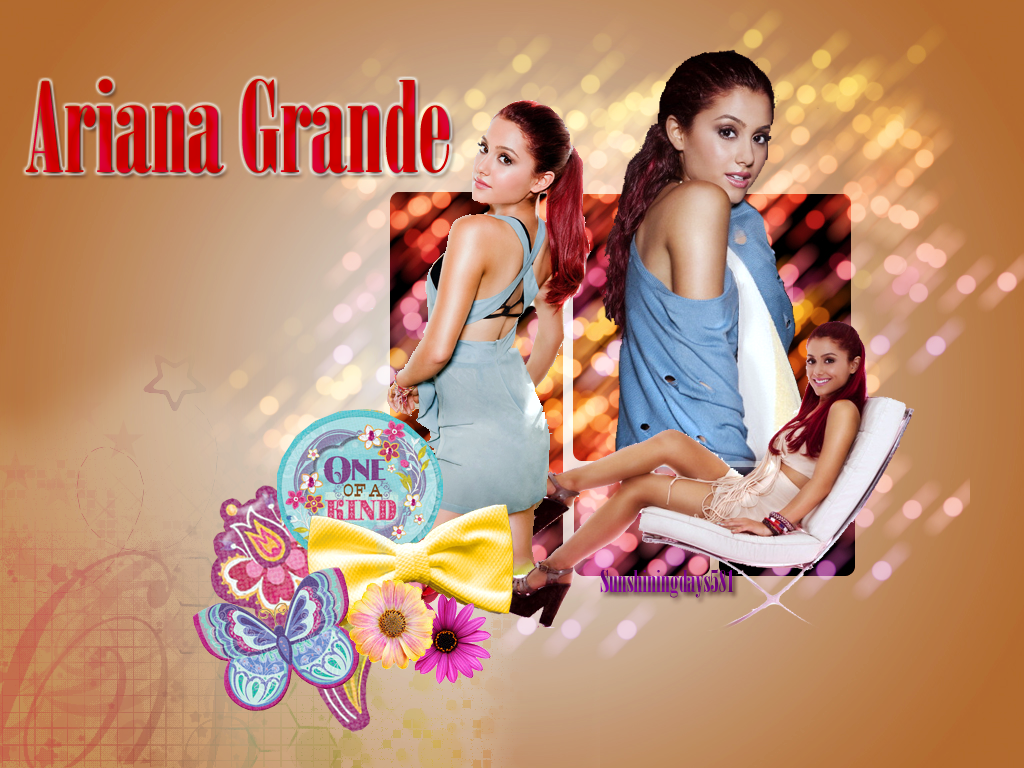
Ariana Grande Wallpaper
Open a new document that is 1024 x 768, and open and paste this background
Next, open this texture and set it to Soft Light, opacity 56%. Erase any edges using a large, soft eraser.
Now, open this texture and duplicate it. Move the duplicated layer to a new area of the background. Merge the two layers, and set it to Screen
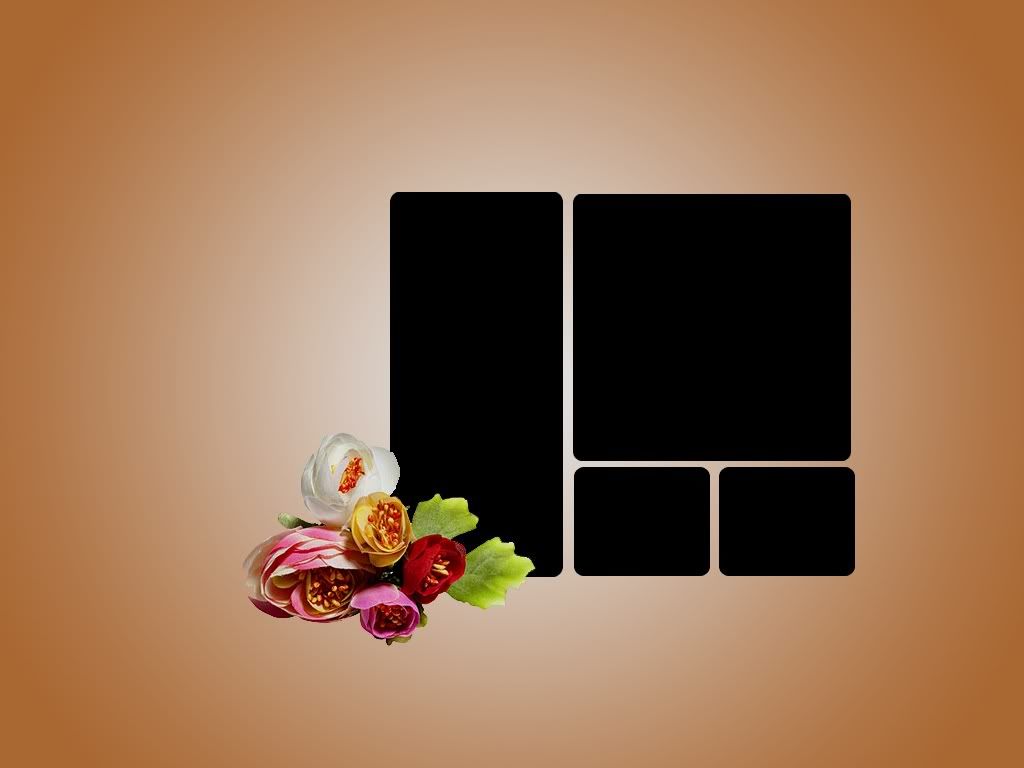
Now, select three different pictures, make them transparent by erasing the background and resize them. Take your first picture and flip it horizontally, by going to Edit>Transform>Flip Horizontally.
Add the other two pictures, making them also transparent by erasing the background and resizing them. Add all the pictures to your document.
Now, its time to add the pngs! First, take this png and paste it one the document.
Place this png on top of the previous png.
Add this png on top the previous two.
Next, take this ribbon, take the color replacement tool, and change the color to any color you want.
Now, add this and this flower and place them above the rest of the pngs.
Finally, add your text! I used Bodoni MT, 125 pt, d10909 and added drop shadow, outer glow, satin and color overlay
Coloring
Brightness/Contrast: -29, 18
Curves: Imput: 108 Output: 82 Imput: 186 Output: 160
Color Balance: Midtones: 15, -10, -13 Highlights: -13, -3, 0
Your done!