icon tutorial #1
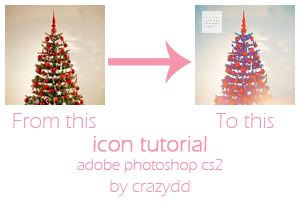
Step 1.
Duplicate it and set it to Screen (Opacity 30%)

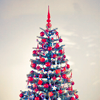
Step 2.
Selective color:
Reds Cyan -80% Yellow +100%
Yellows Cyan -100% Yellow +100%
Neutrals Cyan +63% Yellow -68%
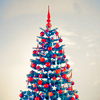
Step 3.
Selective color:
Reds Cyan -80% Yellow +100%
Yellows Cyan -100% Yellow +100%
Neutrals Cyan +29% Yellow -13%
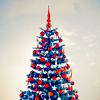
Step 4.
Levels:
RGB Input levels 58 1,38 255
Step 5.
Selective color:
Reds Cyan -100% Yellow +100%
Yellows Cyan -100% Yellow -100%
Neutrals Cyan +46% Magenta +15% Yellow +5% Black -5%
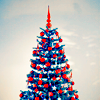
Step 6.
Use this texture by crazykira-resources and set it to Lighten.
Merge layers.
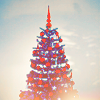
Step 7.
If you want - use one of these brushes by Expose42 with 43% Opacity.

You don't have to follow this tutorial exactly the way it is, it all depends on the image you are using, so just play around with the settings until you are satisfied with it.
○ I hope you find this useful.
○ Comments are ♥
○ I'd love to see your results!
○ Feel free to friend me! I'm open for requests - just comment here and let me know what do you want.
○ Psd available with a comment, I will message you the link.