Tink Shoe Tutorial
I've been meaning to make this tutorial for a while and since I didn't feel like messing around with MS Paint trying to make one, I figured with would be easier

Before you start, you will need to get or have on hand a hot glue gun + glue sticks, a pair of scissors, some white fake fur(at least 6x6 inches), some of that crushed panne velvet stuff(its stretchy, which is important), a needle+thread, some petticoat net and a pair of those cheap white ballet flat slippers that you can get from WalMart for like $6/pair
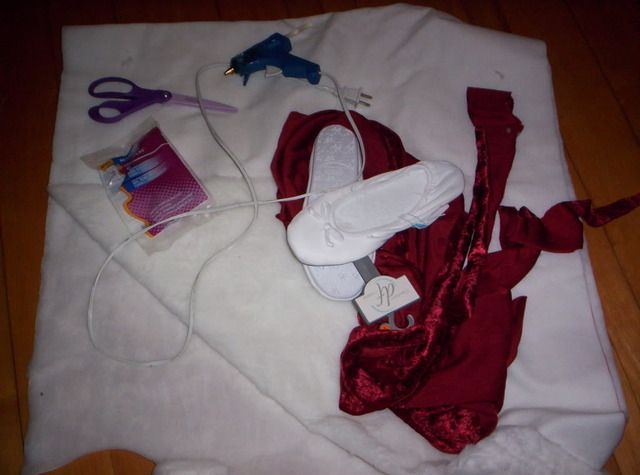
Step 1- Figure how much fabric you'll need to cover each shoe.
Lay the shoe top-down on the wrong side of the crushed panne so that the length of the shoe is going with the stretch of the material. Measure a little over an inch on either side of the shoe as well as a few inches at the heel and at the toe. Trim the excess material off. Hot glue the edge of the material to the edge of the shoe(where the rubber sole part connects to the cloth part). Do not glue the fabric to the heel or toe part yet. A good idea of where not to glue is to stop gluing where the shoe starts curving.
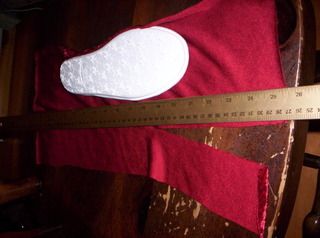
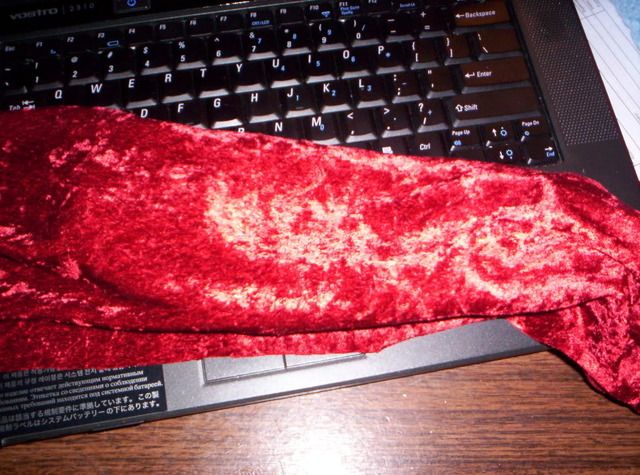
Step 2: Determine where the center is and cut.
Turn the shoe over and try to keep the fabric as symmetrical as possible on there. Once you think the fabric is pretty well centered, find where the hole for the foot is and cut a slit down the center of it most of the way. Put your foot inside the shoe and then hot glue the edges of the material to the side edges(not front edge or back edge) of the foot-hole, being careful not to burn yourself in the process. It really works to tuck the eges of the material into the shoe for this part.
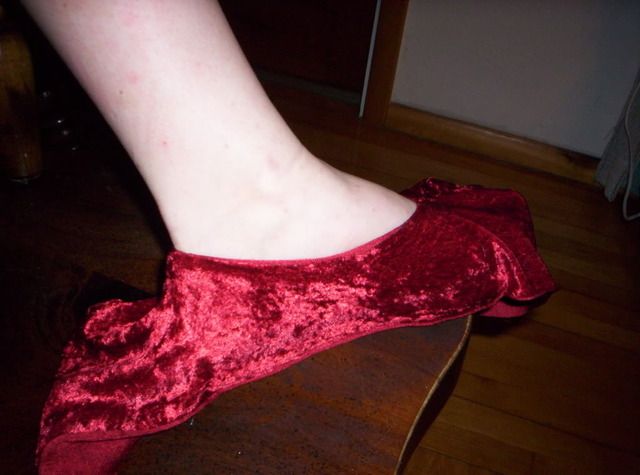
Step 3: Tuck and Trim
While still wearing the shoe, go to the heel or the toe of the shoe and carefully start gluing down the fabric, tucking it so that it looks smooth along the way. After you do one end, go to the other. Once you are done and the glue is done hardening, trim off the excess. You should now have what looks like a crushed panne shoe
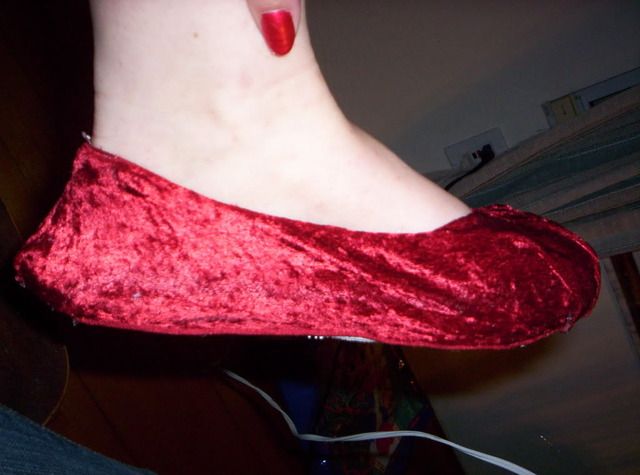
(can't you tell I was reacting to something when I made these shoes?)
Step 4- The Poofs!
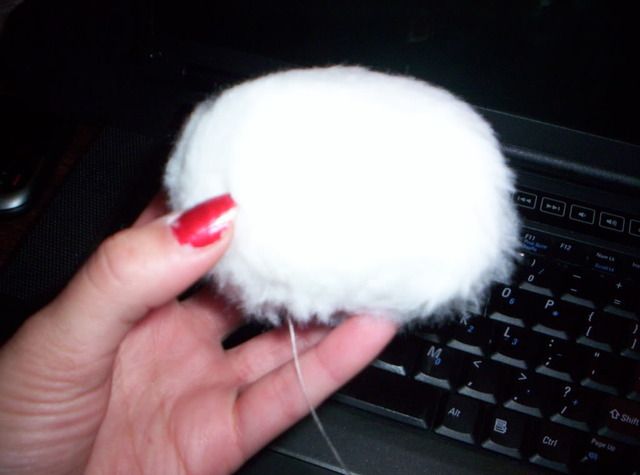
Yes, the famous poof that are on the toes of her shoes. Find something that is about six inches in diameter. I tend to use a small plate. Put it on the wrong side of the fake fur, trace it, and cut it out. Take a needle and thread and hand-sew around the edge of the circle. Once you make it all the way around, start pulling the string nice and tight so that it almost starts to make a little spherical pouch. Poke the petticaot net into the ball until it is firm. Pull the string even tighter, being careful not the break it, sew across the middle best you can, secure the opening with some hot glue and cut the string. You should have a fuzzy ball now.
Step 5- Finishing
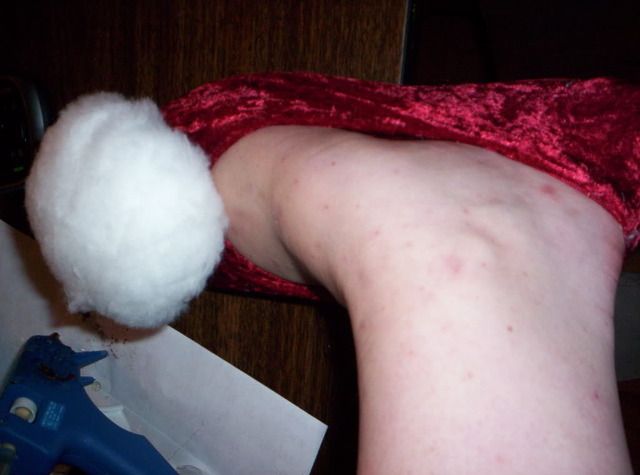
While still wearing the shoes, figure out where you want the poof to go(about and inch or so behind the base of your toes is good). Put some hot glue on that spot and press the bottom of the poof to it and hold it there until the glue sets up. You'll know its done setting up when your foot stops feeling warm and burny. Now that you've accomplished one shoe, its time to go onto the next and you're done!
If you didn't understand any part of this tutorial, please let me know and I'll be more than happy to fix that for you~