(no subject)
My second tutorial!!
My first one got a lot of great comments and it helped a lot of people so I hope this one does too.
You can find it here http://daliz-k.livejournal.com/6054.html
We are going from these two images

-
to this
First Take your base image. I'm chosing this one
. Sharpen it if needed.
2. Now we are going to work with the second image. Open it in another canvas. And sharpen it if needed. In my case, the image was a bit too big for my icon so I resize it a bit.

3. Copy and paste the second image in a new layer above the base.

4. With the eraser, hardness 4 and size between 10 and 15, erase the part that is covering the base, and everything that you see that does not belong.

5. Paste this texture as a new layer
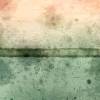
And put it in Color (Legacy)

6. Now with th eraser again, Hardness 4, Size 70, erase the middle part of the icons. But only a bit, so it doesn't look really green.

7. Make a new layer. With the circular brush with the faded corners
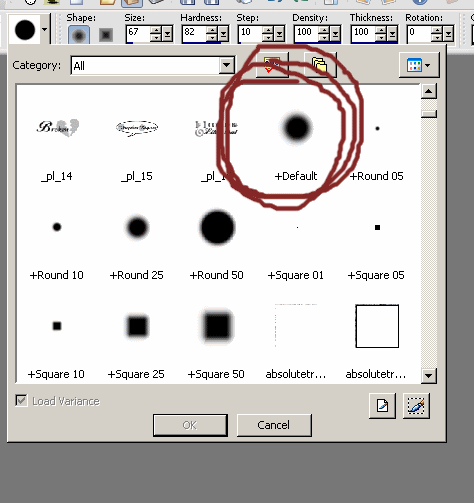
^ That one, size 120, yellowish cremeish color (see example for the color) put it in the top left corner.

And put it in Soft Light 100%

8. The top of the head of the second picture looks flat and not really nice. So I make a new layer and add a brush to the top so it takes away the attention from it.

9. Add some tiny text in white in the side and voala!

Comment if you liked it and post your results!! I love seeing your work!
Join my new icon forum!
http://s12.invisionfree.com/icon_madness
My first one got a lot of great comments and it helped a lot of people so I hope this one does too.
You can find it here http://daliz-k.livejournal.com/6054.html
We are going from these two images

-

to this

First Take your base image. I'm chosing this one

. Sharpen it if needed.
2. Now we are going to work with the second image. Open it in another canvas. And sharpen it if needed. In my case, the image was a bit too big for my icon so I resize it a bit.

3. Copy and paste the second image in a new layer above the base.

4. With the eraser, hardness 4 and size between 10 and 15, erase the part that is covering the base, and everything that you see that does not belong.

5. Paste this texture as a new layer

And put it in Color (Legacy)

6. Now with th eraser again, Hardness 4, Size 70, erase the middle part of the icons. But only a bit, so it doesn't look really green.

7. Make a new layer. With the circular brush with the faded corners

^ That one, size 120, yellowish cremeish color (see example for the color) put it in the top left corner.

And put it in Soft Light 100%

8. The top of the head of the second picture looks flat and not really nice. So I make a new layer and add a brush to the top so it takes away the attention from it.

9. Add some tiny text in white in the side and voala!

Comment if you liked it and post your results!! I love seeing your work!
Join my new icon forum!
http://s12.invisionfree.com/icon_madness