Basic tutorial
This is probably going to be completely redundant to most of you, but I know that there are some people out there who have done lots of icons, but no wallpapers before. So here's a very basic tutorial.
I have to confess, I'm only really familiar with GIMP, but I would imagine that the basics are, if not the same, at least similar to many other programmes.
1. Click on "New" and open up a blank background of 800 x 600 pixels.
2. Open your chosen pic as a new layer. (On GIMP, it's File>Open as layer.)
3. Resize your pic if it's not right for you. Add other pics. Move them about. Cut unwanted parts out of them. (You can use Erase for this, or select an area and then delete what's in it.)
4. You might want to colour your background in, or add a texture, or even a bigger pic to set your main pics off.
You can do anything with a wallpaper that you do with an icon (layers, brushes, colouring, cropping). The main difference is the size. You might find that you need to use larger and better quality pics. There are some links on the sidebar to sites which hold pics like that. There are brushes and textures available for larger sizes. Try DeviantArt, or any of the brush/texture sites on lj.
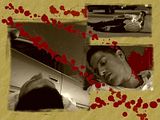
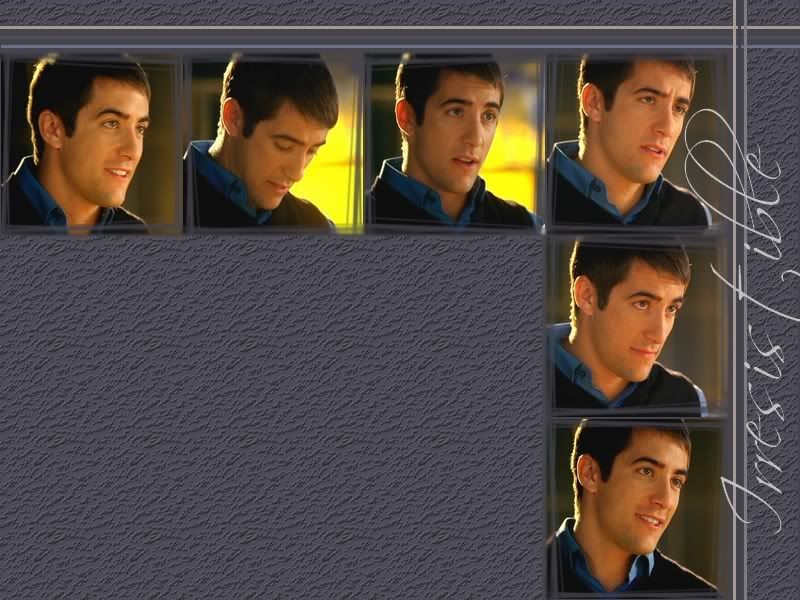
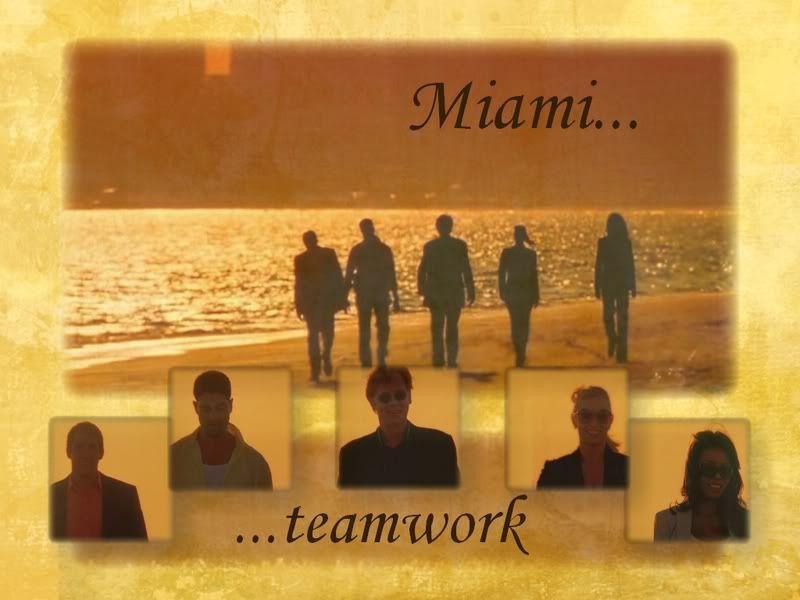
Here are some examples of wallpapers I've made using only these basic techniques.


It doesn't have to be complicated. If you can make an icon, you can make a wallpaper, so go ahead! Have fun!
I have to confess, I'm only really familiar with GIMP, but I would imagine that the basics are, if not the same, at least similar to many other programmes.
1. Click on "New" and open up a blank background of 800 x 600 pixels.
2. Open your chosen pic as a new layer. (On GIMP, it's File>Open as layer.)
3. Resize your pic if it's not right for you. Add other pics. Move them about. Cut unwanted parts out of them. (You can use Erase for this, or select an area and then delete what's in it.)
4. You might want to colour your background in, or add a texture, or even a bigger pic to set your main pics off.
You can do anything with a wallpaper that you do with an icon (layers, brushes, colouring, cropping). The main difference is the size. You might find that you need to use larger and better quality pics. There are some links on the sidebar to sites which hold pics like that. There are brushes and textures available for larger sizes. Try DeviantArt, or any of the brush/texture sites on lj.
Here are some examples of wallpapers I've made using only these basic techniques.

It doesn't have to be complicated. If you can make an icon, you can make a wallpaper, so go ahead! Have fun!