TUTORIAL NUMBER ELEVEN.
very simple tutorial psp9.
Going from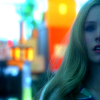
to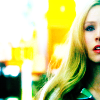
First you need to open your program you'll be using.
I'm using PSP9.
Open up you image. I'll be using THIS cap of Veronica Mars from Veronica Mars (cap from http://vm-caps.com)
Crop & Resize.

First lets remove that ugly bluish tint.
ADJUST >> AUTOMATIC COLOR BALANCE
(or enhance photo >> auto color balance)
Put in these settings;
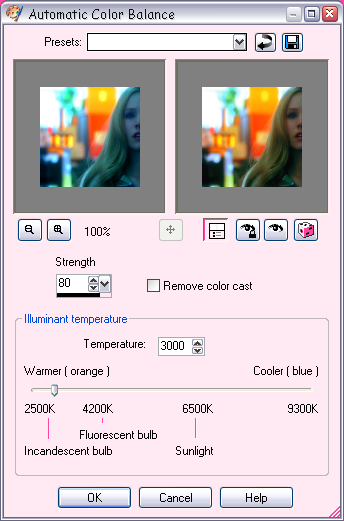
& you should come up with this
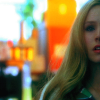
Duplicate your base & set layer to SCREEN / OPACITY 100
Now duplicate this layer FOUR times. You should now have FIVE screened layers above your base.
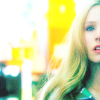
Duplicate your base & set layer to OVERLAY / OPACITY 100
Drag this layer above all the screen layers.
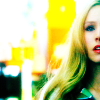
Merge all.
Resize to 100x100.
ADJUST >> SHARPNESS >> UNSHARP MASK
Radius: 2.00
Strength: 12
Clipping: 0
& make sure luminance only is CHECKED.

Your done. =]
Here is my layers pallete if your curious;
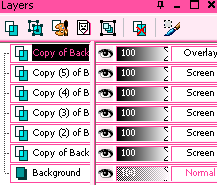
Keep in mind that depending on the blues of your base your icon will turn out different & may require different settings.
Like what you see? Join the community.
Going from

to

First you need to open your program you'll be using.
I'm using PSP9.
Open up you image. I'll be using THIS cap of Veronica Mars from Veronica Mars (cap from http://vm-caps.com)
Crop & Resize.

First lets remove that ugly bluish tint.
ADJUST >> AUTOMATIC COLOR BALANCE
(or enhance photo >> auto color balance)
Put in these settings;

& you should come up with this

Duplicate your base & set layer to SCREEN / OPACITY 100
Now duplicate this layer FOUR times. You should now have FIVE screened layers above your base.

Duplicate your base & set layer to OVERLAY / OPACITY 100
Drag this layer above all the screen layers.

Merge all.
Resize to 100x100.
ADJUST >> SHARPNESS >> UNSHARP MASK
Radius: 2.00
Strength: 12
Clipping: 0
& make sure luminance only is CHECKED.

Your done. =]
Here is my layers pallete if your curious;

Keep in mind that depending on the blues of your base your icon will turn out different & may require different settings.
Like what you see? Join the community.