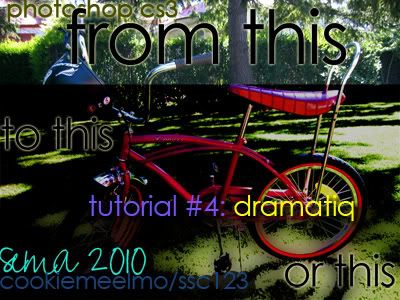
tutorial four: dramatiq

Alright, time to get that “dramatiq” effect often seen on tumblr.
Believe it or not, it's really is simple.
TUTORIAL IMAGE - here - credit to stock exchange
[Step One]
Copy/Paste the image into a new canvas.
It's quite too big and will get smaller anyways, so go to Image Size (Ctrl+Alt+I) and change the size to something nice and small, I used 744x558 -- CAP
[Step Two]
Merge the layer with the background so that it's locked.
(Select only Layer 1 and press Ctrl+E)
[Step Three]
duplicate the background (Ctrl+J)
make a new color fill layer - 50%
and use the eyedropper (I) to select a leading muted color of the composition
for this image, I'm going to use the color #e46a61, grabbed from the seat of the bike -- CAP
merge these two layers together and set the new layer to color burn -- CAP
[Step Four]
Duplicate the background and bring it to the top.
While selected on this layer, go to Image>>Adjustments>>Hue/Saturation (or Ctrl+U) and put the master saturation to +100 -- CAP
set this layer to COLOR -- CAP
[Step Five] OPTIONAL
Merge all three layers at once (select all of them and ctrl+E)
duplicate the layer
filter>>blur>>gausian blur>>8.5
set the layer to darker color CAP
doneeeee.
don't repost this without asking me.